Red Hat Training
A Red Hat training course is available for Red Hat JBoss Operations Network
9. Provisioning Bundles
9.1. Uploading Bundles to JBoss ON
All of the files associated with a distribution — the recipe, any JARs or ZIPs, and any configuration files — have to be accessible to JBoss ON. Either the files need to be uploaded and stored in the JBoss ON database or a URL to the packages needs to be configured.
Note
If the files are all combined in a single ZIP file to upload, then the recipe file must be in the top level of the package.
- In the top menu, click the Bundles tab.

- Scroll to the bottom of the window and click the button.

- Upload the distribution package or the recipe file.
 There are three options on how the bundle distribution is made available to the JBoss ON server:
- URL points to any URL, such as an FTP site or SVN or GIT repo, where there is a complete bundle distribution file available.
Note
Using an SVN or GIT repo allows you to pull the packages directly from a build system. - Upload uploads a single bundle distribution file (which includes both the recipe an all associated files) from the local system to the JBoss ON server.
- Recipe uploads a recipe file only, and then any additional files required for the bundle are uploaded separately. This option includes an edit field where the uploaded recipe can be edited before it is sent to the server.
Note
When uploading a recipe file separately than the bundle archive files, every closing tag be explicitly stated (meaning every entry must have the format<tag></tag>, not the abbreviated format<tag />). Otherwise, the recipe may be incorrectly interpreted in the text box and fail to upload to the server.The XML must be well-formed, or the recipe fails validation and the upload fails.Additionally, the Recipe option's upload button does not work on Internet Explorer. To add a recipe file using this option with Internet Explorer, copy the entire recipe file and paste it directly into the text box.
- In the next screen, upload any associated files that were not uploaded previously. For the URL and Upload, all of the files are usually uploaded in a single file, so there is nothing to do on this screen. For the Recipe option, all of the files listed in the recipe must be uploaded manually at this step.

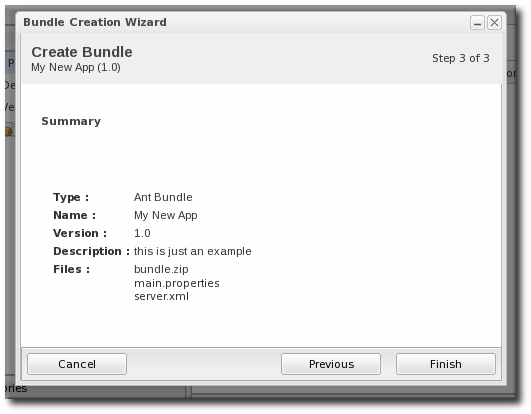
- The final screen shows all of the information for the new bundle. Click to save the new bundle.