
5.4.2. Creating a VNIC Profile
Summary
Create a Virtual Network Interface Controller (VNIC) profile to regulate network bandwidth for users and groups.
Procedure 5.1. Creating a VNIC Profile
- Use the Networks resource tab, tree mode, or the search function to select a logical network in the results pane.
- Select the Profiles tab in the details pane to display available VNIC profiles. If you selected the logical network in tree mode, you can select the VNIC Profiles tab in the results list.
- Click to open the VM Interface Profile window.
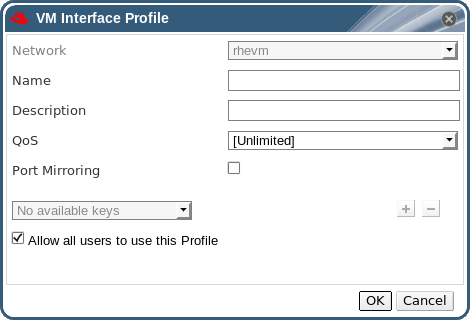
Figure 5.2. The VM Interface Profile window
- Enter the Name and Description of the profile.
- Use the QoS drop-down menu to select the relevant Quality of Service policy to apply to the VNIC profile.
- Use the Port Mirroring and Allow all users to use this Profile check boxes to toggle these options.
- The custom device properties drop-down menu, which displays Please select a key... by default, is only active if custom properties have been defined on the Manager or if the logical network for which the profile is being created has been imported from an OpenStack network service. Use the drop-down menu to select the custom property, and the and buttons to add or remove custom properties.
- Click to save the profile and close the window.
Result
You have created a VNIC profile. Apply this profile to users and groups to regulate their network bandwidth.