
14.3. Installing a OpenShift Container Platform cluster with the Agent-based Installer
14.3.1. Conditions préalables
- You reviewed details about the OpenShift Container Platform installation and update processes.
- You read the documentation on selecting a cluster installation method and preparing it for users.
14.3.2. Installing OpenShift Container Platform with the Agent-based Installer
The following procedure deploys a single-node OpenShift Container Platform in a disconnected environment. You can use this procedure as a basis and modify according to your requirements.
Procédure
- Connectez-vous à la console web d'OpenShift Container Platform en utilisant vos identifiants de connexion.
Navigate to Datacenter.
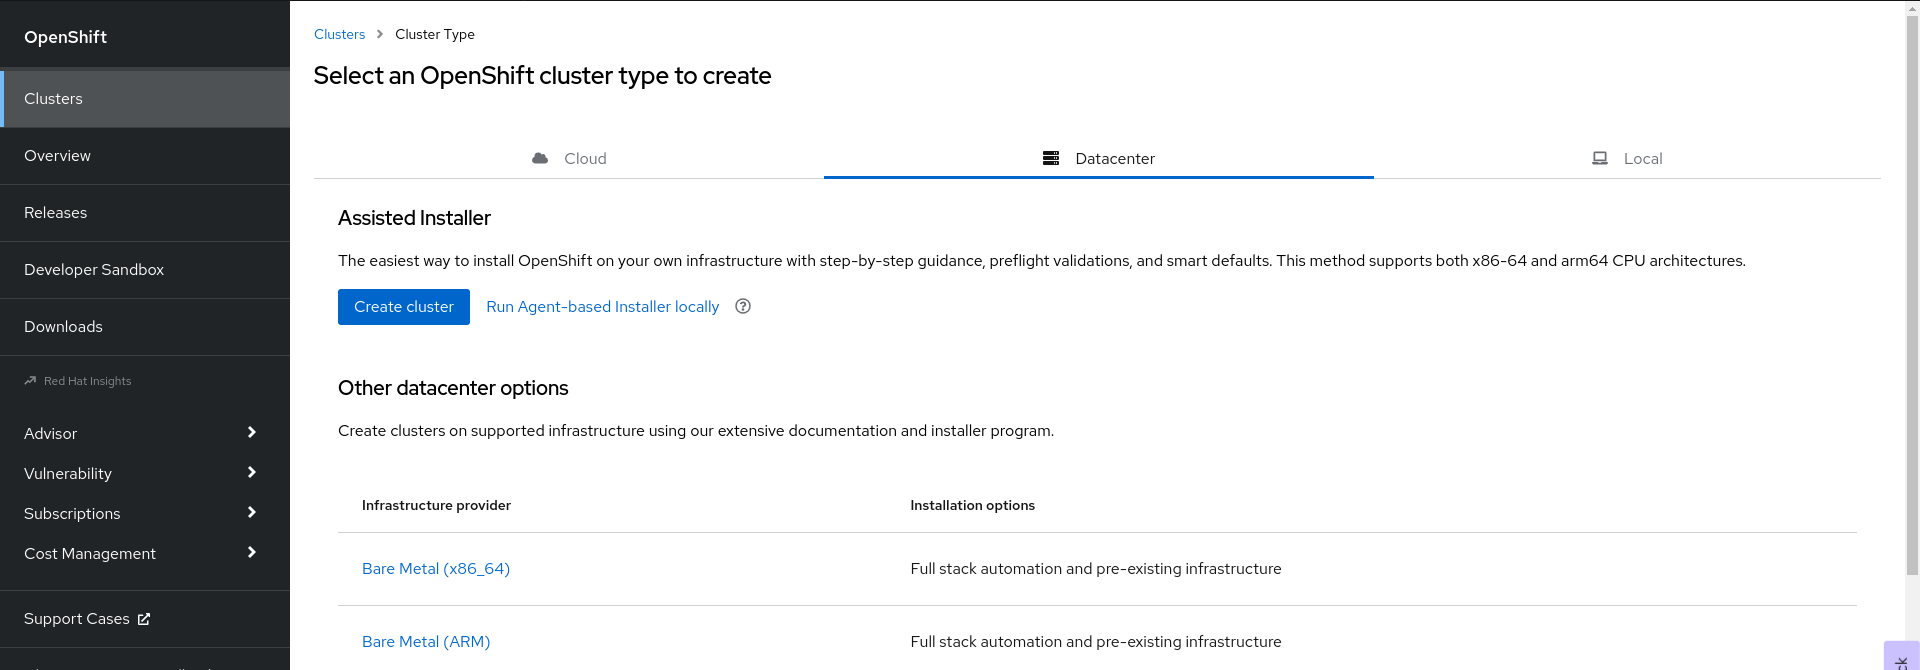
- Click Run Agent-based Installer locally. You are directed to the Install OpenShift Container Platform on Bare Metal locally with Agent page.
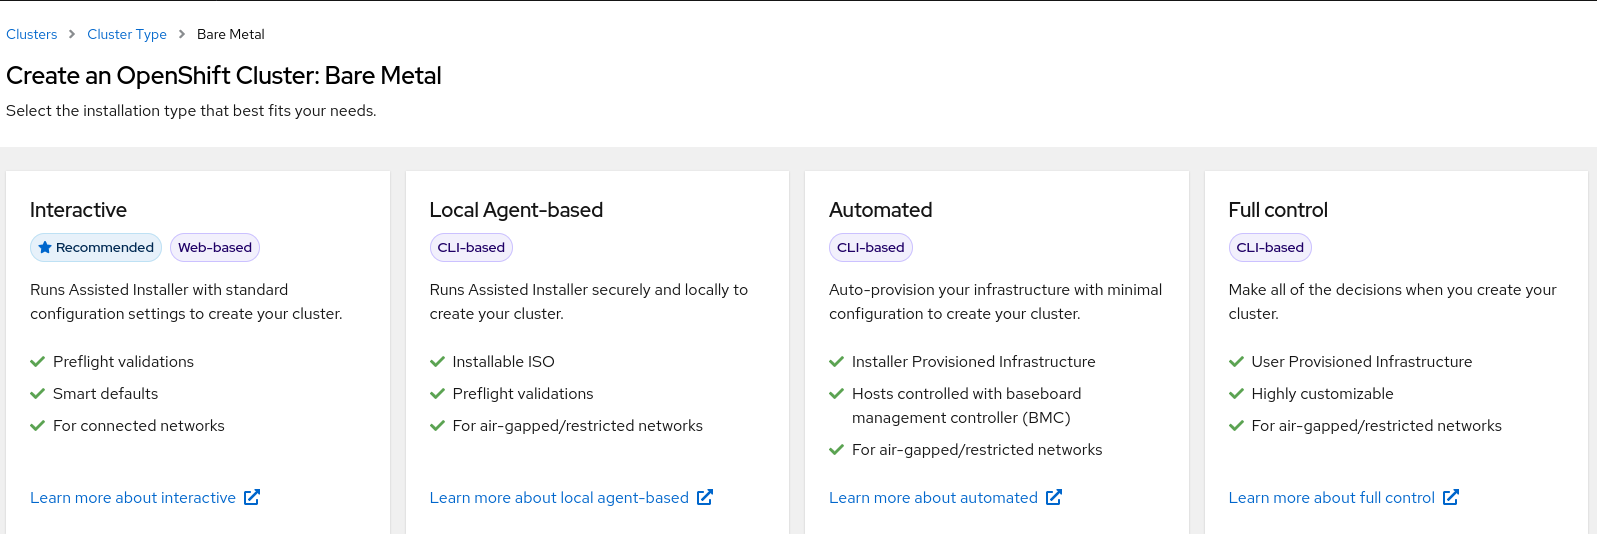
Optional: Alternatively, you can also click Bare Metal (x86_64) on the Select an OpenShift Container Platform cluster type to create page. You are directed to the Create an OpenShift Container Platform Cluster: Bare Metal page. Then, select Local Agent-based to go to the Install OpenShift Container Platform on Bare Metal locally with Agent page.
- Select the operating system and architecture.
- Click Download Installer to download and extract the install program.
- You can either download or copy the pull secret by clicking on Download pull secret or Copy pull secret.
-
Click Download command-line tools and place the
openshift-installbinary in a directory that is on yourPATH. Install
nmstatedependency by running the following command:$ sudo dnf install /usr/bin/nmstatectl -y
-
Place the
openshift-installbinary in a directory that is on your PATH. Create a directory to store the install configuration by running the following command:
$ mkdir ~/<directory_name>
NoteThis is the preferred method for the Agent-based installation. Using ZTP manifests is optional.
Create the
install-config.yamlfile:cat << EOF > ./my-cluster/install-config.yaml apiVersion: v1 baseDomain: test.example.com compute: - architecture: amd64 hyperthreading: Enabled name: worker replicas: 0 controlPlane: architecture: amd64 hyperthreading: Enabled name: master replicas: 1 metadata: name: sno-cluster 1 networking: clusterNetwork: - cidr: 10.128.0.0/14 hostPrefix: 23 machineNetwork: - cidr: 192.168.111.0/16 networkType: OVNKubernetes 2 serviceNetwork: - 172.30.0.0/16 platform: none: {} pullSecret: '<pull_secret>' 3 sshKey: | '<ssh_pub_key>' 4 EOF
NoteIf you set the platform to
vSphereorbaremetal, you can configure IP address endpoints for cluster nodes in three ways:- IPv4
- IPv6
- IPv4 and IPv6 in parallel (dual-stack)
Example of dual-stack networking
networking:
  clusterNetwork:
    - cidr: 172.21.0.0/16
      hostPrefix: 23
    - cidr: fd02::/48
      hostPrefix: 64
  machineNetwork:
    - cidr: 192.168.11.0/16
    - cidr: 2001:DB8::/32
  serviceNetwork:
    - 172.22.0.0/16
    - fd03::/112
  networkType: OVNKubernetes
platform:
  baremetal:
    apiVIPs:
    - 192.168.11.3
    - 2001:DB8::4
    ingressVIPs:
    - 192.168.11.4
    - 2001:DB8::5
IPv6 is supported only on bare metal platforms.
Create the
agent-config.yamlfile:cat > agent-config.yaml << EOF apiVersion: v1alpha1 kind: AgentConfig metadata: name: sno-cluster rendezvousIP: 192.168.111.80 1 hosts: 2 - hostname: master-0 3 interfaces: - name: eno1 macAddress: 00:ef:44:21:e6:a5 rootDeviceHints: 4 deviceName: /dev/sdb networkConfig: 5 interfaces: - name: eno1 type: ethernet state: up mac-address: 00:ef:44:21:e6:a5 ipv4: enabled: true address: - ip: 192.168.111.80 prefix-length: 23 dhcp: false dns-resolver: config: server: - 192.168.111.1 routes: config: - destination: 0.0.0.0/0 next-hop-address: 192.168.111.2 next-hop-interface: eno1 table-id: 254 EOF- 1
- This IP address is used to determine which node performs the bootstrapping process as well as running the
assisted-servicecomponent. You must provide the rendezvous IP address when you do not specify at least one host’s IP address in thenetworkConfigparameter. If this address is not provided, one IP address is selected from the provided hosts'networkConfig. - 2
- Host configuration is optional. The number of hosts defined must not exceed the total number of hosts defined in the
install-config.yamlfile, which is the sum of the values of thecompute.replicasandcontrolPlane.replicasparameters. - 3
- The optional
hostnameparameter overrides the hostname obtained from either the Dynamic Host Configuration Protocol (DHCP) or a reverse DNS lookup. Each host must have a unique hostname supplied by one of these methods. - 4
- The
rootDeviceHintsparameter enables provisioning of the Red Hat Enterprise Linux CoreOS (RHCOS) image to a particular device. It examines the devices in the order it discovers them, and compares the discovered values with the hint values. It uses the first discovered device that matches the hint value. - 5
- Set this optional parameter to configure the network interface of a host in NMState format.
Create the agent image by running the following command:
$ openshift-install --dir <install_directory> agent create image
NoteRed Hat Enterprise Linux CoreOS (RHCOS) supports multipathing on the primary disk, allowing stronger resilience to hardware failure to achieve higher host availability. Multipathing is enabled by default in the agent ISO image, with a default
/etc/multipath.confconfiguration.-
Boot the
agent.x86_64.isoimage on the bare metal machines. Optional: To know when the bootstrap host (which is the rendezvous host) reboots, run the following command:
$ ./openshift-install --dir <install_directory> agent wait-for bootstrap-complete \ 1
    --log-level=info 2
Exemple de sortie
...................................................................
...................................................................
INFO Bootstrap configMap status is complete
INFO cluster bootstrap is complete
The command succeeds when the Kubernetes API server signals that it has been bootstrapped on the control plane machines.
To track the progress and verify sucessful installation, run the following command:
$ openshift-install --dir <install_directory> agent wait-for install-complete 1- 1
- For
<install_directory>directory, specify the path to the directory where the agent ISO was generated.
Exemple de sortie
...................................................................
...................................................................
INFO Cluster is installed
INFO Install complete!
INFO To access the cluster as the system:admin user when using 'oc', run
INFO     export KUBECONFIG=/home/core/installer/auth/kubeconfig
INFO Access the OpenShift web-console here: https://console-openshift-console.apps.sno-cluster.test.example.com
If you are using the optional method of ZTP manifests, you can configure IP address endpoints for cluster nodes through the AgentClusterInstall.yaml file in three ways:
- IPv4
- IPv6
- IPv4 and IPv6 in parallel (dual-stack)
Example of dual-stack networking
apiVIP: 192.168.11.3
ingressVIP: 192.168.11.4
clusterDeploymentRef:
  name: mycluster
imageSetRef:
  name: openshift-4.12
networking:
  clusterNetwork:
  - cidr: 172.21.0.0/16
    hostPrefix: 23
  - cidr: fd02::/48
    hostPrefix: 64
  machineNetwork:
  - cidr: 192.168.11.0/16
  - cidr: 2001:DB8::/32
  serviceNetwork:
  - 172.22.0.0/16
  - fd03::/112
  networkType: OVNKubernetes
IPv6 is supported only on bare metal platforms.
Ressources complémentaires
- See Deploying with dual-stack networking.
- See Configuring the install-config yaml file.
- See Configuring a three-node cluster to deploy three-node clusters in bare metal environments.
- See About root device hints.
- See NMState state examples.
14.3.3. Sample ZTP custom resources
Optional: You can use Zero touch provisioning (ZTP) custom resource (CR) objects to install an OpenShift Container Platform cluster with the Agent-based Installer.
You can customize the following ZTP custom resources to specify more details about your OpenShift Container Platform cluster. The following sample ZTP custom resources are for a single-node cluster.
agent-cluster-install.yaml
  apiVersion: extensions.hive.openshift.io/v1beta1
  kind: AgentClusterInstall
  metadata:
    name: test-agent-cluster-install
    namespace: cluster0
  spec:
    clusterDeploymentRef:
      name: ostest
    imageSetRef:
      name: openshift-4.12
    networking:
      clusterNetwork:
      - cidr: 10.128.0.0/14
        hostPrefix: 23
      serviceNetwork:
      - 172.30.0.0/16
    provisionRequirements:
      controlPlaneAgents: 1
      workerAgents: 0
    sshPublicKey: <YOUR_SSH_PUBLIC_KEY>
cluster-deployment.yaml
apiVersion: hive.openshift.io/v1
kind: ClusterDeployment
metadata:
  name: ostest
  namespace: cluster0
spec:
  baseDomain: test.metalkube.org
  clusterInstallRef:
    group: extensions.hive.openshift.io
    kind: AgentClusterInstall
    name: test-agent-cluster-install
    version: v1beta1
  clusterName: ostest
  controlPlaneConfig:
    servingCertificates: {}
  platform:
    agentBareMetal:
      agentSelector:
        matchLabels:
          bla: aaa
  pullSecretRef:
    name: pull-secret
cluster-image-set.yaml
apiVersion: hive.openshift.io/v1
kind: ClusterImageSet
metadata:
  name: openshift-4.12
spec:
  releaseImage: registry.ci.openshift.org/ocp/release:4.12.0-0.nightly-2022-06-06-025509
infra-env.yaml
apiVersion: agent-install.openshift.io/v1beta1
kind: InfraEnv
metadata:
  name: myinfraenv
  namespace: cluster0
spec:
  clusterRef:
    name: ostest
    namespace: cluster0
  pullSecretRef:
    name: pull-secret
  sshAuthorizedKey: <YOUR_SSH_PUBLIC_KEY>
  nmStateConfigLabelSelector:
    matchLabels:
      cluster0-nmstate-label-name: cluster0-nmstate-label-value
nmstateconfig.yaml
apiVersion: agent-install.openshift.io/v1beta1
kind: NMStateConfig
metadata:
  name: master-0
  namespace: openshift-machine-api
  labels:
    cluster0-nmstate-label-name: cluster0-nmstate-label-value
spec:
  config:
    interfaces:
      - name: eth0
        type: ethernet
        state: up
        mac-address: 52:54:01:aa:aa:a1
        ipv4:
          enabled: true
          address:
            - ip: 192.168.122.2
              prefix-length: 23
          dhcp: false
    dns-resolver:
      config:
        server:
          - 192.168.122.1
    routes:
      config:
        - destination: 0.0.0.0/0
          next-hop-address: 192.168.122.1
          next-hop-interface: eth0
          table-id: 254
  interfaces:
    - name: "eth0"
      macAddress: 52:54:01:aa:aa:a1
pull-secret.yaml
apiVersion: v1
kind: Secret
type: kubernetes.io/dockerconfigjson
metadata:
  name: pull-secret
  namespace: cluster0
stringData:
  .dockerconfigjson: 'YOUR_PULL_SECRET'
Ressources complémentaires
- See Challenges of the network far edge to learn more about zero touch provisioning (ZTP).