How to Install the Red Hat Enterprise Linux OpenStack Platform Installer Using the Live CD
Overview
The Red Hat Enterprise Linux OpenStack Platform installer live CD allows you to quickly set up a machine on which to install the RHEL OpenStack Platform installer user interface. The live CD contains a live Red Hat Enterprise Linux 6.5 operating system image that includes all packages required to run the rhel-osp-installer command for installing the user interface, and provides an alternative to manually installing a base operating system on a machine, enabling the required channels, and installing the required packages. However, the live CD and manual installation both result in a working setup, and the method you choose is a matter of preference.
Note
The environment requirements for setting up a machine using the live CD are the same as for a manual installation. See "Environment Requirements" in Deploying OpenStack: Enterprise Environments (Red Hat Enterprise Linux OpenStack Platform Installer) for further details.
Using the live CD to set up a machine on which to install the RHEL OpenStack Platform installer user interface involves three main steps:
- Write the contents of the live CD ISO file to an installation medium.
- Write the live operating system image to disk.
- Perform initial configuration.
Write the Contents of the Live CD ISO File to an Installation Medium
The first step in setting up a machine using the live CD is to download the live CD ISO file and write its contents to an installation medium such as a USB storage device, CD, or DVD. The following procedure outlines how to use the livecd-iso-to-disk tool provided by the RHEL OpenStack Platform Installer for Server 6 repository to write the live CD ISO file to a USB storage device, but you can use any method for writing an ISO file to an installation medium.
-
Download the live CD ISO file from the RHEL OpenStack Platform installer for Server 6 ISO Image Downloads page.
-
Enable the RHEL OpenStack Platform Installer for Server 6 repository:
# subscription-manager repos --enable=rhel-6-server-openstack-foreman-rpms -
Install the livecd-tools package:
# yum install livecd-tools -
Write the contents of the live CD ISO file to a USB storage device, replacing sdb with the name of the USB storage device:
# livecd-iso-to-disk --format --reset-mbr /usr/share/rhelosp-installer-live/rhelosp-installer-live-6.5-20140820.1.iso /dev/*sdb*
Write the Live Operating System Image to Disk
Once you have prepared an installation medium, you must then use that installation medium to boot the machine on which to install the user interface and write the live operating system image to disk.
Note
The process for writing the live operating system to disk is similar to that for installing Red Hat Enterprise Linux 6.5 on a machine using a graphical user interface. This procedure only outlines the basic options available when setting up Red Hat Enterprise Linux 6. For detailed instructions on configuring time synchronization, storage, and other options, see the Red Hat Enterprise Linux 6 Installation Guide.
-
Use the installation medium to start the machine on which to write the live operating system image.
-
Select Install and press Enter at the boot splash screen.

-
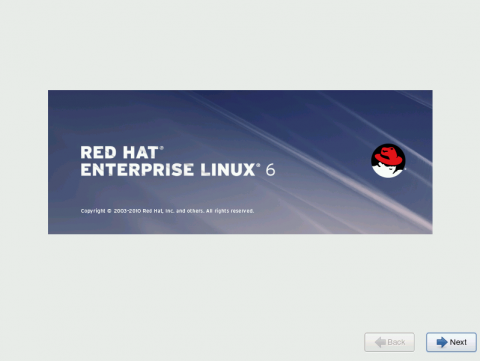
Click Next at the Red Hat Enterprise Linux 6 installation splash screen.
-
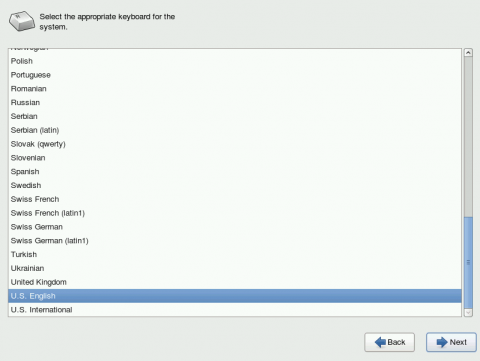
Select the preferred keyboard layout from the list of options and click Next.
-
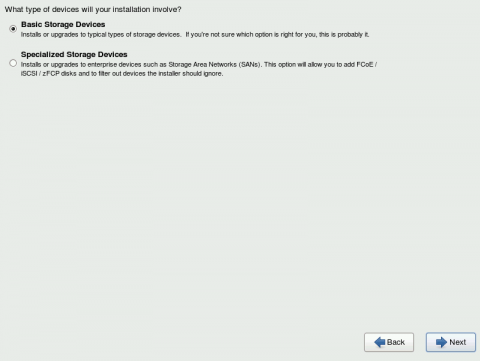
Select Basic Storage Devices and click Next.
-
Enter a host name for the machine and click Next.
Important
You must specify a fully qualified domain name that satisfies the following requirements:- Matches the domain of the network to be provisioned.
- Does not conflict with any existing domains (to prevent resource conflicts).

-
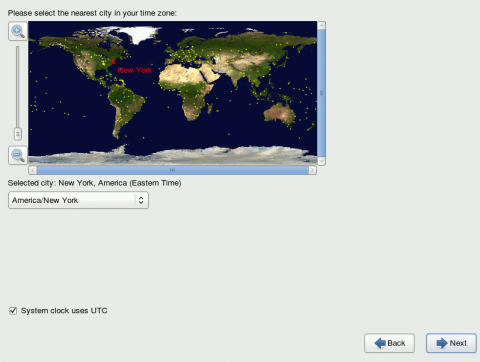
Select the nearest city in your time zone on the map and click Next.
-
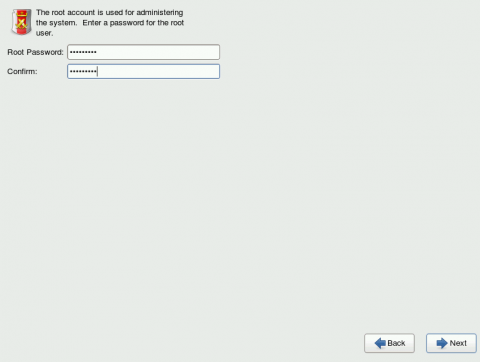
Enter a root password in the Root Password text field and again in the Confirm text field and click Next.
-
Select the preferred installation type and click Next.
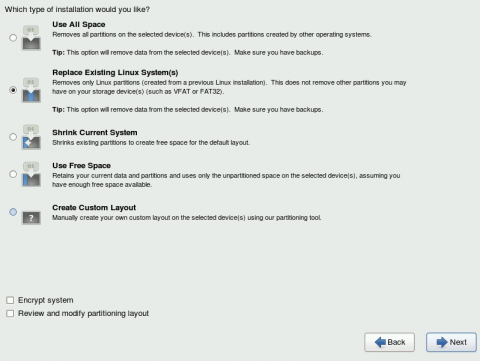
The live operating system image is written to disk in accordance with the options you selected.
Perform Initial Configuration
Once the installation process is complete, your machine reboots and you are prompted to perform initial configuration such as setting the current date and time and creating an initial user account.
-
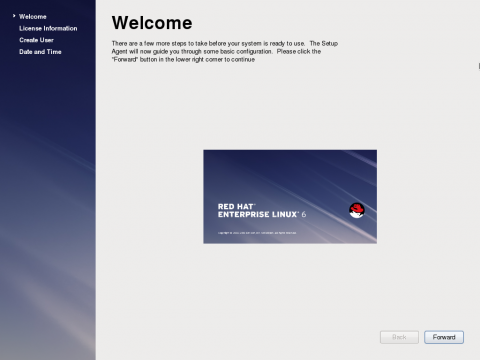
Click Forward at the Welcome screen.
-
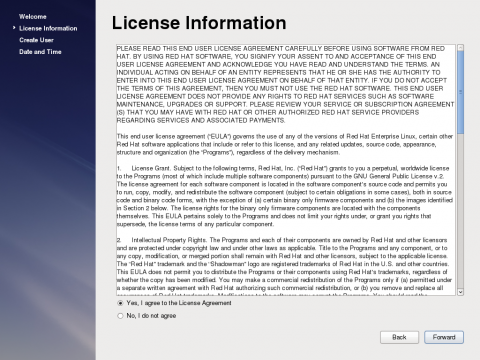
Click Yes, I agree to the License Agreement and click Forward.
-
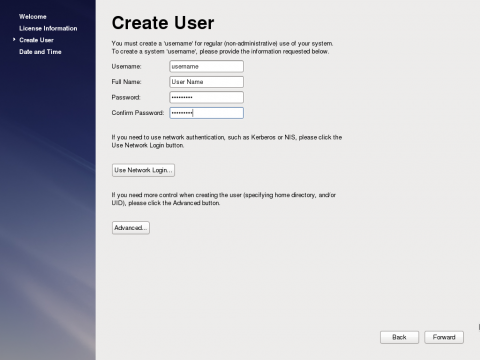
Configure an initial user account:
a. Enter a user name in the Username text field.
b. Enter the full name of the user in the Full Name text field.
c. Enter a password for the user in the Password text field and again in the Confirm Password text field.
d. Click Forward.
-
Configure the current date and time:
a. Specify the current date in the Date picker.
b. Specify the current time in the Hour, Minute, and Second fields.
c. Click Finish.

Next Steps
Once you have completed the initial configuration, the login screen is displayed for the first time and you can now log in and install the user interface. All subsequent steps are identical to that of a manual installation; see the Deploying OpenStack: Enterprise Environments (Red Hat Enterprise Linux OpenStack Platform Installer) for instructions on how to install the user interface and provision Red Hat Enterprise Linux OpenStack Platform.


Comments