
24.5. Cache Administration
24.5.1. Adding a New Cache
Procedure 24.2. Adding a New Cache
- In the Cache Containers view, click on the name of the cache container.
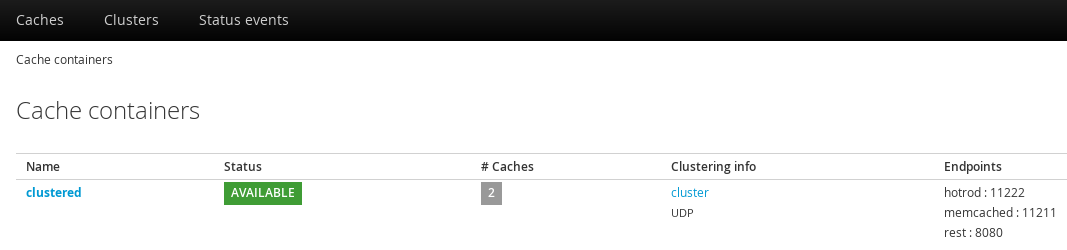
Figure 24.5. Cache Containers View
- The Caches view is displayed listing all the configured caches. Click to add and configure a new cache. The new cache creation window is opened.

Figure 24.6. Add Cache
- Enter the new cache name, select the base configuration template from the drop-down menu and click .
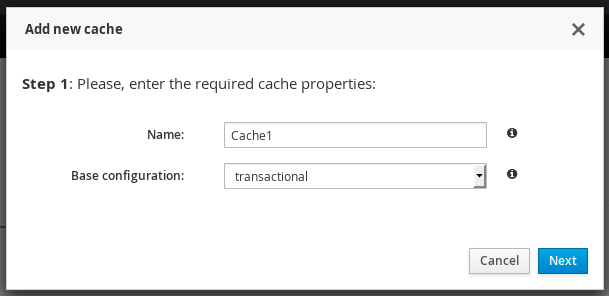
Figure 24.7. Cache Properties
- The cache configuration screen is displayed. Enter the cache parameters and click .

Figure 24.8. Cache Configuration
- A confirmation screen is displayed. Click to create the cache.
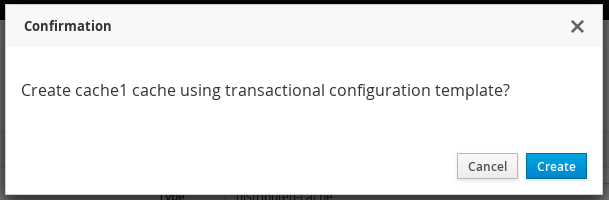
Figure 24.9. Cache Confirmation
New cache is added successfully.
24.5.2. Editing Cache Configuration
Procedure 24.3. Editing Cache Configuration
- Log into the JBoss Data Grid Administration Console and click on the cache container name.
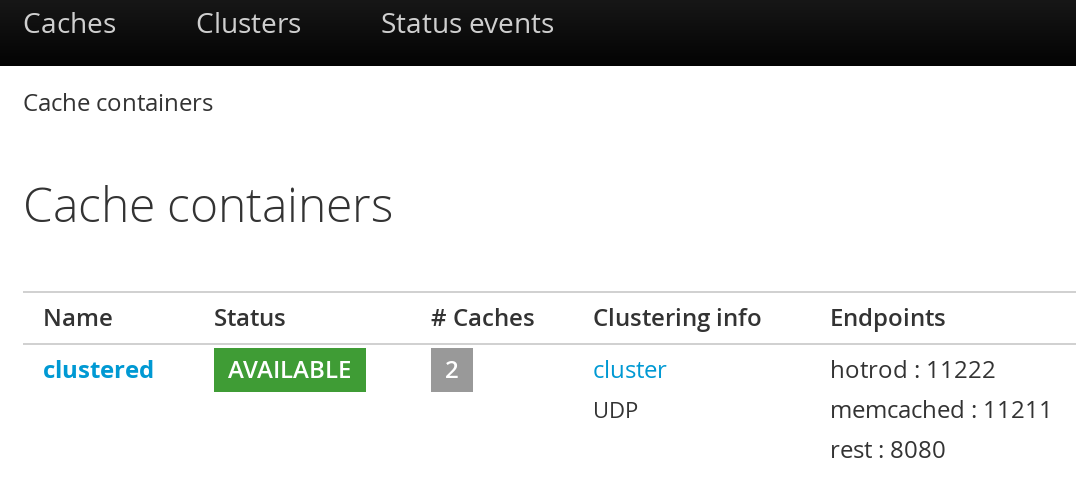
Figure 24.10. Cache Containers
- In the Caches view, click on the cache name.

Figure 24.11. Caches View
- The cache statistics and properties page is displayed. On the right hand side, click the Configuration tab.

Figure 24.12. Cache Configuration Button
- The edit cache configuration interface is opened. The editable cache properties are found in the cache properties menu at the left hand side.
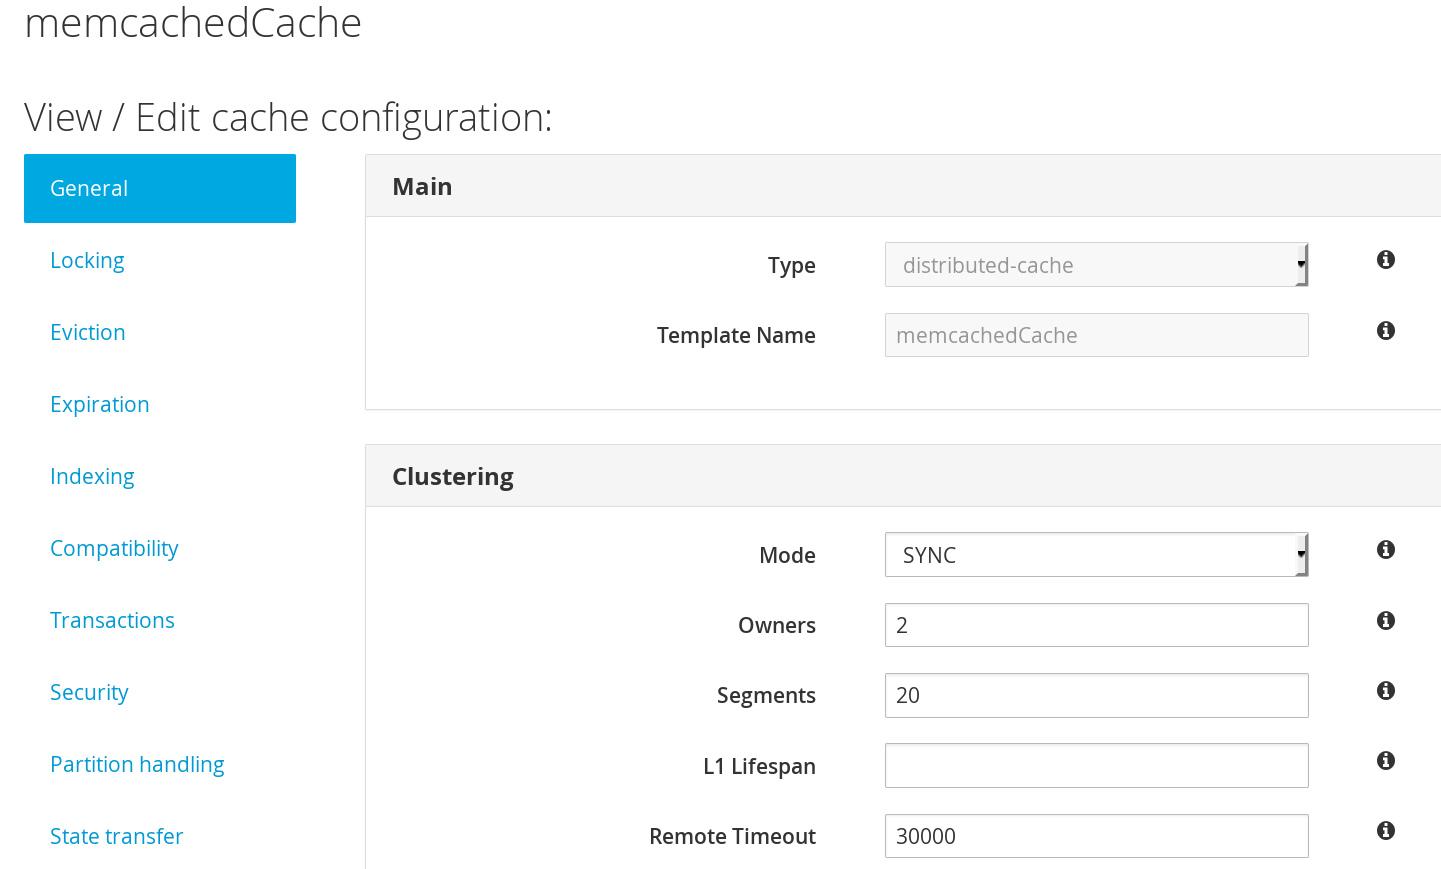
Figure 24.13. Editing Cache Configuration Interface
- Select the cache configuration property to be edited from the cache properties menu. To get a description on the cache configuration parameters, hover the cursor over the information icon. The parameter description is presented in form of a tooltip.
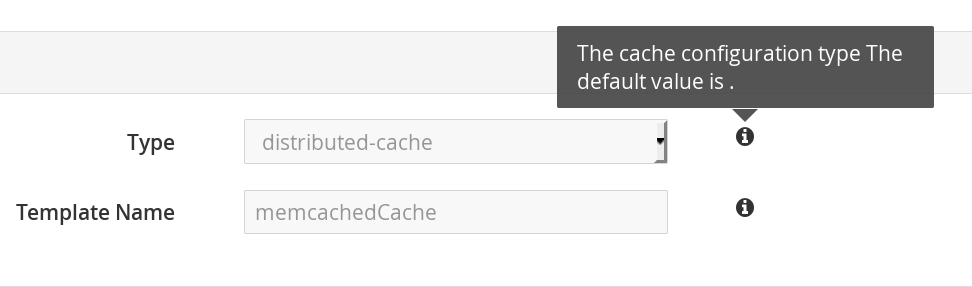
Figure 24.14. Cache configuration paramaters
- For example, the General property is selected by default. Edit the required values in the given parameter input field. Scroll down and click .
- A confirmation dialog box will appear. Click Update.
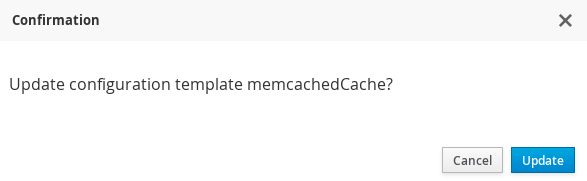
Figure 24.15.
- The restart dialogue box appears. Click to apply the changes.
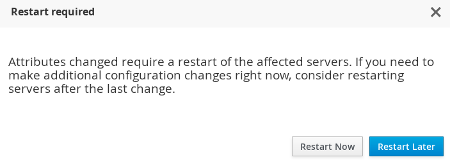
Figure 24.16. Restart Dialogue Box
Note
Click to continue editing the cache properties.
24.5.3. Cache Statistics and Properties View
Procedure 24.4. Viewing Cache Statistics
- Navigate to the list of caches by clicking on the name of the cache container in the Cache Container view.
- Click on the name of the cache from the list of caches. Optionally you can use the cache filter on the left side to filter caches. The caches can be filtered by a keyword, substring or by selecting the type and the trait.
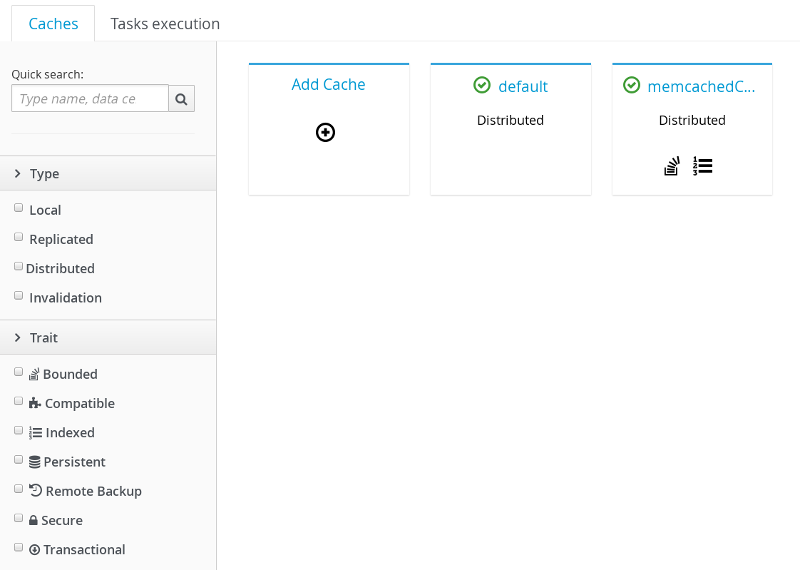
Figure 24.17. Caches View
- The next page displays the comprehensive cache statistics under the headings:
Cache content,Operations performanceandCaching Activity.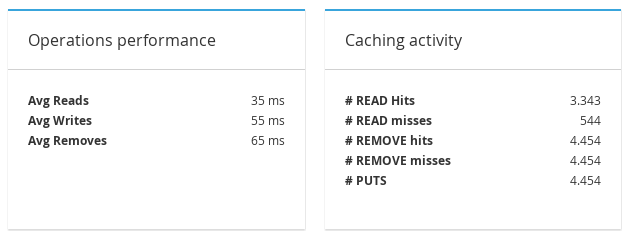
Figure 24.18. Cache Statistics
- Additional cache statistics are displayed under the headings:
Entries Lifecycle,Cache LoaderandLocking
Figure 24.19. Cache Statistics
- To view cache properties, click on Configuration at the right hand side.
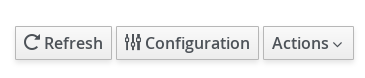
Figure 24.20. Configuration Button
- The cache properties menu is displayed at the left hand side.
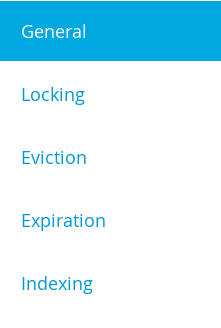
Figure 24.21. Cache Properties Menu
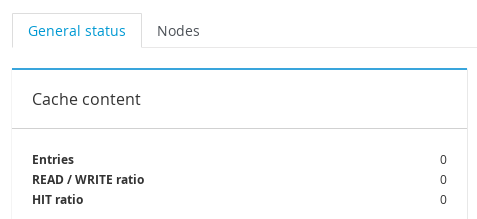
Figure 24.22. General Status Tab
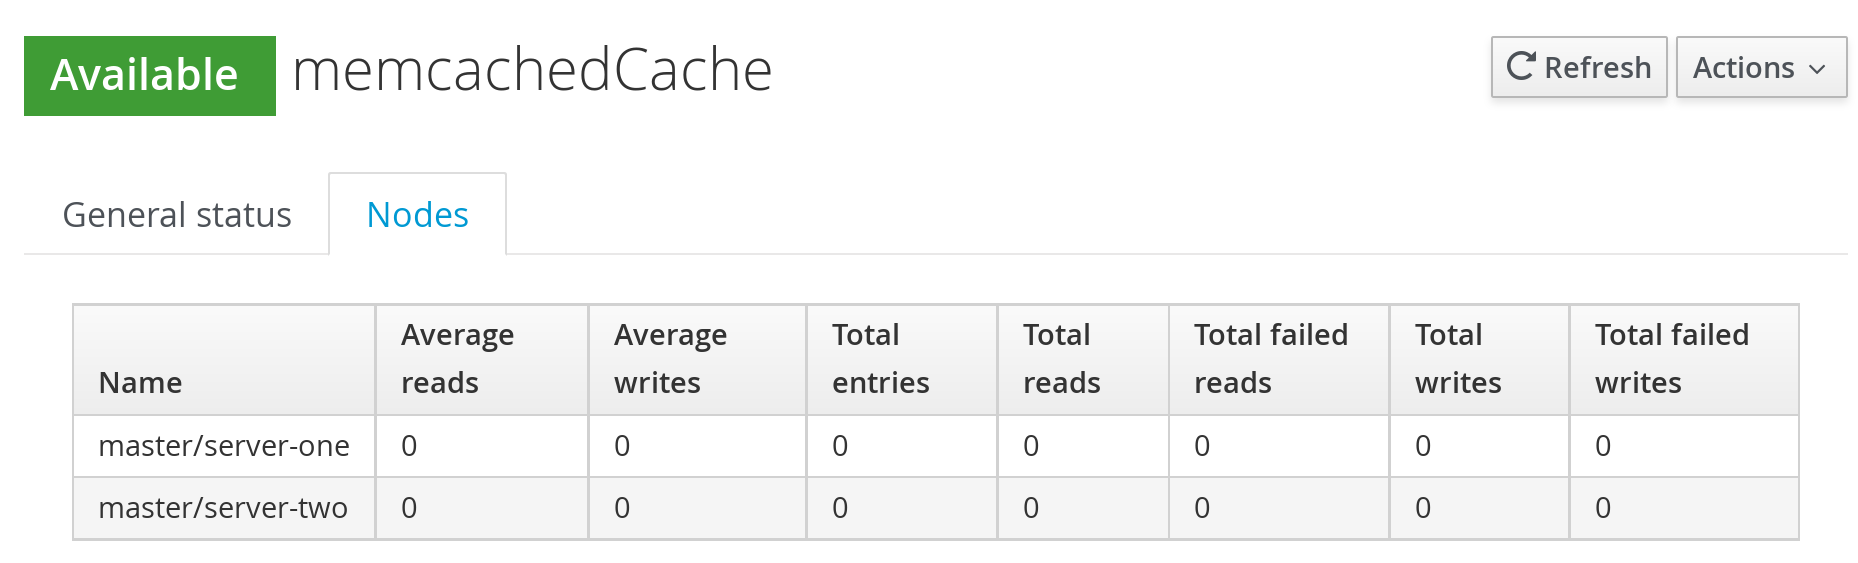
Figure 24.23. Cache Node Labels
24.5.4. Enable and Disable Cache
Procedure 24.5. Disabling a Cache
- Navigate to the caches view by clicking on the name of the cache container in the Cache Container view. Click on the name of the cache to be disabled.
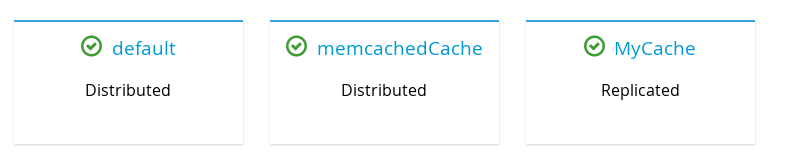
Figure 24.24. Caches View
- The cache statistics will be displayed. On the right hand side of the interface, click on the Actions tab and then click .

Figure 24.25. Cache Disable
- A confirmation dialogue box will appear. Click to disable the cache.
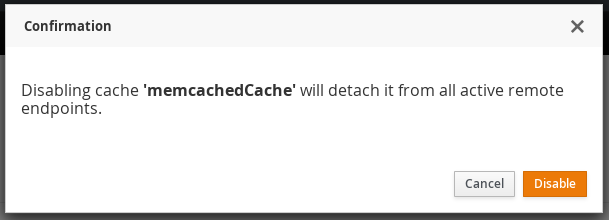
Figure 24.26. Cache Disable Confirmation
- A subsequent dialogue box appears. Click .
Figure 24.27. Confirmation Box
- The selected cache is disabled successfully with a visual indicator Disabled next to the cache name label.

Figure 24.28. Disabled Cache
The cache is disabled successfully.
Procedure 24.6. Enabling a Cache
- To enable a cache, click on the specific disabled cache from the Cache view.
Figure 24.29. Caches View
- On the right hand side of the interface, click on the tab.

Figure 24.30.
- From the Actions tab, click
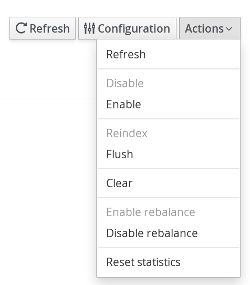
Figure 24.31. Actions Menu
- A confirmation dialogue box appears. Click .
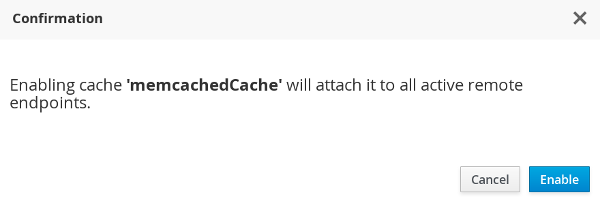
Figure 24.32. Confirmation Box
- A subsequent dialogue box appears. Click
Figure 24.33. Information Box
- The selected cache is enabled successfully with a visual indicator Enabled next to the cache name label.

Figure 24.34. Cache Enabled
24.5.5. Cache Flush and Clear
Flushing a Cache
Procedure 24.7. Flushing a Cache
- In the Cache Containers view, click on the name of the cache container.
- The Caches view is displayed. Click on the cache to be cleared.

Figure 24.35. Caches View
- The cache statistics page is displayed. At the right hand side, click .
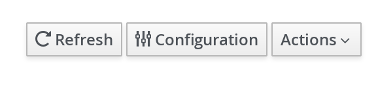
Figure 24.36. Actions Button
- From the menu, click .
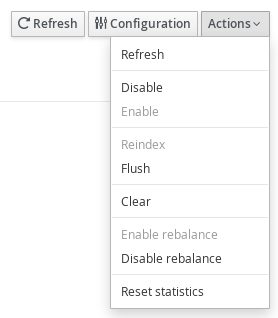
Figure 24.37. Actions Menu
- A confirmation dialogue box appears. Click .
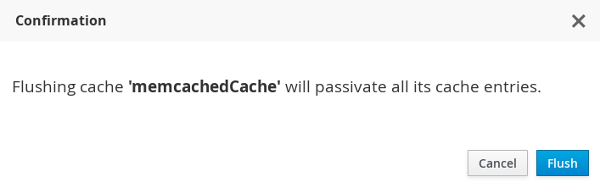
Figure 24.38. Cache Flush Confirmation Box
- The cache is successfully flushed. Click .
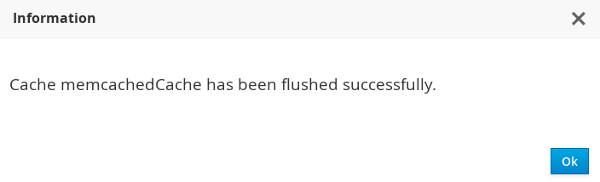
Figure 24.39. Cache Flush Information Box
Clearing a Cache
Procedure 24.8. Clearing a Cache
- In the Cache Containers view, click on the name of the cache container.
- The Caches view is displayed. Click on the cache to be cleared.
Figure 24.40. Caches View
- On the cache statistics page, at the right hand side, click .
Figure 24.41.
- From the menu, click .
Figure 24.42. Clear Button
- A confirmation dialogue box appears. Click .
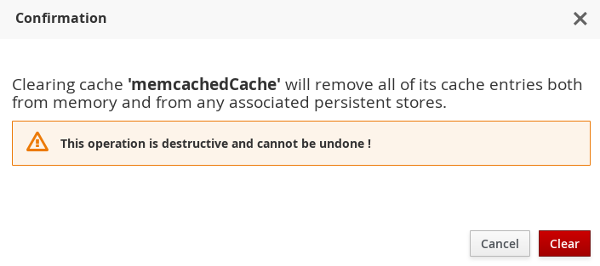
Figure 24.43. Confirmation Box
- The cache is successfully flushed. Click .
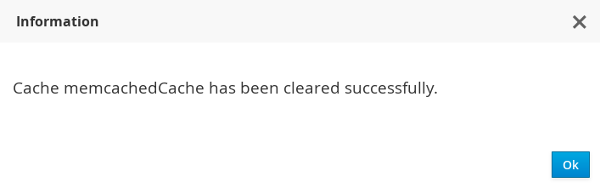
Figure 24.44. Information Box
24.5.6. Server Tasks Execution
24.5.7. Server Tasks
24.5.7.1. New Server Task
Procedure 24.9. Launching a New Server Task
- In the Cache Containers view of the JBoss Data Grid Administration Console, click on the name of the Cache container.
- On the cache view page, click the tab.
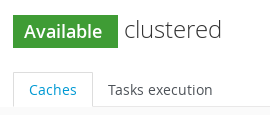
Figure 24.45. Task Execution
- In the Tasks execution tab, click .
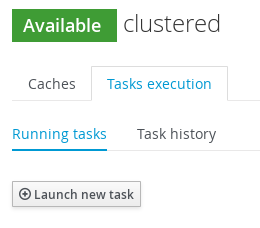
Figure 24.46. Launch New Task
- Enter the new task properties and click .
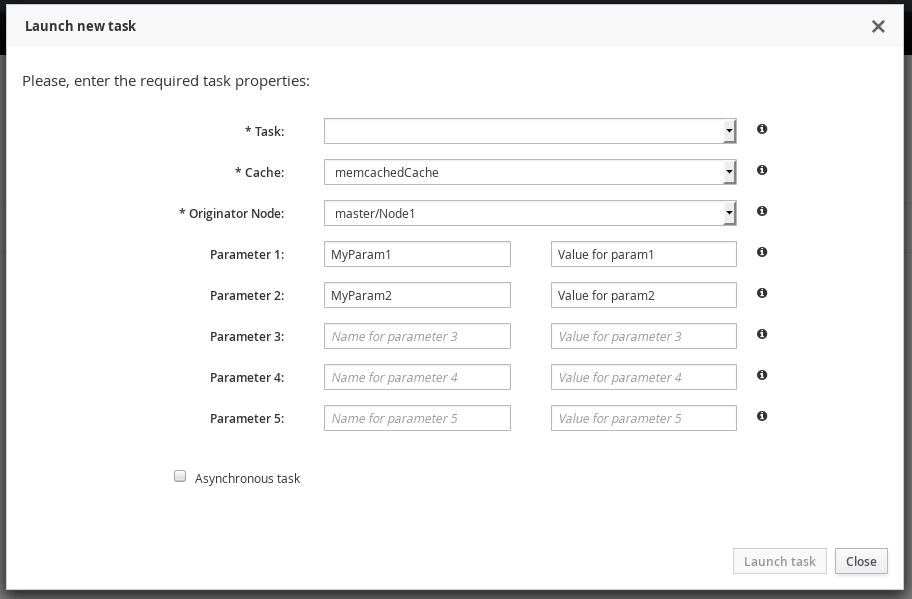
Figure 24.47. Task Properties
New server task is successfully created.
24.5.7.2. Server Tasks View

Figure 24.48. Server Tasks View
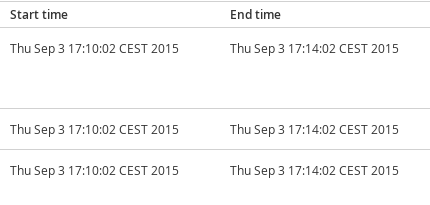
Figure 24.49. Task Start/End Time