
Red Hat Training
A Red Hat training course is available for Red Hat Enterprise Linux
18.9. Creating a Virtual Network
To create a virtual network on your system:
- Open the Virtual Networks tab from within the Connection Details menu. Click the button, identified by a plus sign (+) icon. For more information, refer to Section 18.8, “Managing a Virtual Network”.
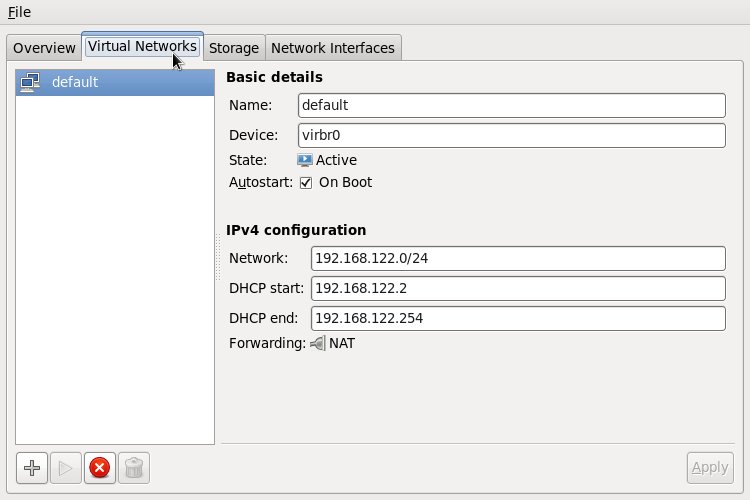
Figure 18.12. Virtual network configuration
This will open the window. Click to continue.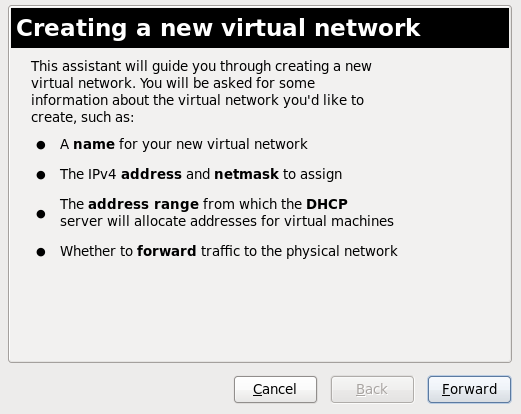
Figure 18.13. Creating a new virtual network
- Enter an appropriate name for your virtual network and click .

Figure 18.14. Naming your virtual network
- Enter an IPv4 address space for your virtual network and click .

Figure 18.15. Choosing an IPv4 address space
- Define the DHCP range for your virtual network by specifying a Start and End range of IP addresses. Click to continue.

Figure 18.16. Selecting the DHCP range
- Select how the virtual network should connect to the physical network.

Figure 18.17. Connecting to physical network
If you select Forwarding to physical network, choose whether the Destination should be Any physical device or a specific physical device. Also select whether the Mode should be NAT or Routed.Click to continue. - You are now ready to create the network. Check the configuration of your network and click .
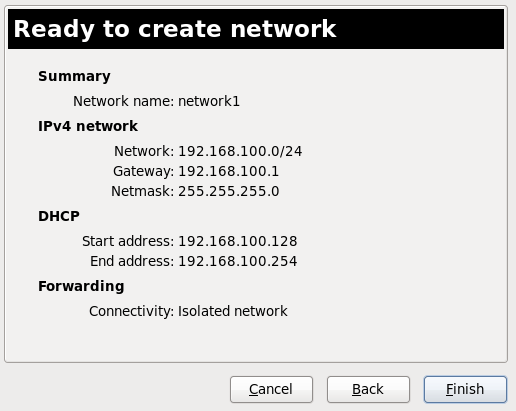
Figure 18.18. Ready to create network
- The new virtual network is now available in the Virtual Networks tab of the Connection Details window.