Chapter 4. Deploying Quay using the Quay Operator
The Operator can be deployed from the command line or from the OpenShift console, but the fundamental steps are the same.
4.1. Deploying Red Hat Quay from the command line
-
Create a namespace, for example,
quay-enterprise. - Create a secret for the config bundle, if you want to pre-configure any aspects of the deployment
Create a
QuayRegistrycustom resource in a file calledquayregistry.yamlFor a minimal deployment, using all the defaults:
quayregistry.yaml:
apiVersion: quay.redhat.com/v1
kind: QuayRegistry
metadata:
  name: example-registry
  namespace: quay-enterprise
If you want to have some components unmanaged, add this information in the
specfield. For example, a minimal deployment might look like:quayregistry.yaml:
apiVersion: quay.redhat.com/v1
kind: QuayRegistry
metadata:
  name: example-registry
  namespace: quay-enterprise
spec:
  components:
    - kind: clair
      managed: false
    - kind: horizontalpodautoscaler
      managed: false
    - kind: mirror
      managed: false
    - kind: monitoring
      managed: false
If you have created a config bundle, for example,
init-config-bundle-secret, reference it in thequayregistry.yamlfile:quayregistry.yaml:
apiVersion: quay.redhat.com/v1
kind: QuayRegistry
metadata:
  name: example-registry
  namespace: quay-enterprise
spec:
  configBundleSecret: init-config-bundle-secret
If you have a proxy configured, you can add the information using overrides for Quay, Clair, and mirroring:
quayregistry.yaml:
  kind: QuayRegistry
  metadata:
    name: quay37
  spec:
    configBundleSecret: config-bundle-secret
    components:
      - kind: objectstorage
        managed: false
      - kind: route
        managed: true
      - kind: mirror
        managed: true
        overrides:
          env:
            - name: DEBUGLOG
              value: "true"
            - name: HTTP_PROXY
              value: quayproxy.qe.devcluster.openshift.com:3128
            - name: HTTPS_PROXY
              value: quayproxy.qe.devcluster.openshift.com:3128
            - name: NO_PROXY
              value: svc.cluster.local,localhost,quay370.apps.quayperf370.perfscale.devcluster.openshift.com
      - kind: tls
        managed: false
      - kind: clair
        managed: true
        overrides:
          env:
            - name: HTTP_PROXY
              value: quayproxy.qe.devcluster.openshift.com:3128
            - name: HTTPS_PROXY
              value: quayproxy.qe.devcluster.openshift.com:3128
            - name: NO_PROXY
              value: svc.cluster.local,localhost,quay370.apps.quayperf370.perfscale.devcluster.openshift.com
      - kind: quay
        managed: true
        overrides:
          env:
            - name: DEBUGLOG
              value: "true"
            - name: NO_PROXY
              value: svc.cluster.local,localhost,quay370.apps.quayperf370.perfscale.devcluster.openshift.com
            - name: HTTP_PROXY
              value: quayproxy.qe.devcluster.openshift.com:3128
            - name: HTTPS_PROXY
              value: quayproxy.qe.devcluster.openshift.com:3128
Create the
QuayRegistryin specified namespace:$ oc create -n quay-enterprise -f quayregistry.yaml
- See the section Monitoring and debugging the deployment process for information on how to track the progress of the deployment.
Wait until the
status.registryEndpointis populated.$ oc get quayregistry -n quay-enterprise example-registry -o jsonpath="{.status.registryEndpoint}" -w
4.1.1. Viewing created components using the command line
Use the oc get pods command to view the deployed components:
$ oc get pods -n quay-enterprise

NAME                                                   READY   STATUS      RESTARTS   AGE
example-registry-clair-app-5ffc9f77d6-jwr9s            1/1     Running     0          3m42s
example-registry-clair-app-5ffc9f77d6-wgp7d            1/1     Running     0          3m41s
example-registry-clair-postgres-54956d6d9c-rgs8l       1/1     Running     0          3m5s
example-registry-quay-app-79c6b86c7b-8qnr2             1/1     Running     4          3m42s
example-registry-quay-app-79c6b86c7b-xk85f             1/1     Running     4          3m41s
example-registry-quay-app-upgrade-5kl5r                0/1     Completed   4          3m50s
example-registry-quay-config-editor-597b47c995-svqrl   1/1     Running     0          3m42s
example-registry-quay-database-b466fc4d7-tfrnx         1/1     Running     2          3m42s
example-registry-quay-mirror-6d9bd78756-6lj6p          1/1     Running     0          2m58s
example-registry-quay-mirror-6d9bd78756-bv6gq          1/1     Running     0          2m58s
example-registry-quay-postgres-init-dzbmx              0/1     Completed   0          3m43s
example-registry-quay-redis-8bd67b647-skgqx            1/1     Running     0          3m42s
4.1.2. Horizontal Pod Autoscaling (HPA)
A default deployment shows the following running pods:
-
Two pods for the Quay application itself (
example-registry-quay-app-*`) -
One Redis pod for Quay logging (
example-registry-quay-redis-*) -
One database pod for PostgreSQL used by Quay for metadata storage (
example-registry-quay-database-*) -
One pod for the Quay config editor (
example-registry-quay-config-editor-*) -
Two Quay mirroring pods (
example-registry-quay-mirror-*) -
Two pods for the Clair application (
example-registry-clair-app-*) -
One PostgreSQL pod for Clair (
example-registry-clair-postgres-*)
As HPA is configured by default to be managed, the number of pods for Quay, Clair and repository mirroring is set to two. This facilitates the avoidance of downtime when updating / reconfiguring Quay via the Operator or during rescheduling events.
$ oc get hpa -n quay-enterprise
NAME                           REFERENCE                                 TARGETS           MINPODS   MAXPODS   REPLICAS   AGE
example-registry-clair-app     Deployment/example-registry-clair-app     16%/90%, 0%/90%   2         10        2          13d
example-registry-quay-app      Deployment/example-registry-quay-app      31%/90%, 1%/90%   2         20        2          13d
example-registry-quay-mirror   Deployment/example-registry-quay-mirror   27%/90%, 0%/90%   2         20        2          13d
4.1.3. Using the API to deploy Red Hat Quay
This section introduces using the API to deploy Red Hat Quay.
Prerequisites
-
The config option
FEATURE_USER_INITIALIZEmust be set totrue. - No users can already exist in the database.
For more information on pre-configuring your Red Hat Quay deployment, see the section Pre-configuring Red Hat Quay for automation
4.1.3.1. Using the API to create the first user
Use the following procedure to create the first user in your Red Hat Quay organization.
This procedure requests an OAuth token by specifying "access_token": true.
Using the
status.registryEndpointURL, invoke the/api/v1/user/initializeAPI, passing in the username, password and email address by entering the following command:$ curl -X POST -k https://example-registry-quay-quay-enterprise.apps.docs.quayteam.org/api/v1/user/initialize --header 'Content-Type: application/json' --data '{ "username": "quayadmin", "password":"quaypass123", "email": "quayadmin@example.com", "access_token": true}'If successful, the command returns an object with the username, email, and encrypted password. For example:
{"access_token":"6B4QTRSTSD1HMIG915VPX7BMEZBVB9GPNY2FC2ED", "email":"quayadmin@example.com","encrypted_password":"1nZMLH57RIE5UGdL/yYpDOHLqiNCgimb6W9kfF8MjZ1xrfDpRyRs9NUnUuNuAitW","username":"quayadmin"}If a user already exists in the database, an error is returned:
{"message":"Cannot initialize user in a non-empty database"}If your password is not at least eight characters or contains whitespace, an error is returned:
{"message":"Failed to initialize user: Invalid password, password must be at least 8 characters and contain no whitespace."}
4.1.4. Monitoring and debugging the deployment process
Users can now troubleshoot problems during the deployment phase. The status in the QuayRegistry object can help you monitor the health of the components during the deployment an help you debug any problems that may arise:
$ oc get quayregistry -n quay-enterprise -o yaml
Immediately after deployment, the QuayRegistry object will show the basic configuration:
apiVersion: v1
items:
- apiVersion: quay.redhat.com/v1
  kind: QuayRegistry
  metadata:
    creationTimestamp: "2021-09-14T10:51:22Z"
    generation: 3
    name: example-registry
    namespace: quay-enterprise
    resourceVersion: "50147"
    selfLink: /apis/quay.redhat.com/v1/namespaces/quay-enterprise/quayregistries/example-registry
    uid: e3fc82ba-e716-4646-bb0f-63c26d05e00e
  spec:
    components:
    - kind: postgres
      managed: true
    - kind: clair
      managed: true
    - kind: redis
      managed: true
    - kind: horizontalpodautoscaler
      managed: true
    - kind: objectstorage
      managed: true
    - kind: route
      managed: true
    - kind: mirror
      managed: true
    - kind: monitoring
      managed: true
    - kind: tls
      managed: true
    configBundleSecret: example-registry-config-bundle-kt55s
kind: List
metadata:
  resourceVersion: ""
  selfLink: ""
Use the oc get pods command to view the current state of the deployed components:
$ oc get pods -n quay-enterprise

NAME                                                   READY   STATUS              RESTARTS   AGE
example-registry-clair-app-86554c6b49-ds7bl            0/1     ContainerCreating   0          2s
example-registry-clair-app-86554c6b49-hxp5s            0/1     Running             1          17s
example-registry-clair-postgres-68d8857899-lbc5n       0/1     ContainerCreating   0          17s
example-registry-quay-app-upgrade-h2v7h                0/1     ContainerCreating   0          9s
example-registry-quay-config-editor-5f646cbcb7-lbnc2   0/1     ContainerCreating   0          17s
example-registry-quay-database-66f495c9bc-wqsjf        0/1     ContainerCreating   0          17s
example-registry-quay-mirror-854c88457b-d845g          0/1     Init:0/1            0          2s
example-registry-quay-mirror-854c88457b-fghxv          0/1     Init:0/1            0          17s
example-registry-quay-postgres-init-bktdt              0/1     Terminating         0          17s
example-registry-quay-redis-f9b9d44bf-4htpz            0/1     ContainerCreating   0          17s
While the deployment is in progress, the QuayRegistry object will show the current status. In this instance, database migrations are taking place, and other components are waiting until this completes.
  status:
    conditions:
    - lastTransitionTime: "2021-09-14T10:52:04Z"
      lastUpdateTime: "2021-09-14T10:52:04Z"
      message: all objects created/updated successfully
      reason: ComponentsCreationSuccess
      status: "False"
      type: RolloutBlocked
    - lastTransitionTime: "2021-09-14T10:52:05Z"
      lastUpdateTime: "2021-09-14T10:52:05Z"
      message: running database migrations
      reason: MigrationsInProgress
      status: "False"
      type: Available
    configEditorCredentialsSecret: example-registry-quay-config-editor-credentials-btbkcg8dc9
    configEditorEndpoint: https://example-registry-quay-config-editor-quay-enterprise.apps.docs.quayteam.org
    lastUpdated: 2021-09-14 10:52:05.371425635 +0000 UTC
    unhealthyComponents:
      clair:
      - lastTransitionTime: "2021-09-14T10:51:32Z"
        lastUpdateTime: "2021-09-14T10:51:32Z"
        message: 'Deployment example-registry-clair-postgres: Deployment does not have minimum availability.'
        reason: MinimumReplicasUnavailable
        status: "False"
        type: Available
      - lastTransitionTime: "2021-09-14T10:51:32Z"
        lastUpdateTime: "2021-09-14T10:51:32Z"
        message: 'Deployment example-registry-clair-app: Deployment does not have minimum availability.'
        reason: MinimumReplicasUnavailable
        status: "False"
        type: Available
      mirror:
      - lastTransitionTime: "2021-09-14T10:51:32Z"
        lastUpdateTime: "2021-09-14T10:51:32Z"
        message: 'Deployment example-registry-quay-mirror: Deployment does not have minimum availability.'
        reason: MinimumReplicasUnavailable
        status: "False"
        type: Available
When the deployment process finishes successfully, the status in the QuayRegistry object shows no unhealthy components:
  status:
    conditions:
    - lastTransitionTime: "2021-09-14T10:52:36Z"
      lastUpdateTime: "2021-09-14T10:52:36Z"
      message: all registry component healthchecks passing
      reason: HealthChecksPassing
      status: "True"
      type: Available
    - lastTransitionTime: "2021-09-14T10:52:46Z"
      lastUpdateTime: "2021-09-14T10:52:46Z"
      message: all objects created/updated successfully
      reason: ComponentsCreationSuccess
      status: "False"
      type: RolloutBlocked
    configEditorCredentialsSecret: example-registry-quay-config-editor-credentials-hg7gg7h57m
    configEditorEndpoint: https://example-registry-quay-config-editor-quay-enterprise.apps.docs.quayteam.org
    currentVersion: {producty}
    lastUpdated: 2021-09-14 10:52:46.104181633 +0000 UTC
    registryEndpoint: https://example-registry-quay-quay-enterprise.apps.docs.quayteam.org
    unhealthyComponents: {}
4.2. Deploying Red Hat Quay from the OpenShift console
-
Create a namespace, for example,
quay-enterprise. - Select Operators → Installed Operators, then select the Quay Operator to navigate to the Operator detail view.
- Click 'Create Instance' on the 'Quay Registry' tile under 'Provided APIs'.
-
Optionally change the 'Name' of the
QuayRegistry. This will affect the hostname of the registry. All other fields have been populated with defaults. -
Click 'Create' to submit the
QuayRegistryto be deployed by the Quay Operator. -
You should be redirected to the
QuayRegistrylist view. Click on theQuayRegistryyou just created to see the details view. - Once the 'Registry Endpoint' has a value, click it to access your new Quay registry via the UI. You can now select 'Create Account' to create a user and sign in.
4.2.1. Using the Quay UI to create the first user
This procedure assumes that the FEATURE_USER_CREATION config option has not been set to false. If it is false, then the Create Account functionality on the UI will be disabled, and you will have to use the API to create the first user.
- In the OpenShift console, navigate to Operators → Installed Operators, with the appropriate namespace / project.
Click on the newly installed QuayRegistry, to view the details:

-
Once the
Registry Endpointhas a value, navigate to this URL in your browser Select 'Create Account' in the Quay registry UI to create a user
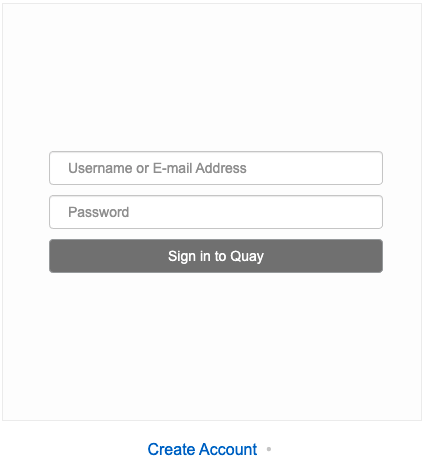
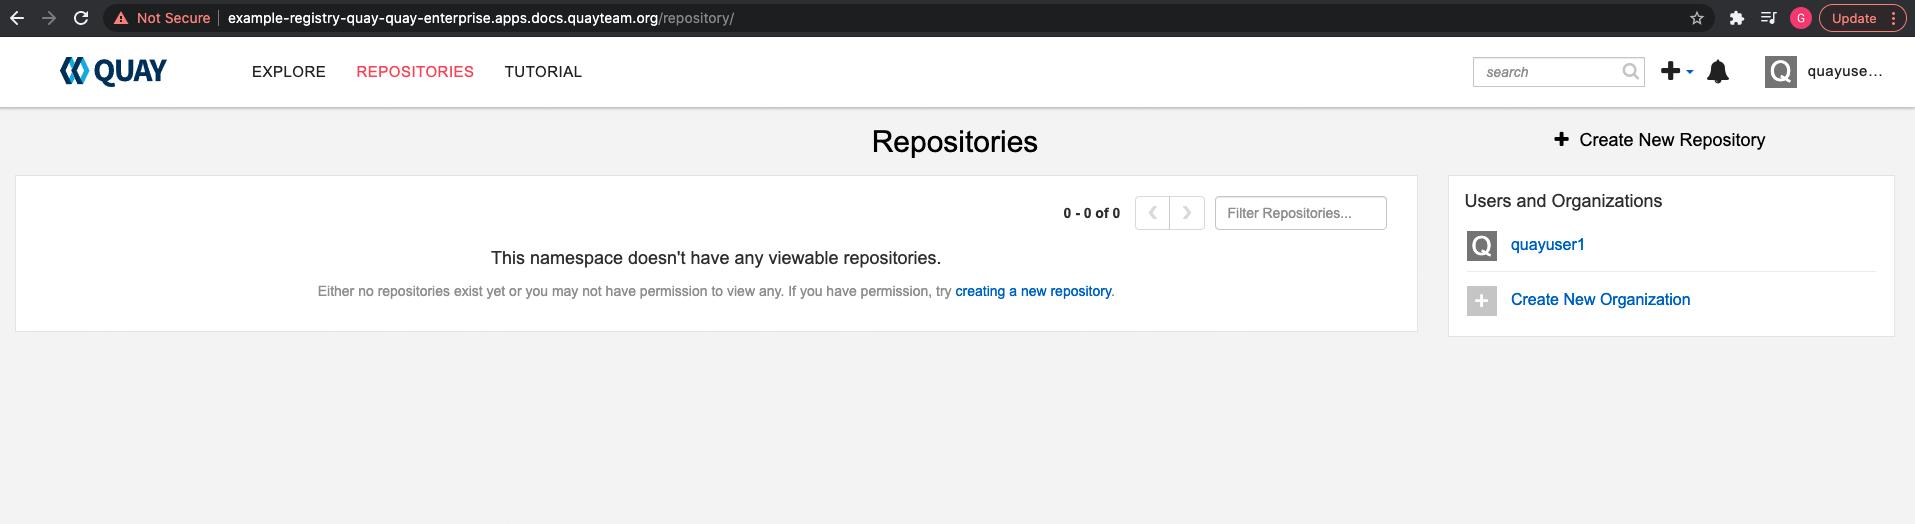
Enter details for username, password, email and click
Create Account
You are automatically logged in to the Quay registry