
Chapter 13. Applications
Create and configure token-based authentication for external applications such as ServiceNow and Jenkins. With token-based authentication, external applications can easily integrate with automation controller.
With OAuth 2 you can use tokens to share data with an application without disclosing login information. You can configure these tokens as read-only.
You can create an application that is representative of the external application you are integrating with, then use it to create tokens for the application to use on behalf of its users.
Associating these tokens with an application resource enables you to manage all tokens issued for a particular application. By separating the issue of tokens under Applications, you can revoke all tokens based on the Application without having to revoke all tokens in the system.
13.1. Getting Started with Applications
From the navigation panel, select → . The Applications page displays a searchable list of all available Applications currently managed by automation controller and can be sorted by Name.
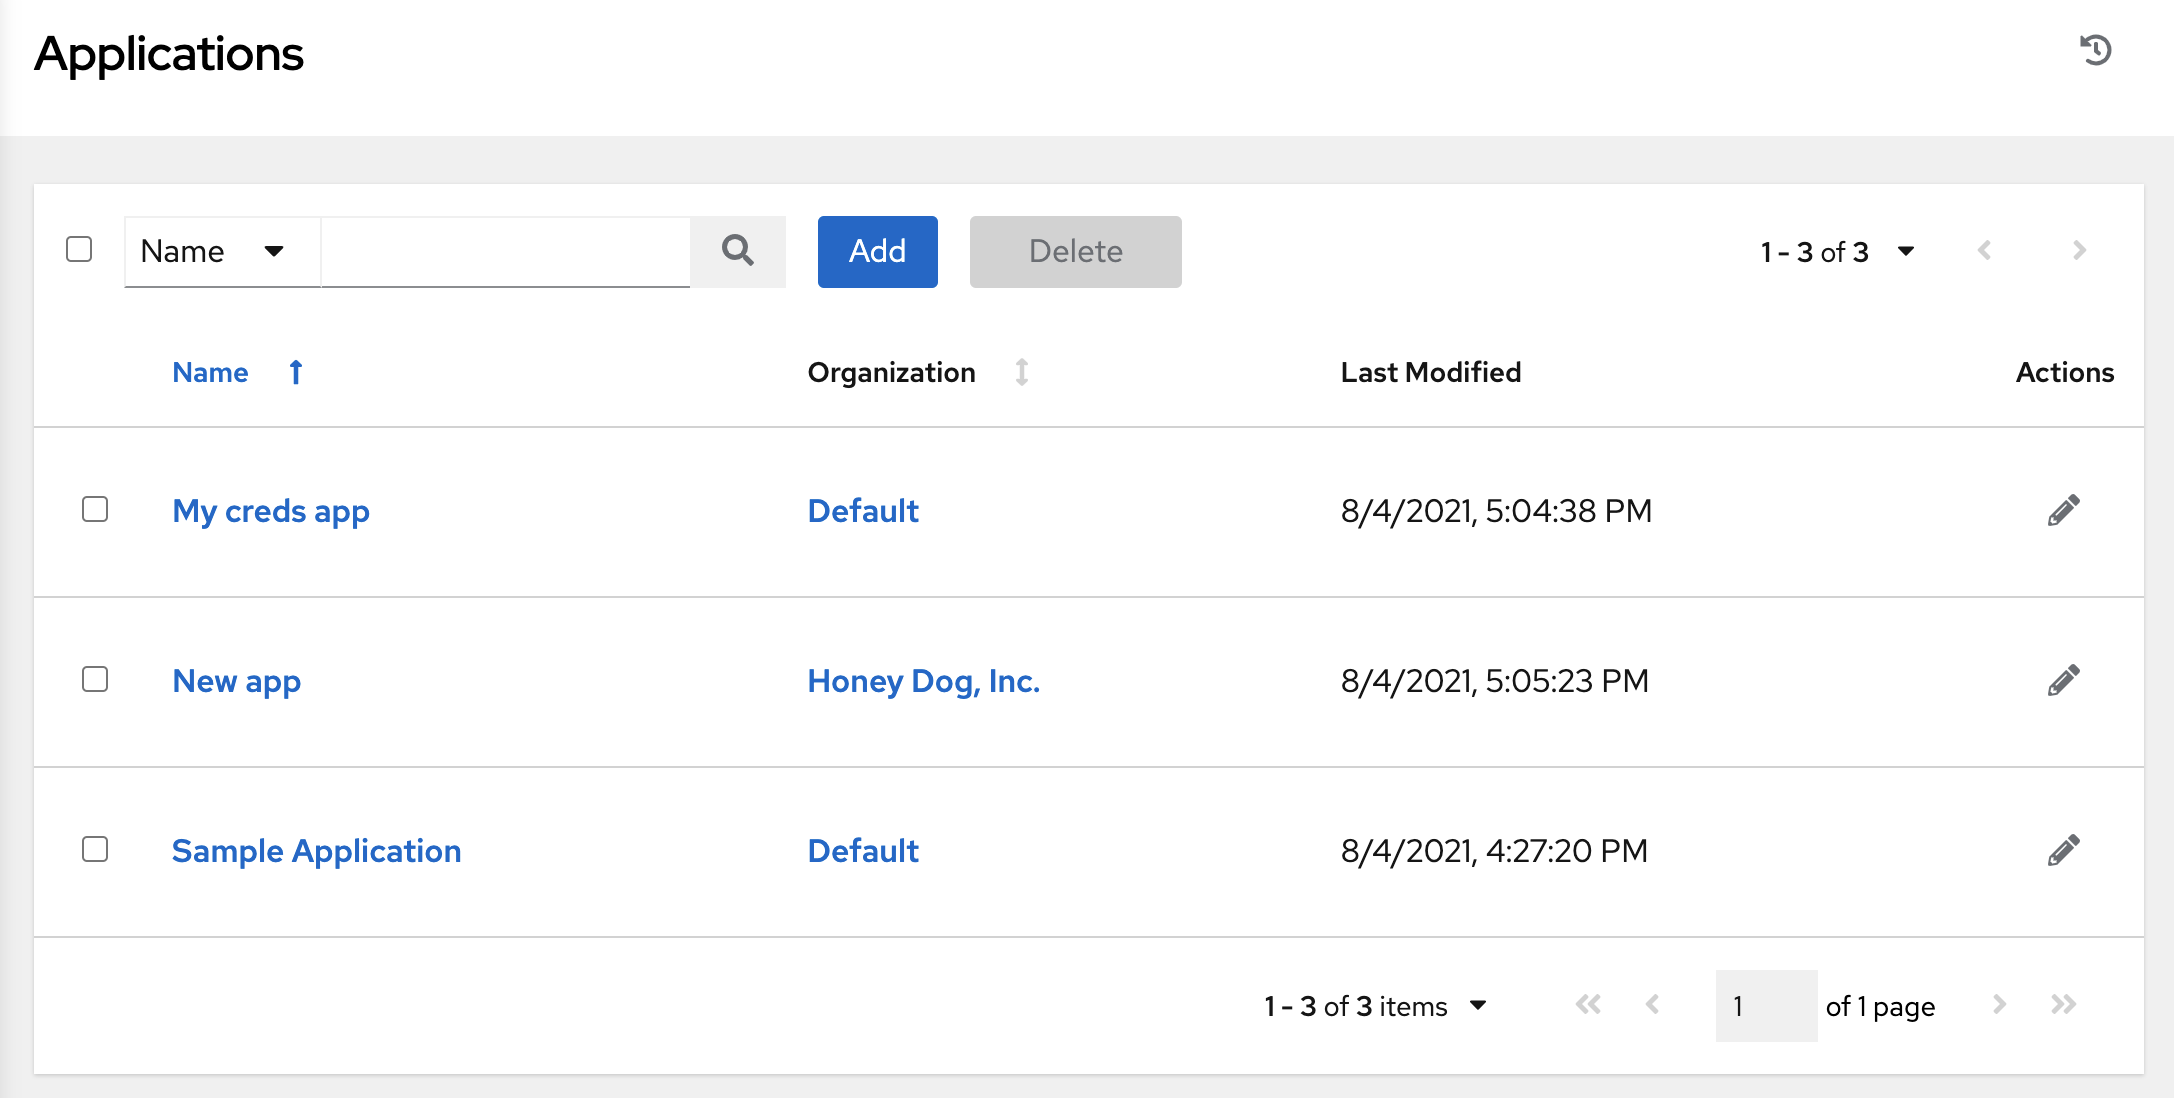
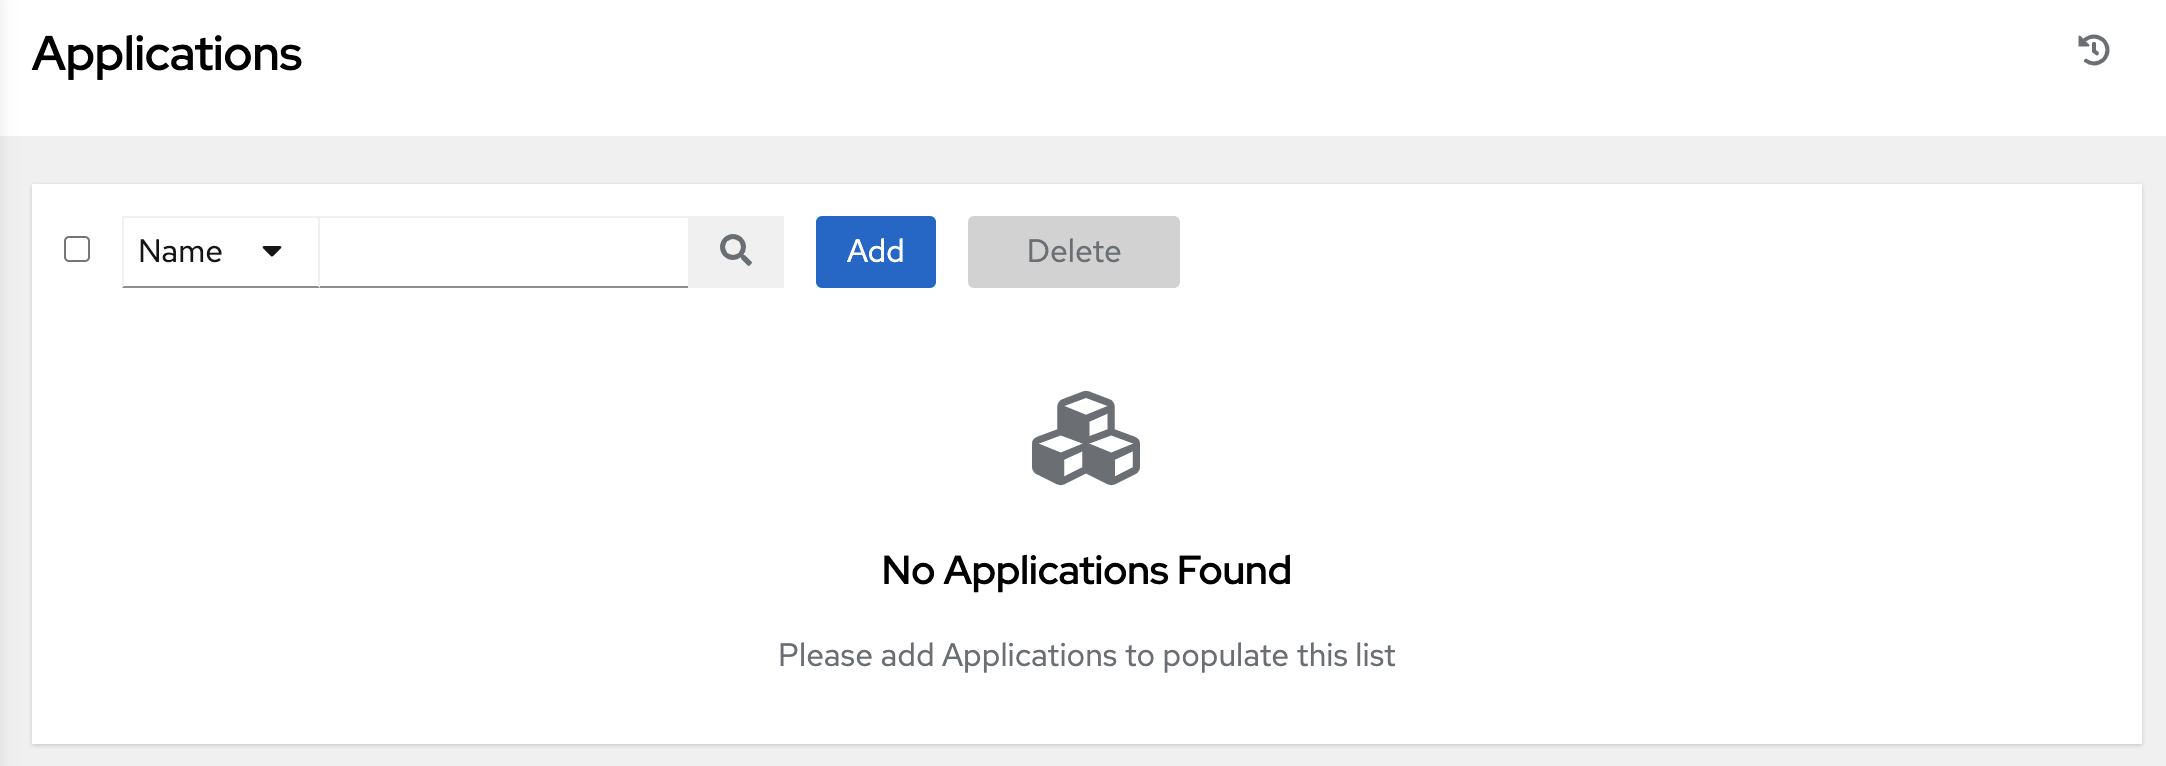
If no applications exist, you are requested to add applications.
13.2. Creating a new application
When integrating an external web application with automation controller the web application might need to create OAuth2 Tokens on behalf of users of the web application. Creating an application with the Authorization Code grant type is the preferred way to do this for the following reasons:
- External applications can obtain a token for users, using their credentials.
- Compartmentalized tokens issued for a particular application, enables those tokens to be easily managed. For example, revoking all tokens associated with that application.
Procedure
- From the navigation panel, select → .
Click . The Create New Application page opens.

Enter the following details:
- Name (required): give a name for the application you want to create
- Optional: Description: give a short description for your application
- Organization (required): give an organization with which this application is associated
- Authorization Grant Type (required): select one of the grant types to use for the user to get tokens for this application. For more information, see Application Functions in the Applications section of the Automation controller Administration Guide.
- Redirect URIS: give a list of allowed URIs, separated by spaces. You need this if you specified the grant type to be Authorization code.
- Client Type (required): select the level of security of the client device.
Click , or click to abandon your changes.
The client ID displays in a window.
13.2.1. Adding tokens
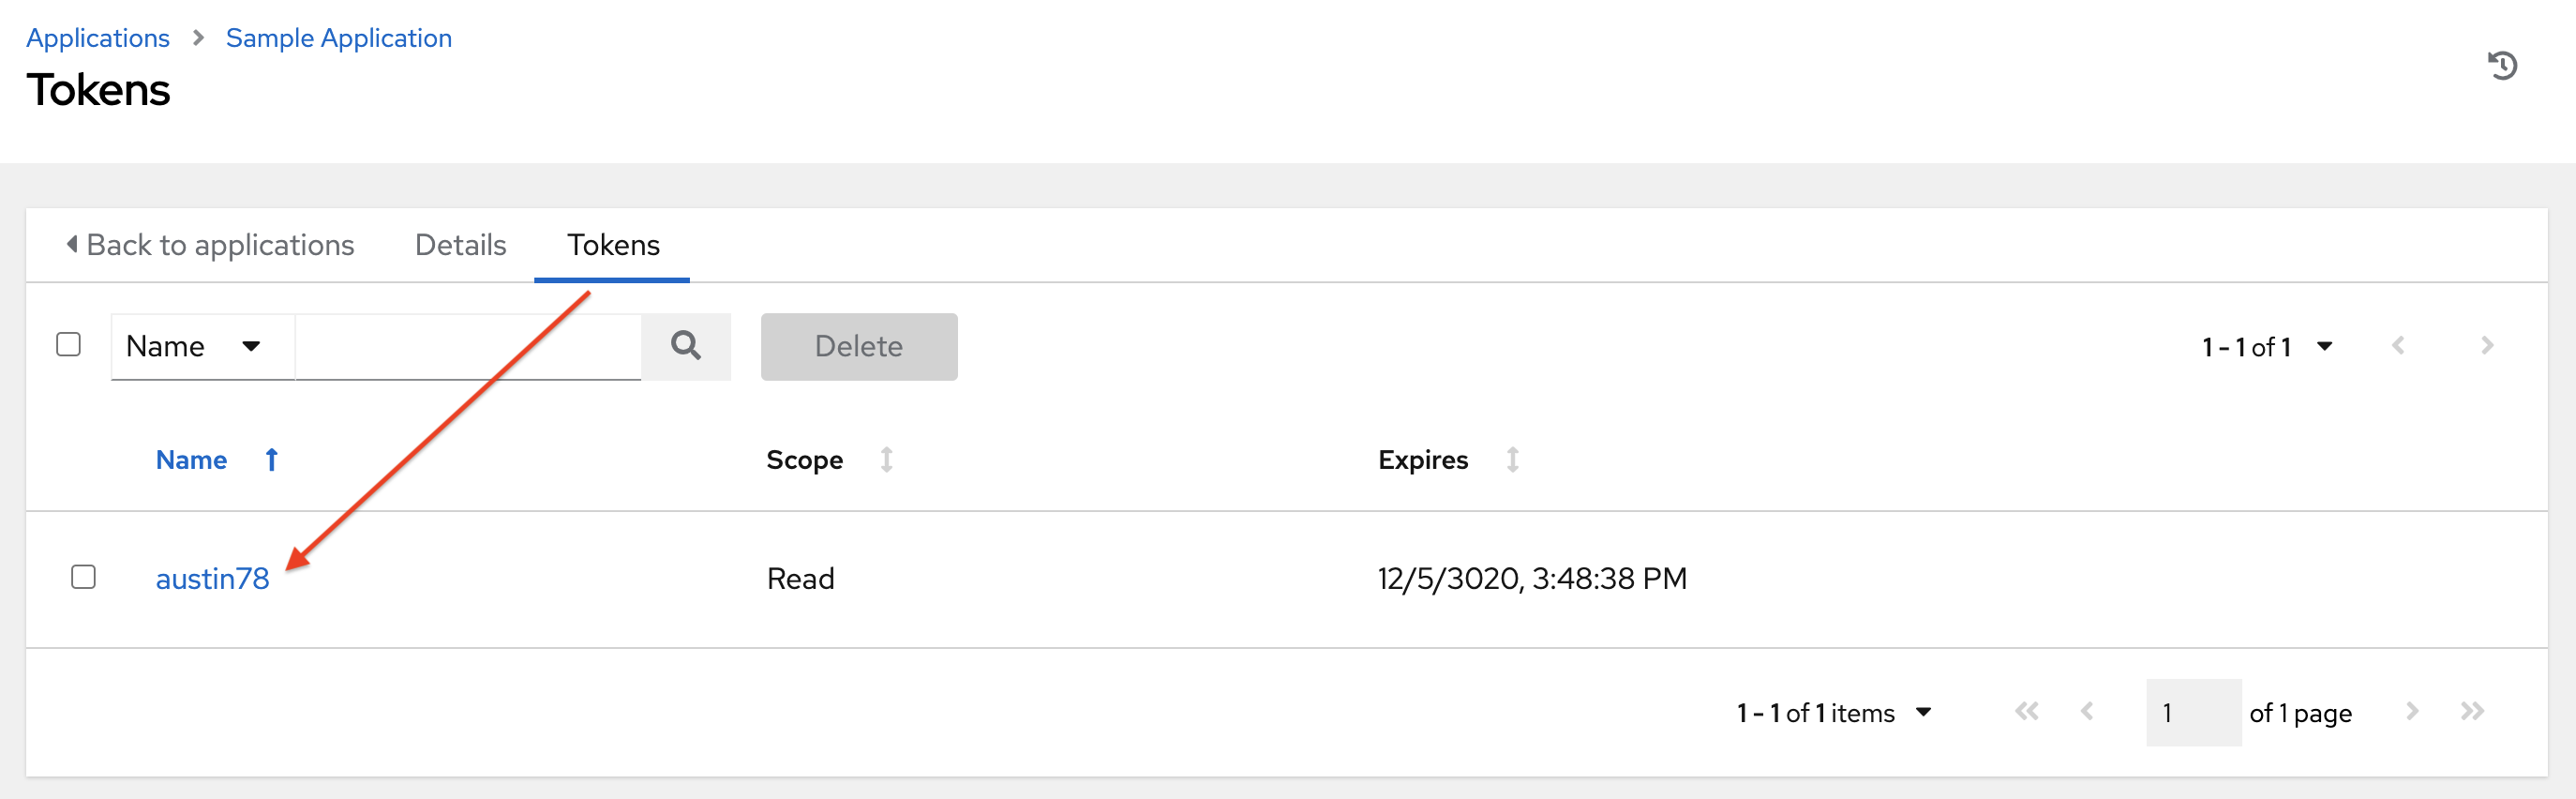
You can view a list of users that have tokens to access an application by selecting the Tokens tab Application details page.
Configure authentication tokens for your users. You can select the application to which the token is associated and the level of access that the token has.
You can only create OAuth 2 Tokens for your user through the API or UI, which means you can only access your own user profile to configure or view your tokens.
Procedure
- From the navigation panel, select → .
- Select the user for which you want to configure the OAuth 2 tokens.
Select the Tokens tab on the user’s profile.
When no tokens are present, the Tokens screen prompts you to add them.
- Click to open the Create Token window.
Enter the following details:
-
Application: enter the name of the application with which you want to associate your token. Alternatively, you can search for it by clicking the
 icon. This opens a separate window that enables you to choose from the available options. Use the Search bar to filter by name if the list is extensive. Leave this field blank if you want to create a Personal Access Token (PAT) that is not linked to any application.
- Optional: Description: provide a short description for your token.
- Scope (required): specify the level of access you want this token to have.
-
Application: enter the name of the application with which you want to associate your token. Alternatively, you can search for it by clicking the
Click , or click to abandon your changes.
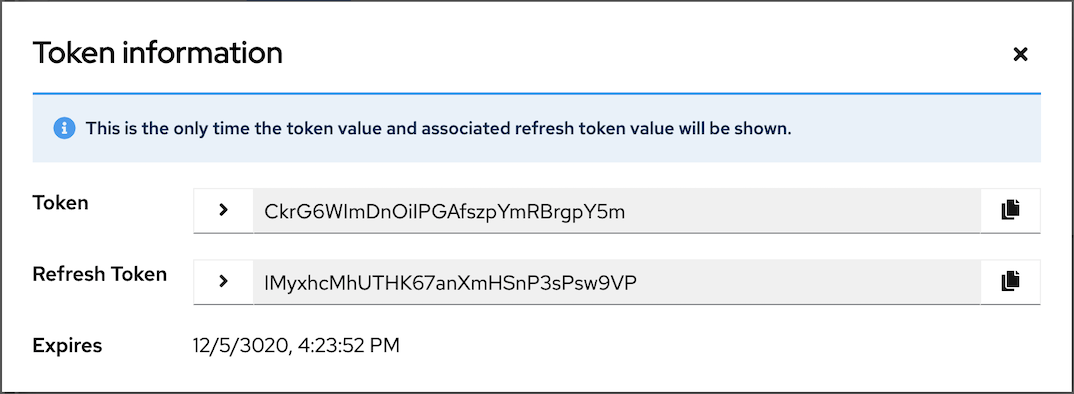
After you save the token, the newly created token for the user is displayed with the token information and when it expires.
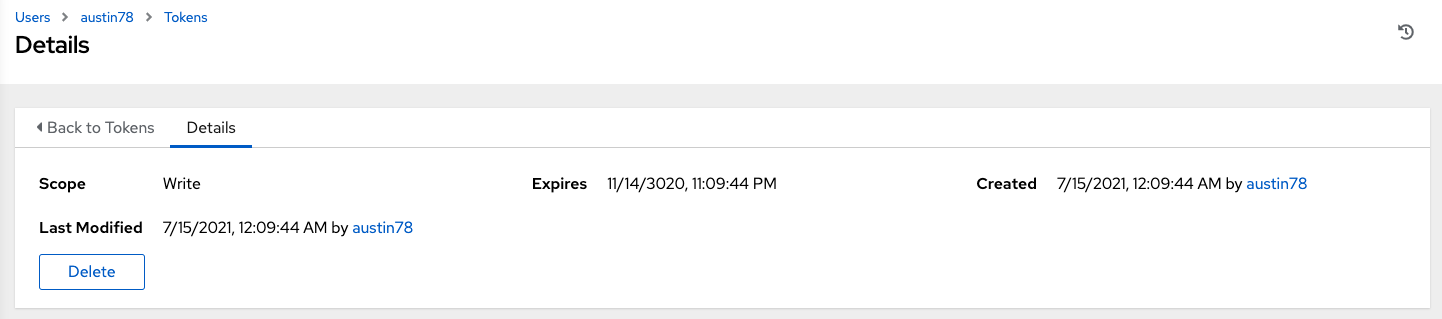
To view the application to which the token is associated and the token expiration date, go to the token list view.
Verification
To verify that the application now shows the user with the appropriate token, open the Tokens tab of the Applications window:
Additional resources
If you are a system administrator and have to create or remove tokens for other users, see the revoke and create commands in the Token and session management section of the Automation controller Administration Guide.