
Red Hat Training
A Red Hat training course is available for Red Hat Enterprise Linux
5.3. Converting physical machines to virtual machines
By now you have prepared a conversion server and your chosen bootable media. Next you will boot the P2V client, connect to your conversion server, and convert your physical machine. The conversion process can take a long time, especially when large physical disks are being converted.
Procedure 5.1. Converting a physical machine to a virtual machine
Boot the P2V client boot media on the conversion server.
Boot the P2V client boot media on the conversion server that you created in preparation for your conversion. Because the P2V client is built on a Red Hat Enterprise Linux 6 live image, the Red Hat Enterprise Linux 6 splash image is displayed while the tool is booting.Configure networking if necessary.
Generally, the P2V client configures networking automatically using DHCP. If it is unable to configure networking automatically, you will need to configure it manually. IP Address, Gateway, and Prefix are required fields. Enter values that are appropriate for your network, and click Use these network settings.Note, the P2V client does not support NIC teaming configurations for converting physical machines to virtual machines.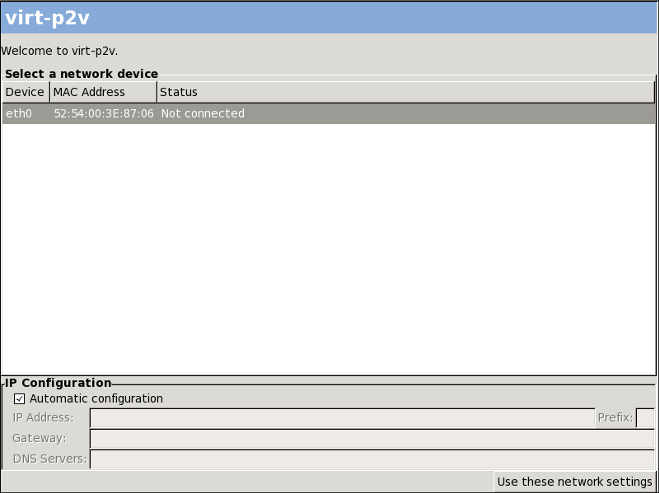
Figure 5.1. Network configuration on the P2V client
Note
To prevent automatic network configuration and configure your network manually, disconnect the physical machine from the network before booting.Connect to the conversion server.
When networking is configured, you are prompted for connection details for the conversion server. These include Hostname (either host name or IP address), Username (this must be root), and Password. Enter these details and click Connect.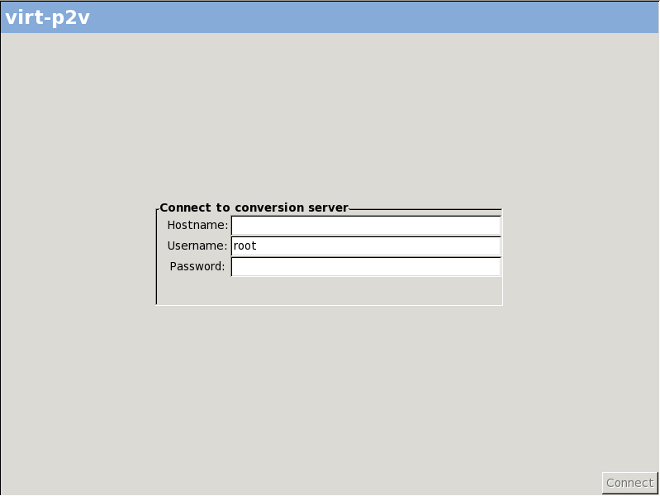
Figure 5.2. Connecting to the conversion server
Configure the target virtual machine and select hardware to convert.
After connecting to your conversion server, configure the virtual hardware that will be attached to the converted physical machine, and select the physical hardware to be converted.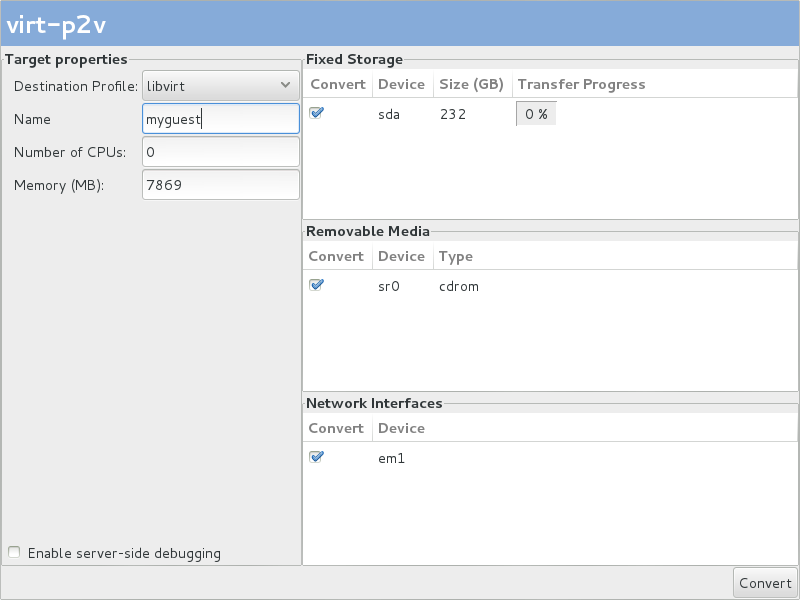
Figure 5.3. Configuring the virtual machine
- Configure the following under Target Properties:
- Select a Destination Profile from the drop down menu. These reflect the target profiles included in the
/etc/virt-v2v.conffile on the conversion server. - Enter a Name in Target Properties for the virtual machine that will result from the conversion.
- The Number of CPUs and Memory(MB) in Target Properties are automatically detected and completed. Change these values if more CPUs or memory, or both, are desired on the outputted virtual machine.
- Under Fixed Storage, select one or more devices to convert. At least one Fixed Storage device must be converted, including the device containing the operating system installation.
- Under Removable Media, select one or more devices to convert.
- Under Network Interfaces, select one or more network interfaces to convert.
- Optional: If you wish to print debugging messages to a file, select the Enable server-side debugging check box. This instructs the server to write
LIBGUESTFS_TRACEandLIBGUESTFS_DEBUGoutput during the conversion process.Note, the Enable server-side debugging check box is available only in Red Hat Enterprise Linux 6.5 and above. See Refer to Section 6.2, “Debugging P2V conversions” for more information on debugging P2V conversions. - Click Convert.
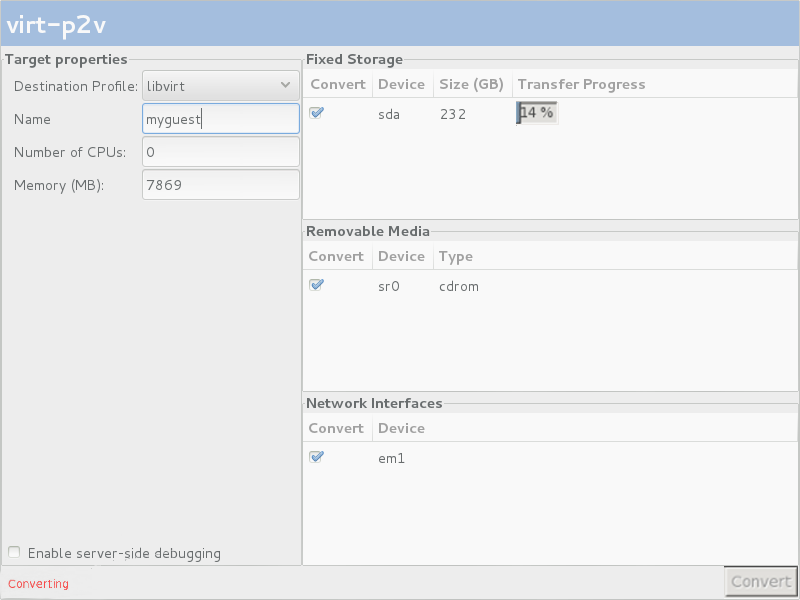
Figure 5.4. Conversion in process
When the conversion is complete, a success message is displayed. You can shut down the physical machine.
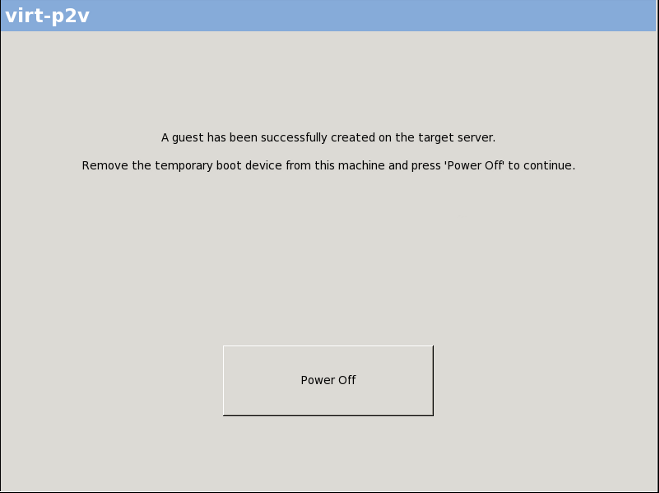
Figure 5.5. Conversion successfully completed
You have converted your physical machine into a virtual machine. You can now import and run it on a hypervisor.