Red Hat Training

A Red Hat training course is available for RHEL 8

5.3. 访问 Web UI

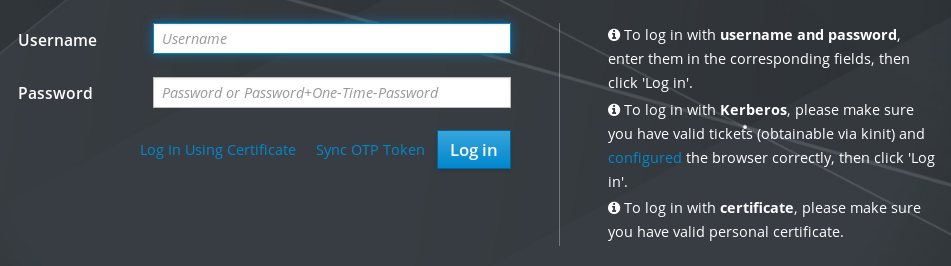
以下流程描述了首次使用密码登录到 IdM(身份管理)Web UI。

第一次登录后,您可以将 IdM 服务器配置为使用以下方式进行身份验证:

流程

  1. 在浏览器地址栏中输入 IdM 服务器 URL。名称类似以下示例:

    https://server.example.com

    您只需要将 server.example.com 更改为您 IdM 服务器的 DNS 名称。

    这会在您的浏览器中打开 IdM Web UI 登录屏幕。

    Screenshot of the IdM Web UI accessed within a web browser displaying a "Username" field and a "Password" field. There is a blue "Log in" button below and to the right of those two fields.

    • 如果服务器没有响应或者登录屏幕没有打开,请检查您要连接的 IdM 服务器上的 DNS 设置。
    • 如果您使用自签名证书,浏览器会发出警告。检查证书并接受安全例外以进行登录。

      为避免安全异常,请安装由证书颁发机构签名的证书。

  2. 在 Web UI 登录屏幕上,输入您在 IdM 服务器安装过程中添加的管理员帐户凭证。

    详情请参阅 安装身份管理服务器:使用集成的 DNS,以及集成的 CA

    如果您已经进入到 IdM 服务器中,您还可以输入您的个人帐户凭证。
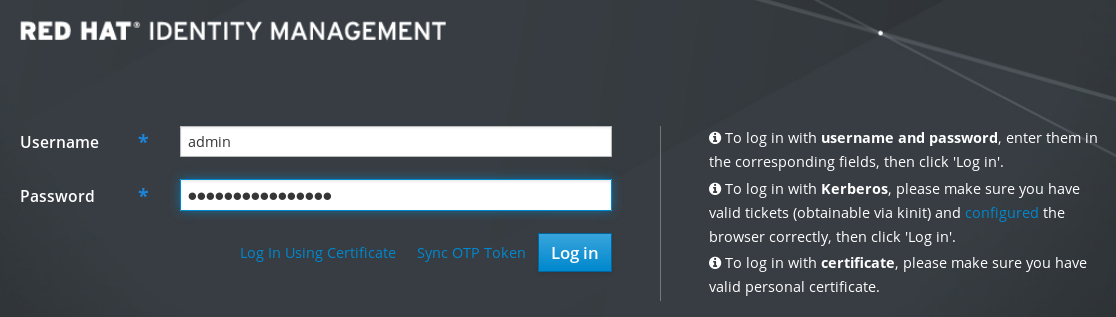
    A Screenshot of the IdM Web UI with the "Username" field filled in with "admin" and the "Password" field displays several black circles obfuscating the password by replacing the characters tat were typed in.

  3. 单击 Log in

登录成功后,您可以开始配置 IdM 服务器。

A screenshot of the first screen visible after logging in to the IdM Web UI. There are 5 tabs listed along the top of the screen: Identity - Policy - Authentication - Network Services - IPA Server. The Identity tab has been selected and it is displaying the Users page which is the first menu item among 6 choices just below the tabs: Users - Hosts - Services - Groups - ID Views - Automember. The Active users page displays a table of user logins and their information: First name - Last name - Status - UID - Email address - Telephone number - Job Title.