
第4章 外部モードでの OpenShift Container Storage Cluster Service の作成
OpenShift Container Storage Operator を、ユーザーによってプロビジョニングされた VMware vSphere およびベアメタルのインフラストラクチャー上にデプロイされた OpenShift Container Platform にインストールした後に、OpenShift Container Storage クラスターサービスを新規作成する必要があります。
前提条件
- 作業用の OpenShift Container Platform バージョン 4.5.4 以降にログインしている必要があります。
- OpenShift Container Storage Operator はインストールされている必要があります。詳細は、Installing OpenShift Container Storage Operator using the Operator Hub を参照してください。
外部クラスターには、Red Hat Ceph Storage バージョン 4.2z1 以降が必要です。詳細は、この Red Hat Ceph Storage リリースおよび対応する Ceph パッケージバージョンについてのナレッジベースのアーティクル を参照してください。
Red Hat Ceph Storage クラスターを 4.1.1 以前のバージョンから最新リリースに更新し、これが新規にデプロイされたクラスターではない場合は、Red Hat Ceph Storage クラスターで CephFS プールのアプリケーションタイプを手動で設定し、外部モードで CephFS PVC の作成を有効にする必要があります。
詳細は、外部モードでの CephFS PVC の作成のトラブルシューティング について参照してください。
-
Red Hat Ceph Storage には Ceph Dashboard がインストールされ、設定されている必要があり、Ceph Manager Prometheus エクスポーターにポート
9283を使用する必要があります。詳細は、Ceph Dashboard のインストールおよびアクセス について参照してください。 - 外部 RedHat CephStorage クラスターに対して PG Autoscaler オプションを有効にすることが推奨されます。詳細は、Red Hat Ceph Storage ドキュメントの The placement group autoscaler セクションを参照してください。
- 外部 Ceph クラスターには、既存の RBD プールを使用できるように事前に設定されている必要があります。これがない場合は、OpenShift Container Storage のデプロイメントに進む前に、Red Hat Ceph Storage の管理者に問い合わせてこれを作成してください。OpenShift Container Storage クラスターごとに別個のプールを使用することが推奨されます。
手順
Operators → Installed Operators をクリックし、インストールされた Operator をすべて表示します。
選択された Project が openshift-storage であることを確認します。
図4.1 OpenShift Container Storage Operator ページ
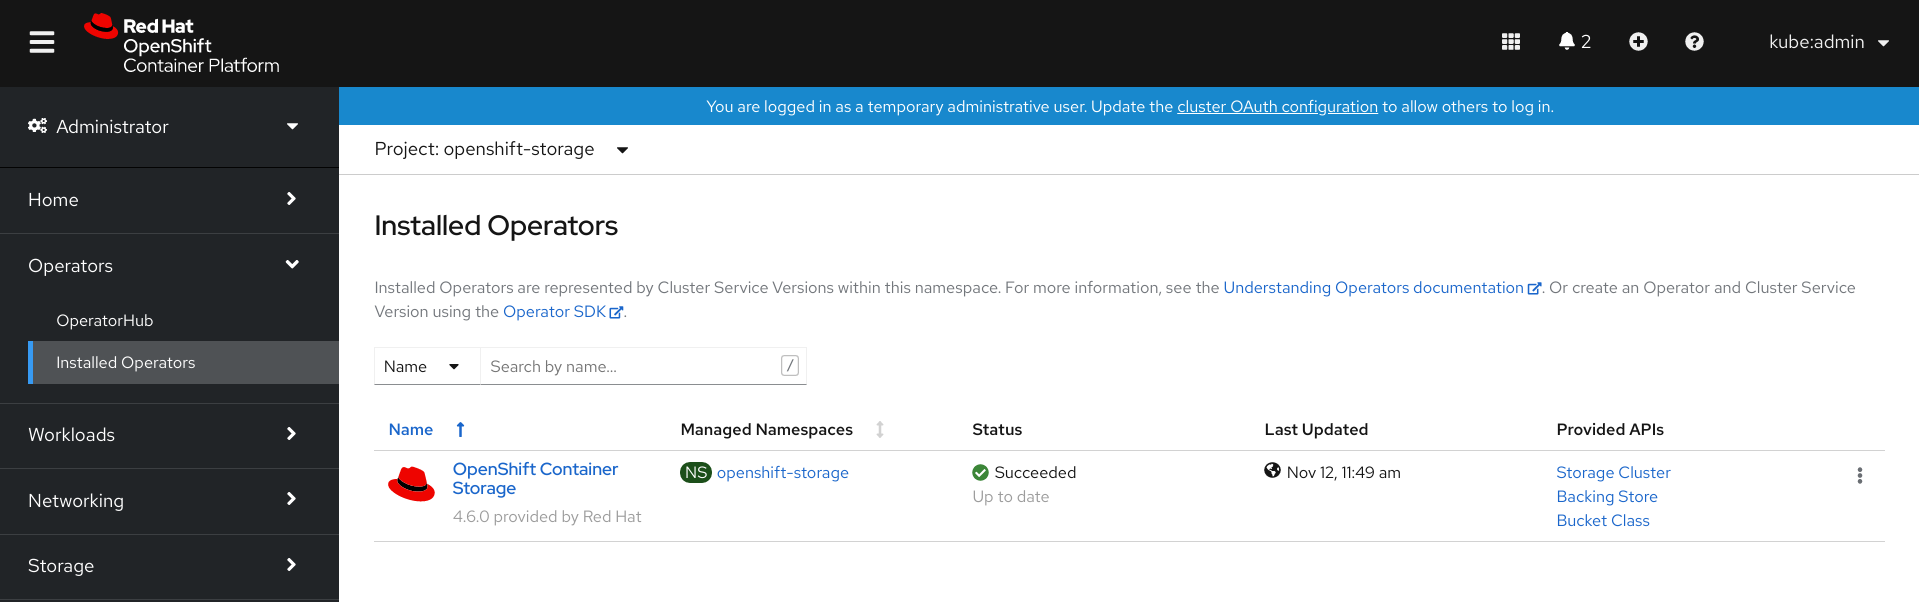
OpenShift Container Storage をクリックします。
図4.2 OpenShift Container Storage の Details タブ
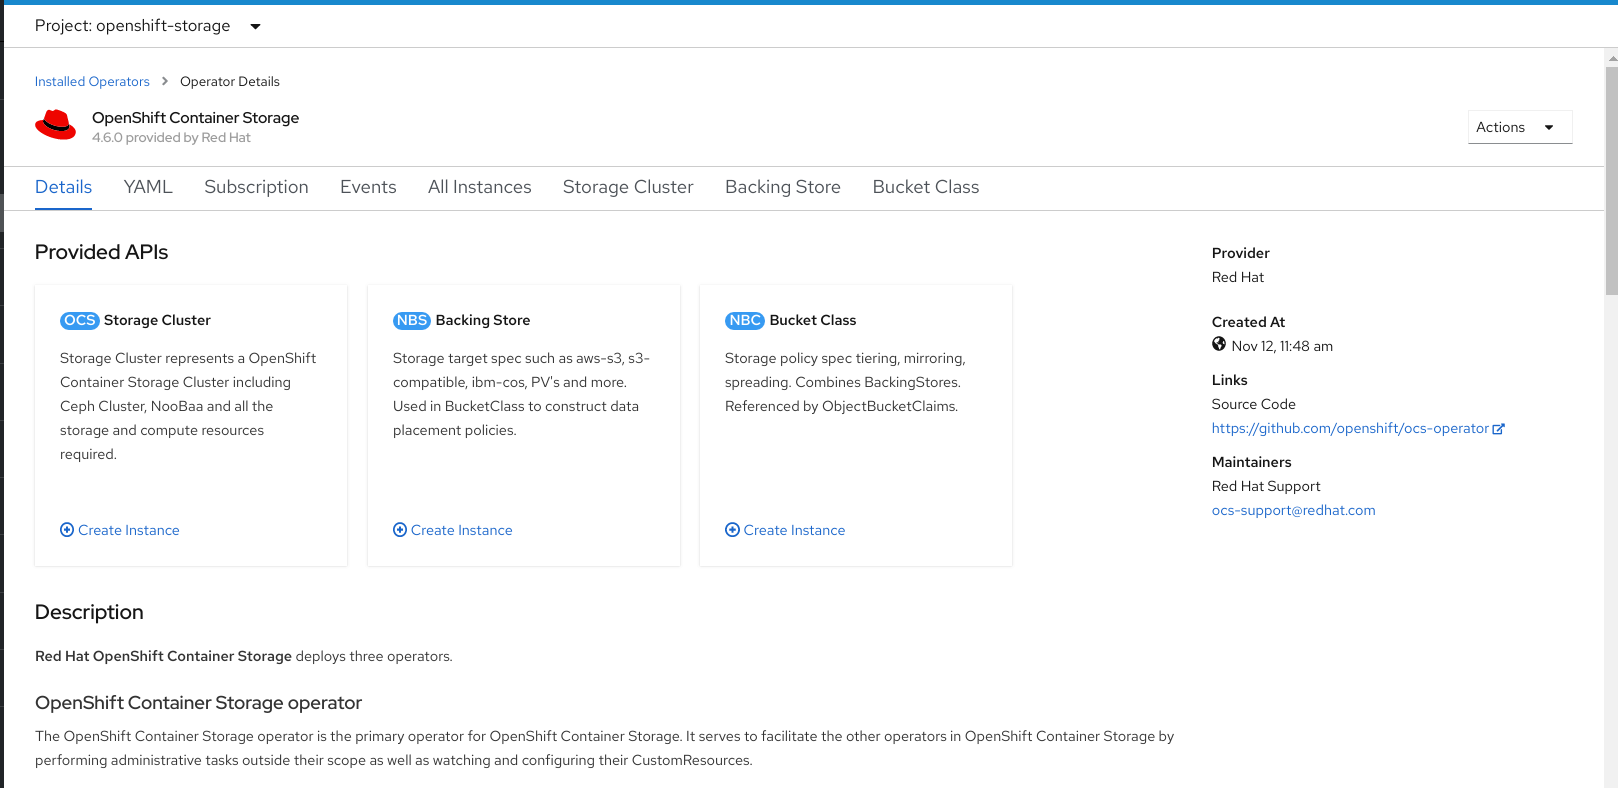
- Storage Cluster の Create Instance リンクをクリックします。
Mode を External に選択します。デフォルトでは、Internal はデプロイメントモードとして選択されます。
図4.3 Create Storage Cluster 形式の外部クラスターへの接続
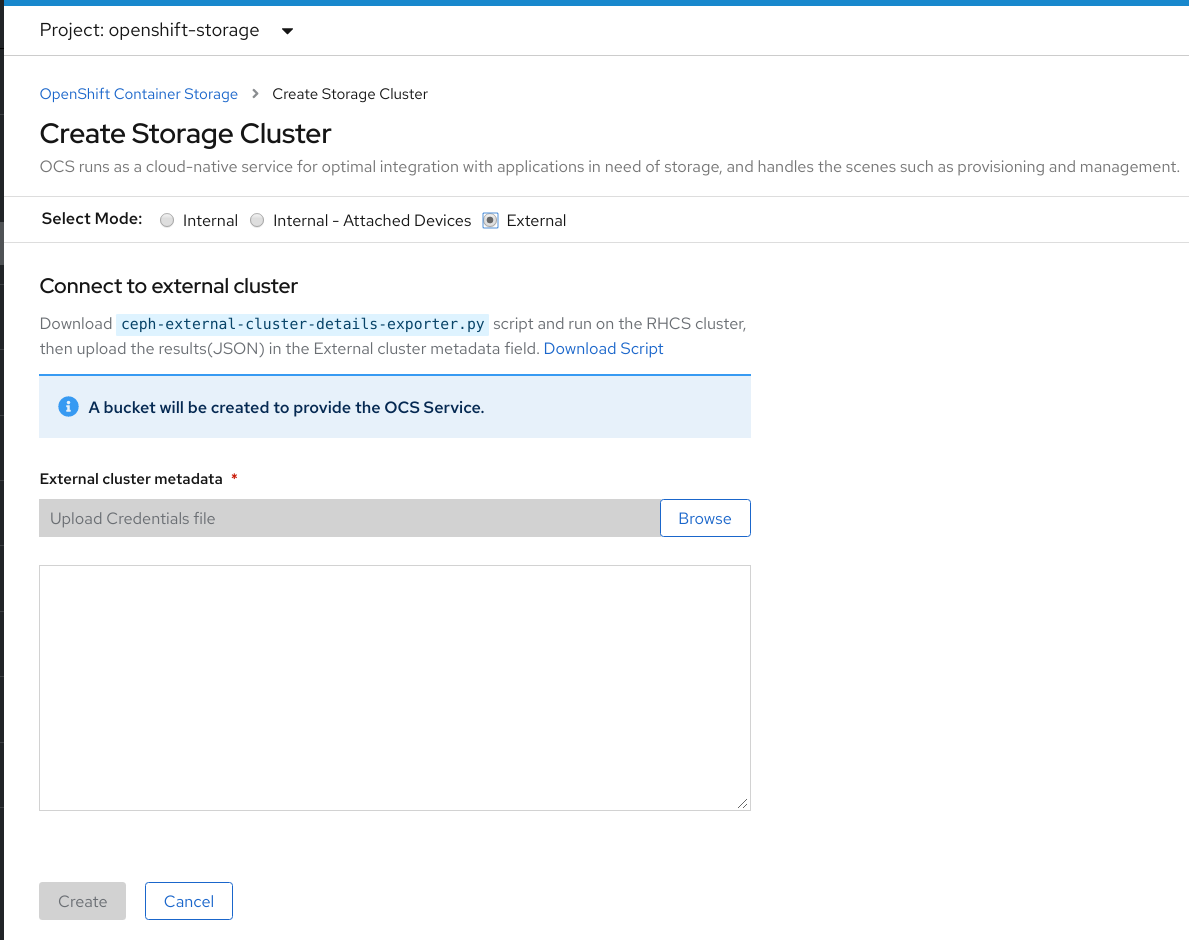
- Connect to external cluster セクションで、Download Script リンクをクリックして、Ceph クラスターの詳細を抽出するために python スクリプトをダウンロードします。
Red Hat Ceph Storage (RHCS) クラスターの詳細を抽出するには、RHCS 管理者に問い合わせた上で Red Hat Ceph Storage でダウンロードした python スクリプトを
admin keyを使用して実行します。RHCS ノードで以下のコマンドを実行し、利用可能な引数の一覧を表示します。
# python3 ceph-external-cluster-details-exporter.py --help
重要Red Hat Ceph Storage 4.x クラスターが Red Hat Enterprise Linux 7.x (RHEL 7.x) クラスターにデプロイされている場合は、
python3ではなくpythonを使用します。注記MON コンテナー内 (コンテナー化されたデプロイメント) または MON ノード (rpm デプロイメント) からスクリプトを実行することもできます。
RHCS クラスターから外部クラスターの詳細を取得するには、以下のコマンドを実行します。
# python3 ceph-external-cluster-details-exporter.py \
--rbd-data-pool-name <rbd block pool name>  [optional arguments]
以下に例を示します。
# python3 ceph-external-cluster-details-exporter.py --rbd-data-pool-name ceph-rbd --monitoring-endpoint xxx.xxx.xxx.xxx --monitoring-endpoint-port 9283 --rgw-endpoint xxx.xxx.xxx.xxx:xxxx --run-as-user client.ocs
上記の例は、以下のようになります。
-
--rbd-data-pool-nameは、OpenShift Container Storage でブロックストレージを提供するために使用される必須のパラメーターです。 -
--rgw-endpointは任意です。OpenShift Container Storage の Ceph Rados Gateway でオブジェクトストレージをプロビジョニングする場合に、このパラメーターを指定します。<ip_address>:<port>の形式でエンドポイントを指定します。 -
--monitoring-endpointは任意です。これは、OpenShift Container Platform クラスターから到達できるアクティブなceph-mgrの IP アドレスです。指定しない場合には、値が自動的に入力されます。 -
--monitoring-endpoint-portは任意です。これは--monitoring-endpointで指定されたceph-mgrPrometheus エクスポーターに関連付けられるポートです。指定しない場合には、値が自動的に入力されます。ポート9283のみが OpenShift Container Platform 4.6 でサポートされます。 -- run-as-userは、スクリプトで作成される Ceph ユーザーの名前を指定するために使用されるオプションのパラメーターです。このパラメーターを指定しないと、デフォルトのユーザー名client.healthcheckerが作成されます。新規ユーザーのパーミッションは以下のように設定されます。- caps: [mgr] はコマンド設定を許可します。
- caps: [mon] は r を許可し、コマンド quorum_status を許可し、コマンド version を許可します。
caps: [osd] allow rwx pool=
RGW_POOL_PREFIX.rgw.meta, allow r pool=.rgw.root, allow rw pool=RGW_POOL_PREFIX.rgw.control, allow rx pool=RGW_POOL_PREFIX.rgw.log, allow x pool=RGW_POOL_PREFIX.rgw.buckets.indexpython スクリプトを使用して生成された JSON 出力の例:
[{"name": "rook-ceph-mon-endpoints", "kind": "ConfigMap", "data": {"data": "xxx.xxx.xxx.xxx:xxxx", "maxMonId": "0", "mapping": "{}"}}, {"name": "rook-ceph-mon", "kind": "Secret", "data": {"admin-secret": "admin-secret", "fsid": "<fs-id>", "mon-secret": "mon-secret"}}, {"name": "rook-ceph-operator-creds", "kind": "Secret", "data": {"userID": "client.healthchecker", "userKey": "<user-key>"}}, {"name": "rook-csi-rbd-node", "kind": "Secret", "data": {"userID": "csi-rbd-node", "userKey": "<user-key>"}}, {"name": "ceph-rbd", "kind": "StorageClass", "data": {"pool": "ceph-rbd"}}, {"name": "monitoring-endpoint", "kind": "CephCluster", "data": {"MonitoringEndpoint": "xxx.xxx.xxx.xxx", "MonitoringPort": "xxxx"}}, {"name": "rook-csi-rbd-provisioner", "kind": "Secret", "data": {"userID": "csi-rbd-provisioner", "userKey": "<user-key>"}}, {"name": "rook-csi-cephfs-provisioner", "kind": "Secret", "data": {"adminID": "csi-cephfs-provisioner", "adminKey": "<admin-key>"}}, {"name": "rook-csi-cephfs-node", "kind": "Secret", "data": {"adminID": "csi-cephfs-node", "adminKey": "<admin-key>"}}, {"name": "cephfs", "kind": "StorageClass", "data": {"fsName": "cephfs", "pool": "cephfs_data"}}, {"name": "ceph-rgw", "kind": "StorageClass", "data": {"endpoint": "xxx.xxx.xxx.xxx:xxxx", "poolPrefix": "default"}}]
-
JSON 出力を
.json拡張のあるファイルに保存します。注記OpenShift Container Storage がシームレスに機能するには、JSON ファイルを使用してアップロードされるパラメーター (RGW エンドポイント、CephFS の詳細、RBD プールなど) が、ストレージクラスターの作成後も RHCS 外部クラスターで変更されないままであることを確認します。
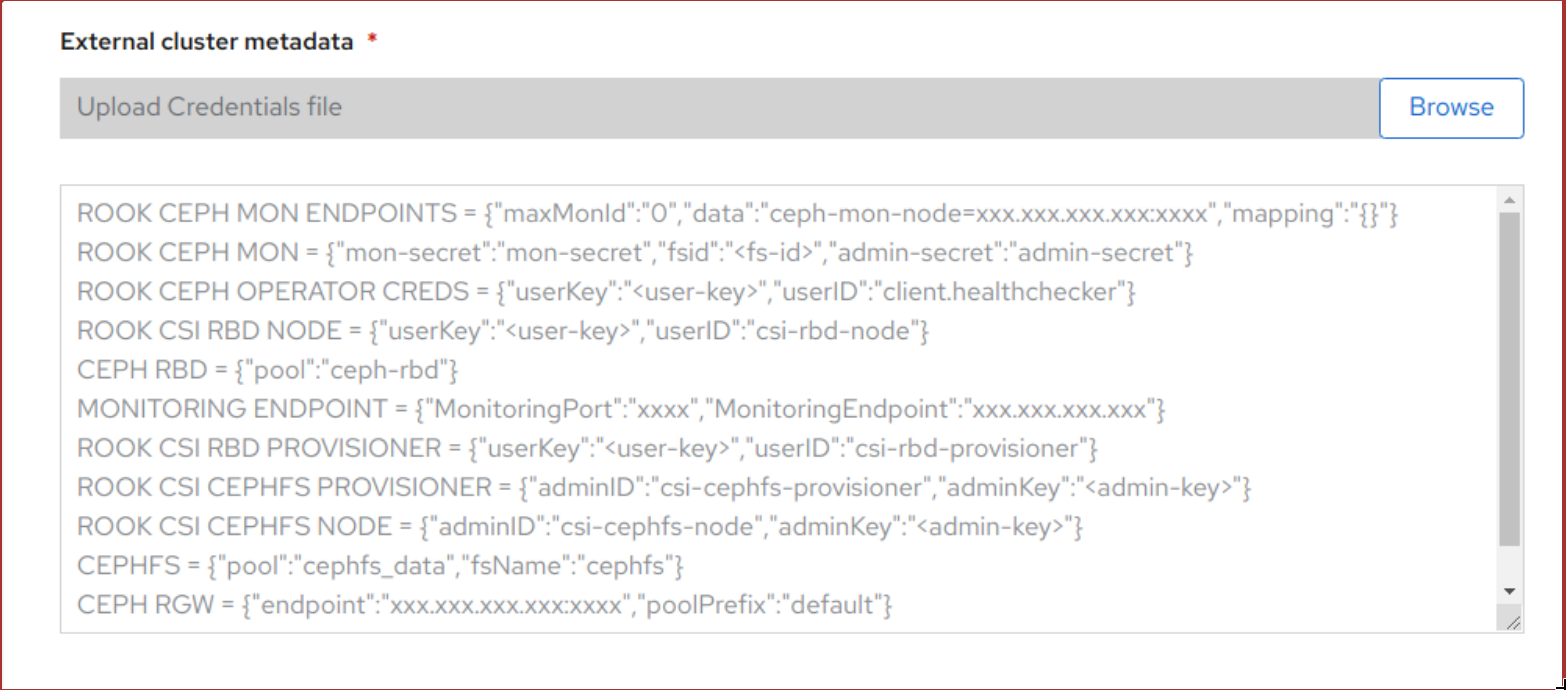
External cluster metadata → Browse をクリックして、JSON ファイルを選択し、アップロードします。
JSON ファイルの内容が入力され、テキストボックスに表示されます。
図4.4 JSON ファイルの内容
Create をクリックします。
Create ボタンは、
.jsonファイルのアップロード後にのみ有効になります。
検証手順
インストールされたストレージクラスターの最後の Status が緑色のチェックマークと共に
Phase: Readyと表示されていることを確認します。- Operators → Installed Operators → Storage Cluster のリンクをクリックして、ストレージクラスターのインストールのステータスを表示します。
- または、Operator Details タブで、Storage Cluster タブをクリックすると、ステータスを表示できます。
- OpenShift Container Storage、Pod および StorageClass が正常にインストールされていることを確認するには、外部モードの OpenShift Container Storage インストールの確認 について参照してください。