第13章 IdM Web UI を使用した信頼の削除
IdM Web UI を使用して Identity Management (IdM)/Active Directory (AD) 信頼を削除するには、次の手順に従います。
前提条件
- Kerberos チケットを取得している。詳細は Web UI で IdM にログイン: Kerberos チケットの使用 を参照してください。
手順
- 管理者権限で IdM Web UI にログインします。詳細は、Web ブラウザーでの IdM Web UI へのアクセス を参照してください。
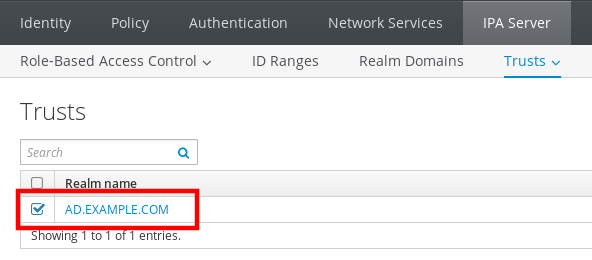
- IdM Web UI で、IPA Server タブをクリックします。
- IPA Server タブで、Trusts タブをクリックします。
削除する信頼を選択します。
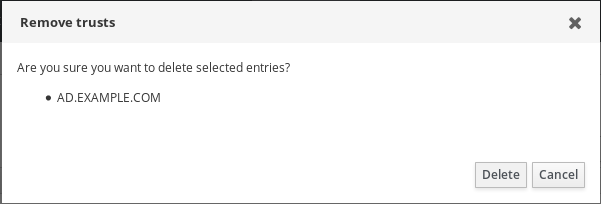
- Delete ボタンをクリックします。
Remove trusts ダイアログボックスで、Delete をクリックします。
- Active Directory 設定から信頼オブジェクトを削除します。
注記
信頼設定を削除しても、IdM が AD ユーザー用に作成した ID 範囲は自動的に削除されません。この場合、信頼を再度追加すると、既存の ID 範囲が再利用されます。また、AD ユーザーが IdM クライアントでファイルを作成した場合、その POSIX ID はファイルのメタデータに保持されます。
AD 信頼に関連するすべての情報を削除するには、信頼設定と信頼オブジェクトを削除した後、ID Ranges タブで AD ユーザー ID 範囲を削除します。
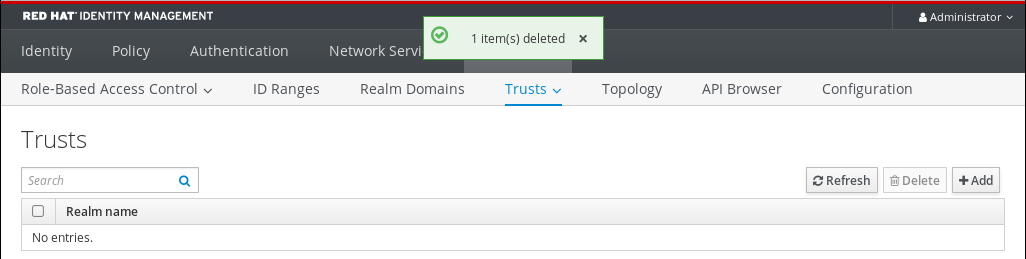
検証手順
信頼が正常に削除されていると、Web UI はテキストが付いた緑色のポップアップを表示します。