
Chapter 19. Managing self-service rules using the IdM Web UI
Learn about self-service rules in Identity Management (IdM) and how to create and edit self-service access rules in the web interface (IdM Web UI).
19.1. Self-service access control in IdM
Self-service access control rules define which operations an Identity Management (IdM) entity can perform on its IdM Directory Server entry: for example, IdM users have the ability to update their own passwords.
This method of control allows an authenticated IdM entity to edit specific attributes within its LDAP entry, but does not allow add or delete operations on the entire entry.
Be careful when working with self-service access control rules: configuring access control rules improperly can inadvertently elevate an entity’s privileges.
19.2. Creating self-service rules using the IdM Web UI
Follow this procedure to create self-service access rules in IdM using the web interface (IdM Web UI).
Prerequisites
- Administrator privileges for managing IdM or the User Administrator role.
- You are logged-in to the IdM Web UI. For details, see Accessing the IdM Web UI in a web browser.
Procedure
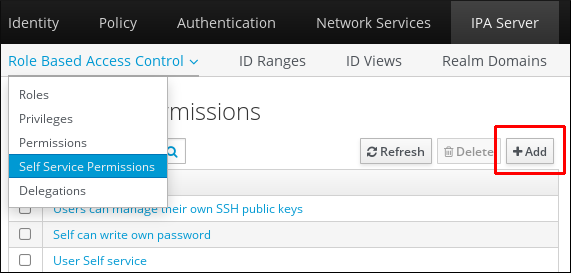
- Open the Role-Based Access Control submenu in the IPA Server tab and select Self Service Permissions.
Click Add at the upper-right of the list of the self-service access rules:
The Add Self Service Permission window opens. Enter the name of the new self-service rule in the Self-service name field. Spaces are allowed:

- Select the check boxes next to the attributes you want users to be able to edit.
Optional: If an attribute you want to provide access to is not listed, you can add a listing for it:
- Click the Add button.
- Enter the attribute name in the Attribute text field of the following Add Custom Attribute window.
- Click the OK button to add the attribute
- Verify that the new attribute is selected
-
Click the Add button at the bottom of the form to save the new self-service rule.
Alternatively, you can save and continue editing the self-service rule by clicking the Add and Edit button, or save and add further rules by clicking the Add and Add another button.
19.3. Editing self-service rules using the IdM Web UI
Follow this procedure to edit self-service access rules in IdM using the web interface (IdM Web UI).
Prerequisites
- Administrator privileges for managing IdM or the User Administrator role.
- You are logged-in to the IdM Web UI. For details, see Accessing the IdM Web UI in a web browser.
Procedure
- Open the Role-Based Access Control submenu in the IPA Server tab and select Self Service Permissions.
Click on the name of the self-service rule you want to modify.

- The edit page only allows you to edit the list of attributes to you want to add or remove to the self-service rule. Select or deselect the appropriate check boxes.
- Click the Save button to save your changes to the self-service rule.
19.4. Deleting self-service rules using the IdM Web UI
Follow this procedure to delete self-service access rules in IdM using the web interface (IdM Web UI).
Prerequisites
- Administrator privileges for managing IdM or the User Administrator role.
- You are logged-in to the IdM Web UI. For details, see Accessing the IdM Web UI in a web browser.
Procedure
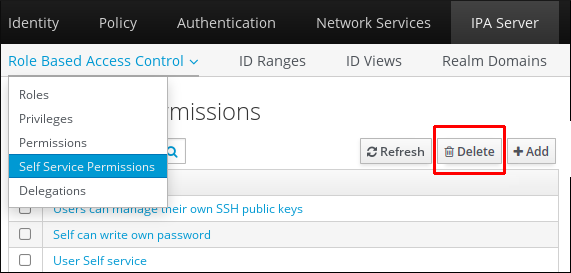
- Open the Role-Based Access Control submenu in the IPA Server tab and select Self Service Permissions.
Select the check box next to the rule you want to delete, then click on the Delete button on the right of the list.
- A dialog opens, click on Delete to confirm.