
Chapter 7. Assigning permissions and access using roles and groups
Roles and groups have a similar purpose, which is to give users access and permissions to use applications. Groups are a collection of users to which you apply roles and attributes. Roles define specific applications permissions and access control.
A role typically applies to one type of user. For example, an organization may include admin, user, manager, and employee roles. An application can assign access and permissions to a role and then assign multiple users to that role so the users have the same access and permissions. For example, the Admin Console has roles that give permission to users to access different parts of the Admin Console.
There is a global namespace for roles and each client also has its own dedicated namespace where roles can be defined.
7.1. Creating a realm role
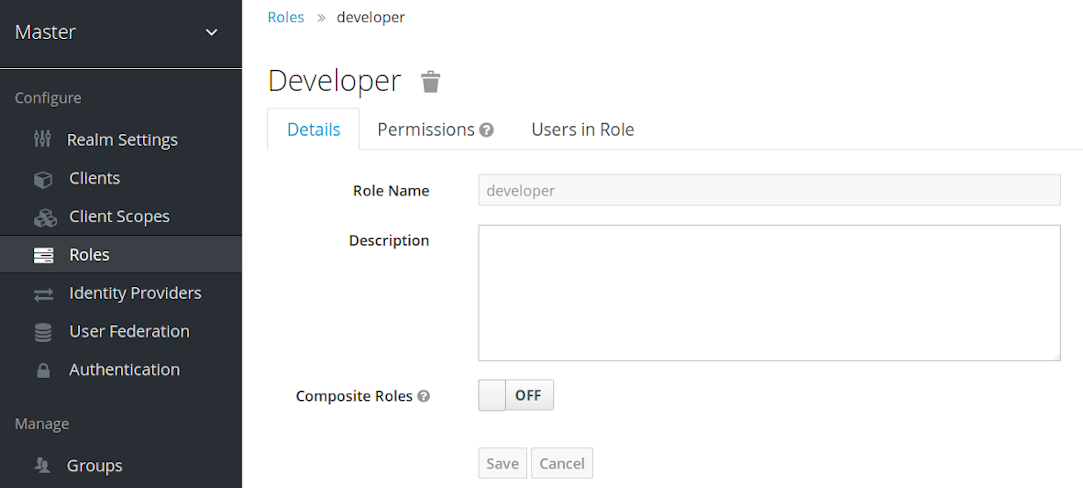
Realm-level roles are a namespace for defining your roles. To see the list of roles, click Roles in the menu.

Procedure
- Click Add Role.
- Enter a Role Name.
- Enter a Description.
- Click Save.
Add role
The description field can be localizable by specifying a substitution variable with ${var-name} strings. The localized value is configured to your theme within the themes property files. See the Server Developer Guide for more details.
7.2. Client roles
Client roles are namespaces dedicated to clients. Each client gets its own namespace. Client roles are managed under the Roles tab for each client. You interact with this UI the same way you do for realm-level roles.
7.3. Converting a role to a composite role
Any realm or client level role can become a composite role. A composite role is a role that has one or more additional roles associated with it. When a composite role is mapped to a user, the user gains the roles associated with the composite role. This inheritance is recursive so users also inherit any composite of composites. However, we recommend that composite roles are not overused.
Procedure
- Click Roles in the menu.
- Click the role that you want to convert.
- Toggle Composite Roles to ON.
Composite role
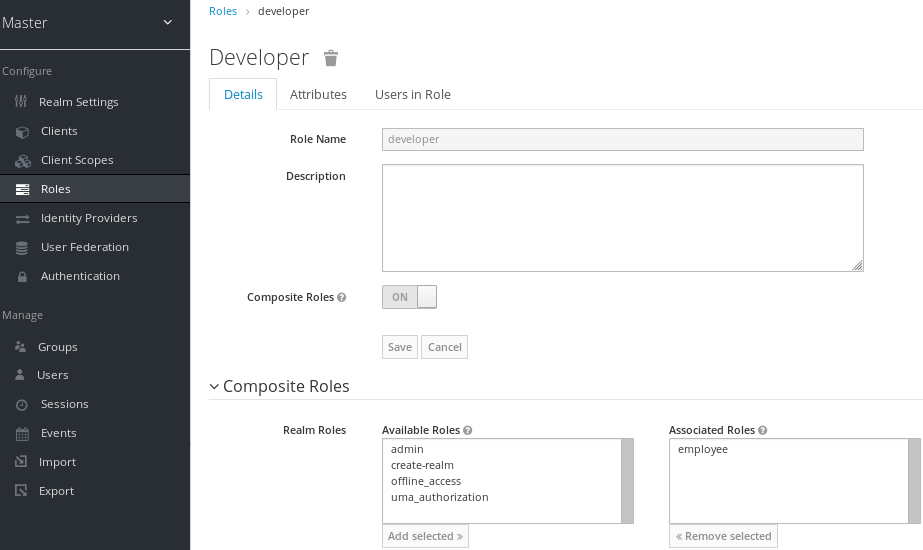
The role selection UI is displayed on the page and you can associate realm level and client level roles to the composite role you are creating.
In this example, the employee realm-level role is associated with the developer composite role. Any user with the developer role also inherits the employee role.
When creating tokens and SAML assertions, any composite also has its associated roles added to the claims and assertions of the authentication response sent back to the client.
7.4. Assigning role mappings
You can assign role mappings to a user through the Role Mappings tab for that user.
Procedure
- Click Users in the menu.
- Click the user that you want to perform a role mapping on. If the user is not displayed, click View all users.
- Click the Role Mappings tab.
- Click the role you want to assign to the user in the Available Roles box.
- Click Add selected.
Role mappings

In the preceding example, we are assigning the composite role developer to a user. That role was created in the Composite Roles topic.
Effective role mappings
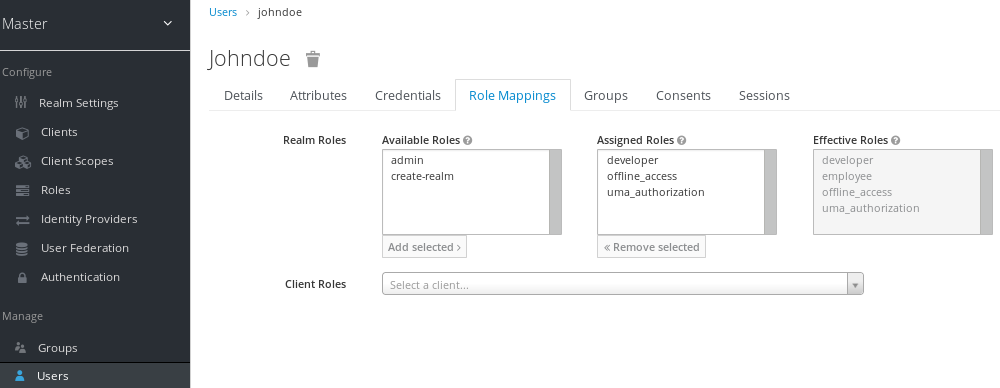
When the developer role is assigned, the employee role associated with the developer composite is displayed in the Effective Roles box. Effective Roles are the roles explicitly assigned to users and roles that are inherited from composites.
7.5. Using default roles
Use default roles to automatically assign user role mappings when a user is created or imported through Identity Brokering.
Procedure
- Click Roles in the menu
- Click the Default Roles tab.
Default roles
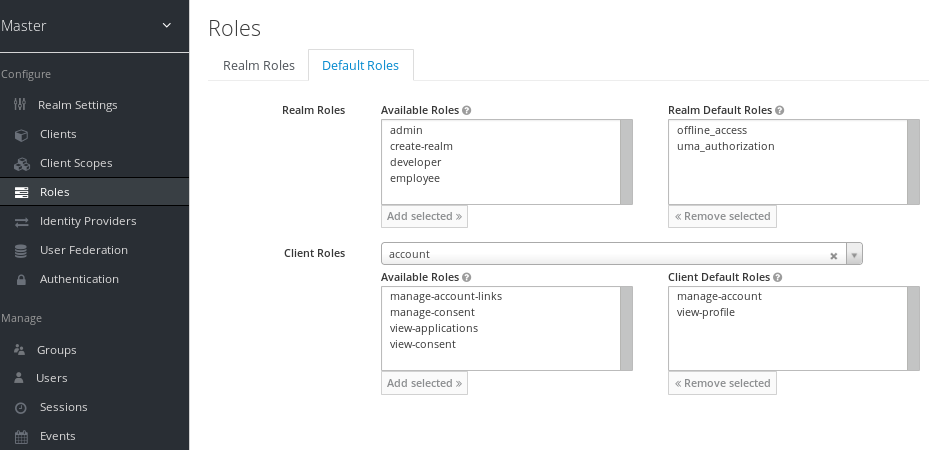
This screenshot shows that some default roles already exist.
7.6. Role scope mappings
On creation of an OIDC access token or SAML assertion, the user role mappings become claims within the token or assertion. Applications use these claims to make access decisions on the resources controlled by the application. Red Hat Single Sign-On digitally signs access tokens and applications re-use them to invoke remotely secured REST services. However, these tokens have an associated risk. An attacker can obtain these tokens and use their permissions to compromise your networks. To prevent this situation, use Role Scope Mappings.
Role Scope Mappings limit the roles declared inside an access token. When a client requests a user authentication, the access token they receive contains only the role mappings that are explicitly specified for the client’s scope. The result is that you limit the permissions of each individual access token instead of giving the client access to all the users permissions.
By default, each client gets all the role mappings of the user. You can view the role mappings in the Scope tab of each client.
Full scope
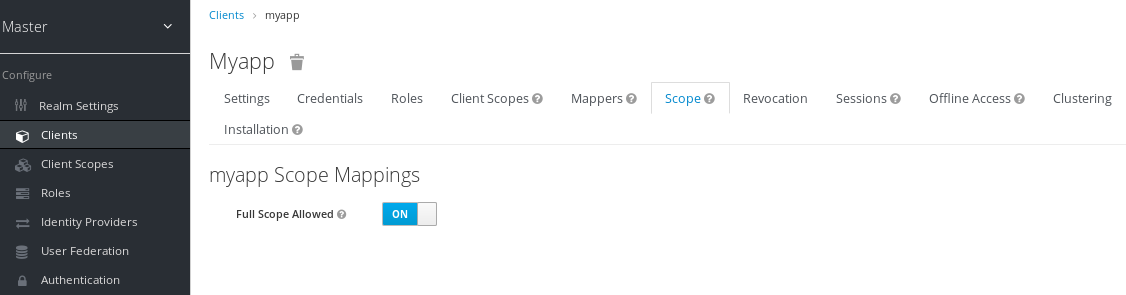
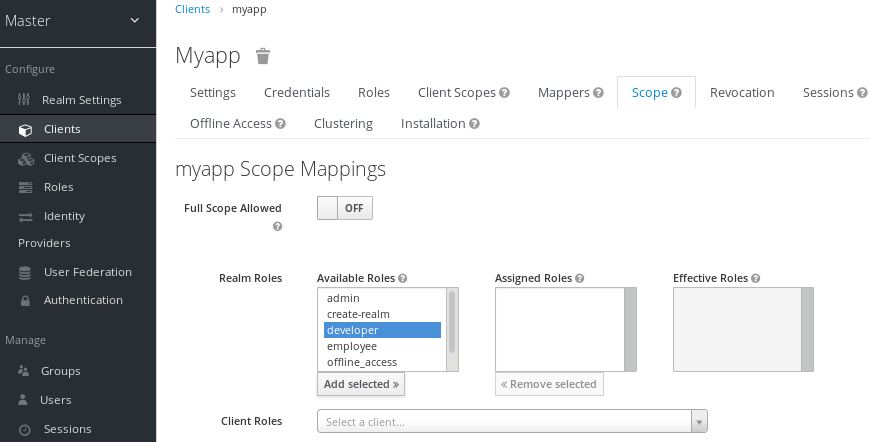
By default, the effective roles of scopes are every declared role in the realm. To change this default behavior, toggle Full Scope Allowed to ON and declare the specific roles you want in each client. You can also use client scopes to define the same role scope mappings for a set of clients.
Partial scope
7.7. Groups
Groups in Red Hat Single Sign-On manage a common set of attributes and role mappings for each user. Users can be members of any number of groups and inherit the attributes and role mappings assigned to each group.
To manage groups, click Groups in the menu.
Groups
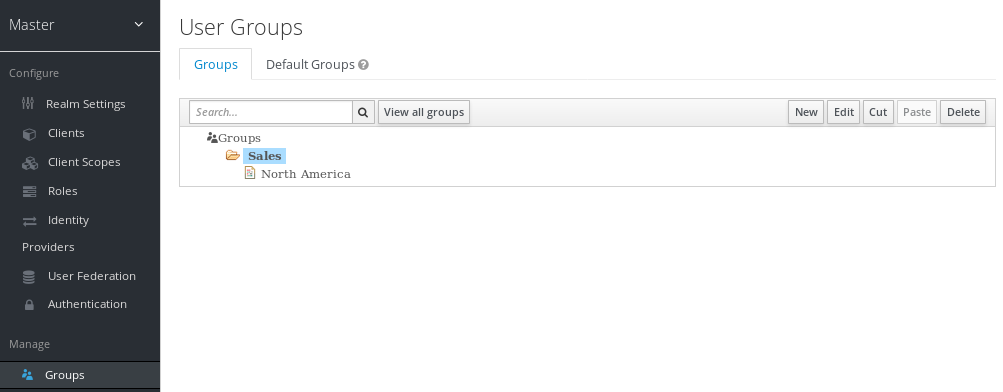
Groups are hierarchical. A group can have multiple subgroups but a group can have only one parent. Subgroups inherit the attributes and role mappings from their parent. Users inherit the attributes and role mappings from their parent as well.
If you have a parent group and a child group, and a user that belongs only to the child group, the user in the child group inherits the attributes and role mappings of both the parent group and the child group.
The following example includes a top-level Sales group and a child North America subgroup.
To add a group:
- Click the group.
- Click New.
- Select the Groups icon in the tree to make a top-level group.
- Enter a group name in the Create Group screen.
Click Save.
The group management page is displayed.
Group
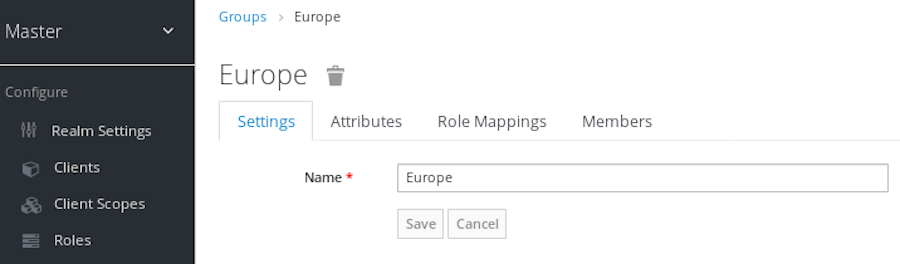
Attributes and role mappings you define are inherited by the groups and users that are members of the group.
To add a user to a group:
- Click Users in the menu.
- Click the user that you want to perform a role mapping on. If the user is not displayed, click View all users.
Click Groups.
User groups
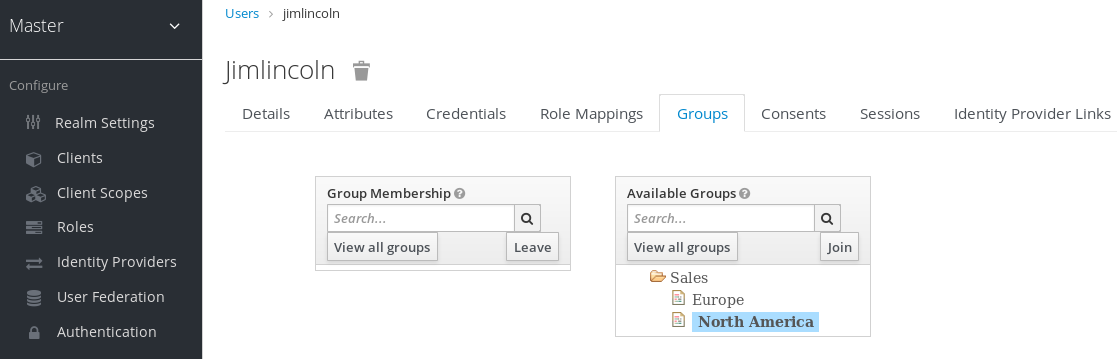
- Select a group from the Available Groups tree.
- Click Join.
To remove a group from a user:
- Select the group from the Group Membership tree.
- Click Leave.
In this example, the user jimlincoln is in the North America group. You can see jimlincoln displayed under the Members tab for the group.
Group membership

7.7.1. Groups compared to roles
Groups and roles have some similarities and differences. In Red Hat Single Sign-On, groups are a collection of users to which you apply roles and attributes. Roles define types of users and applications assign permissions and access control to roles.
Composite Roles are similar to Groups as they provide the same functionality. The difference between them is conceptual. Composite roles apply the permission model to a set of services and applications. Use composite roles to manage applications and services.
Groups focus on collections of users and their roles in an organization. Use groups to manage users.
7.7.2. Using default groups
To automatically assign group membership to any users who is created or who is imported through Identity Brokering, you use default groups.
- Click Groups in the menu.
- Click the Default Groups tab.
Default groups
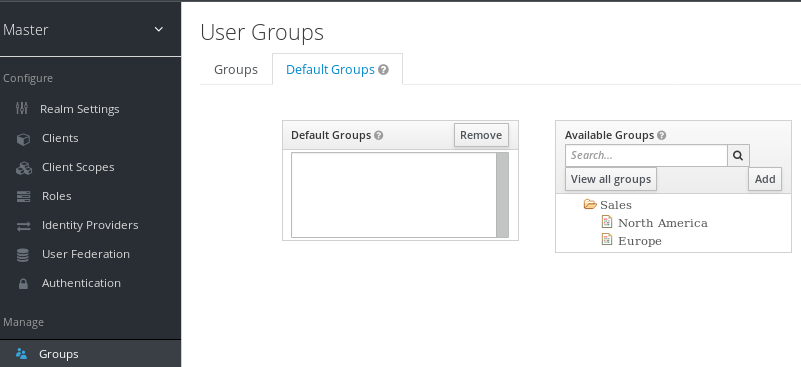
This screenshot shows that some default groups already exist.