
Chapter 3. Creating a Realm and User
This short tutorial walks you through creating a new realm within the Red Hat Single Sign-On Admin Console and adding a new user to that realm. With that new user you will log into your new realm and visit the built-in User Account service that all users have access to.
3.1. Before You Start
Before you can participate in this tutorial, you need to complete the installation of Red Hat Single Sign-On and create the initial admin user as shown in the Installing and Booting tutorial.
3.2. Creating a New Realm
To create a new realm, complete the following steps:
Log in to the Red Hat Single Sign-On Admin Console using the account you created in the Install and Boot tutorial.
- Admin Console Link
- http://localhost:8080/auth/admin/
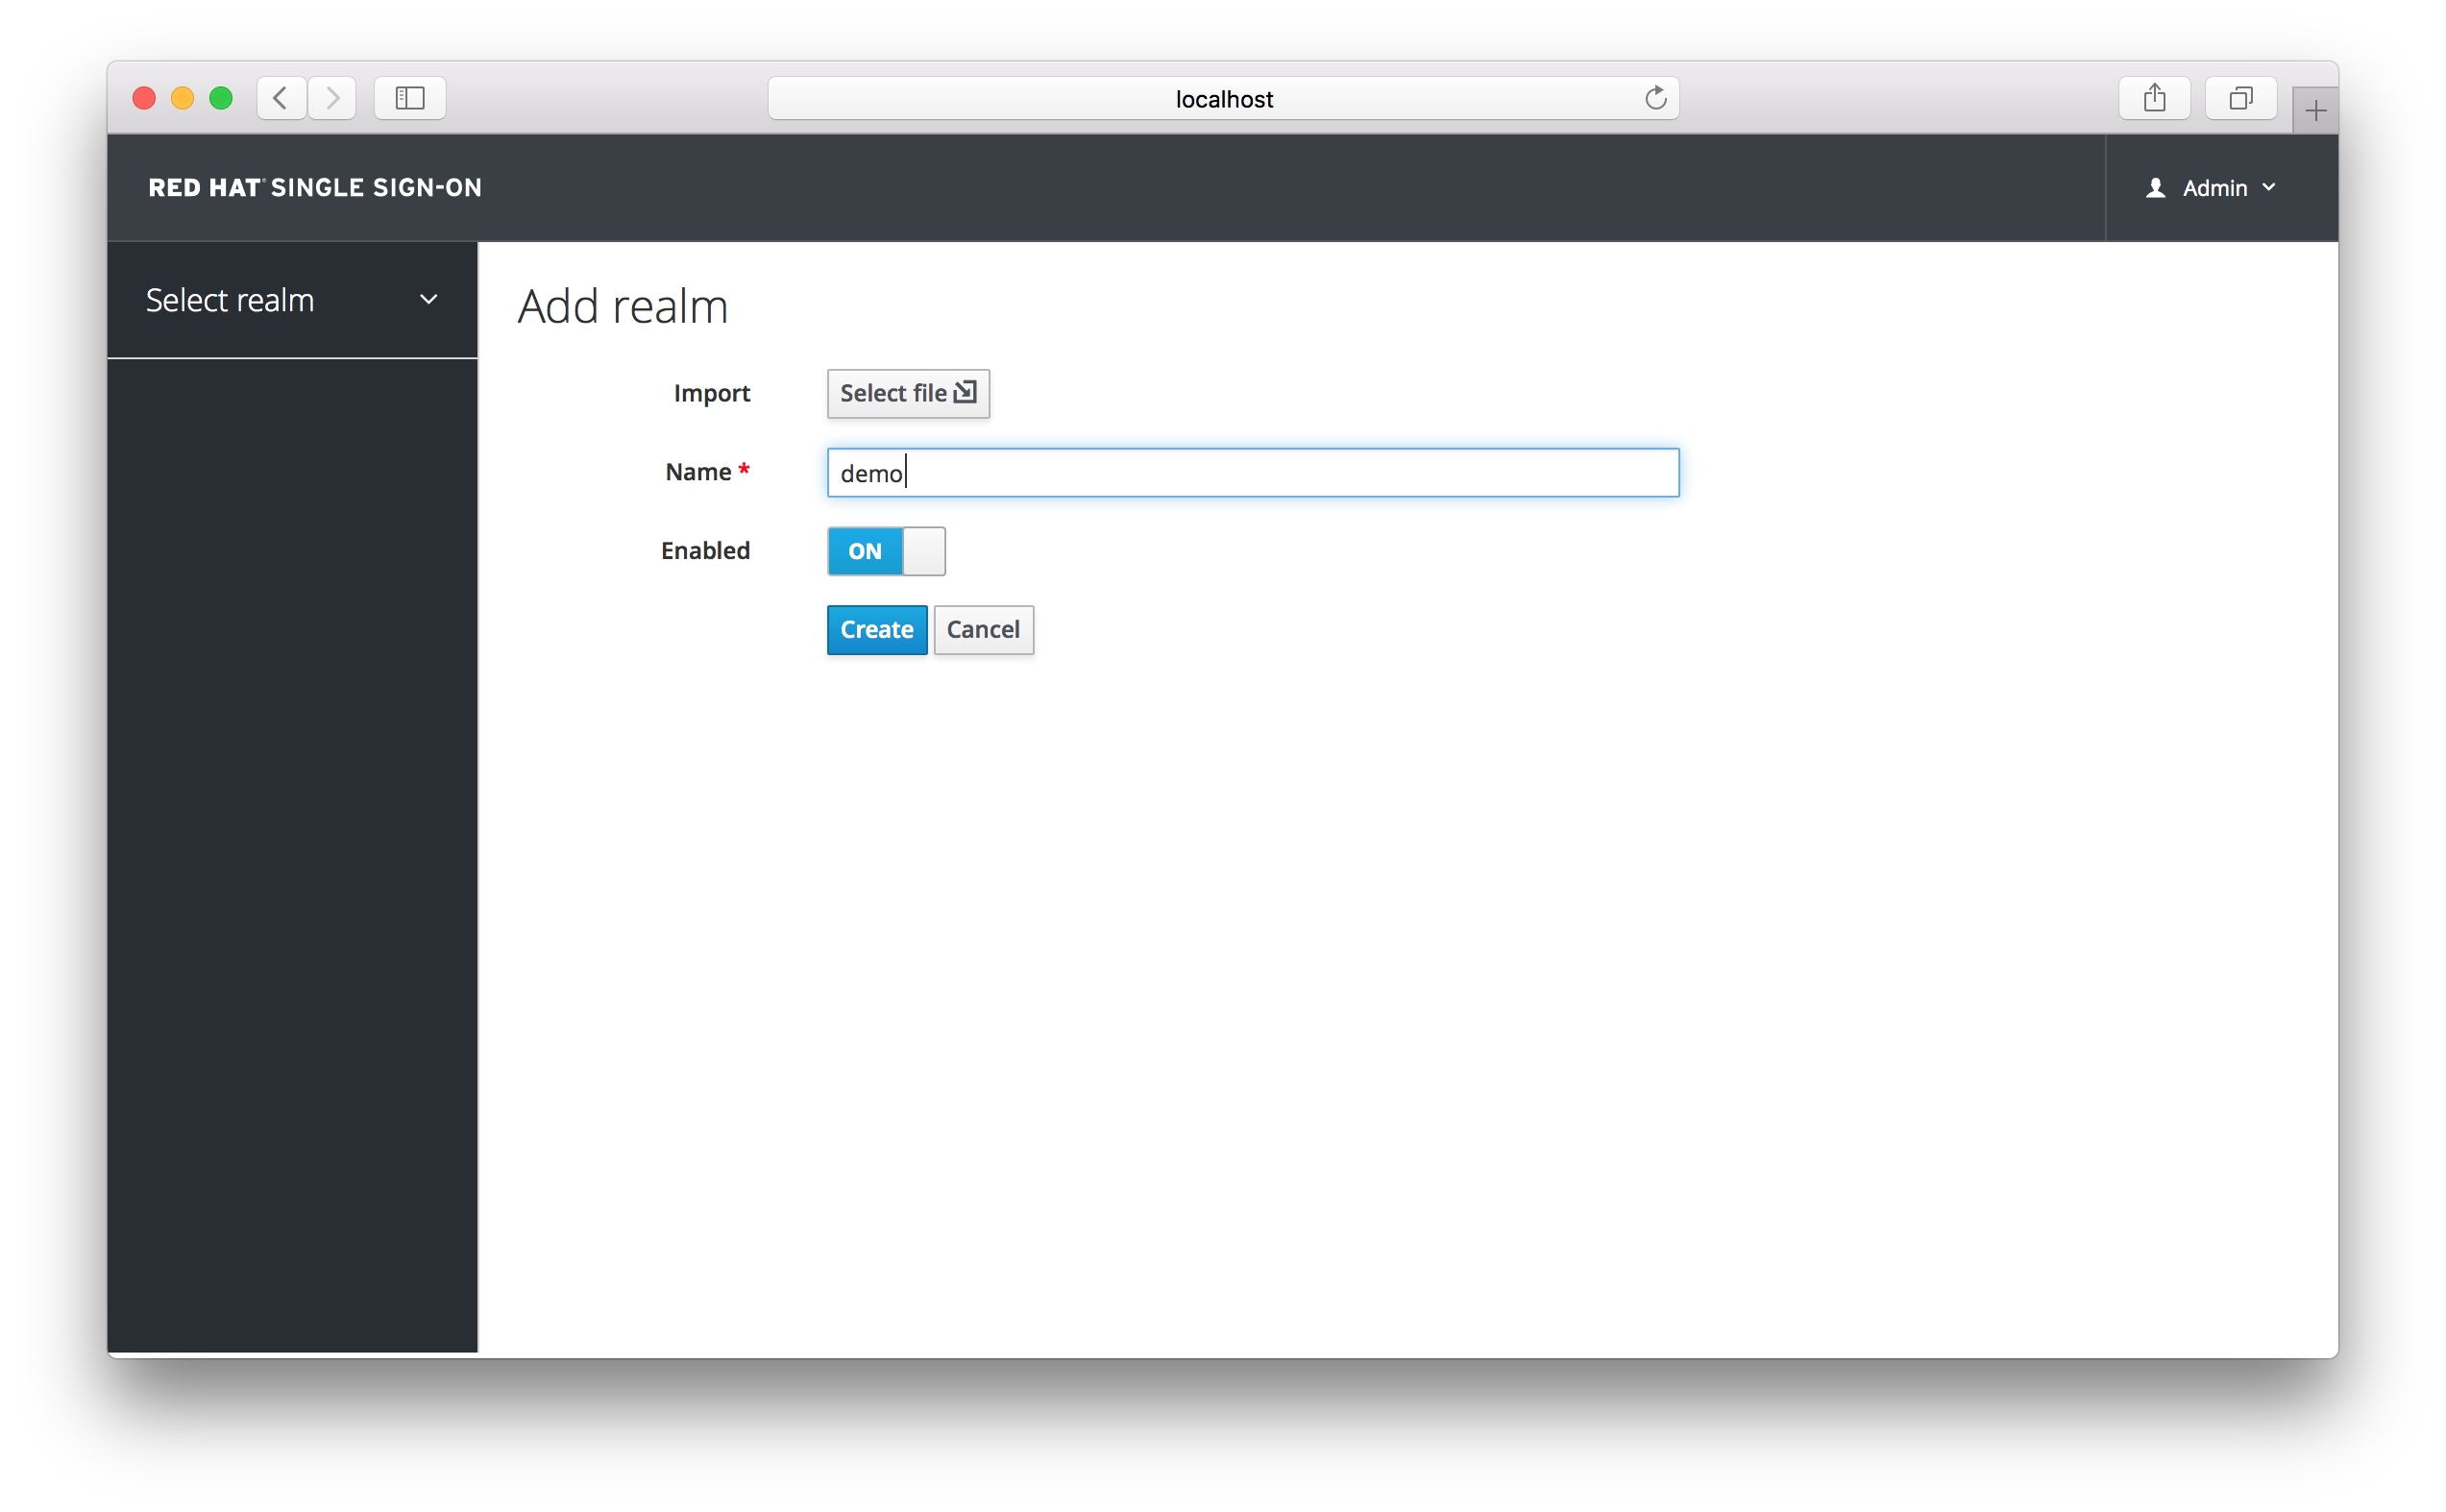
In the top left corner dropdown menu that is titled
Master, click Add Realm. If you are logged in to the master realm this dropdown menu lists all the realms created. The Add Realm page opens.Add Realm Menu

You will be creating a brand new realm from scratch so type
demofor the realm name and clickCreate.Create Realm
After creating the realm the main Admin Console page opens. The current realm is now set to demo. You can switch between managing the master realm and the realm you just created by clicking the top left corner dropdown menu.
3.3. Creating a New User
To create a new user in the demo realm as well as a temporary password for that account, complete the following steps:
In the left menu bar click Users. The user list page opens.
Users
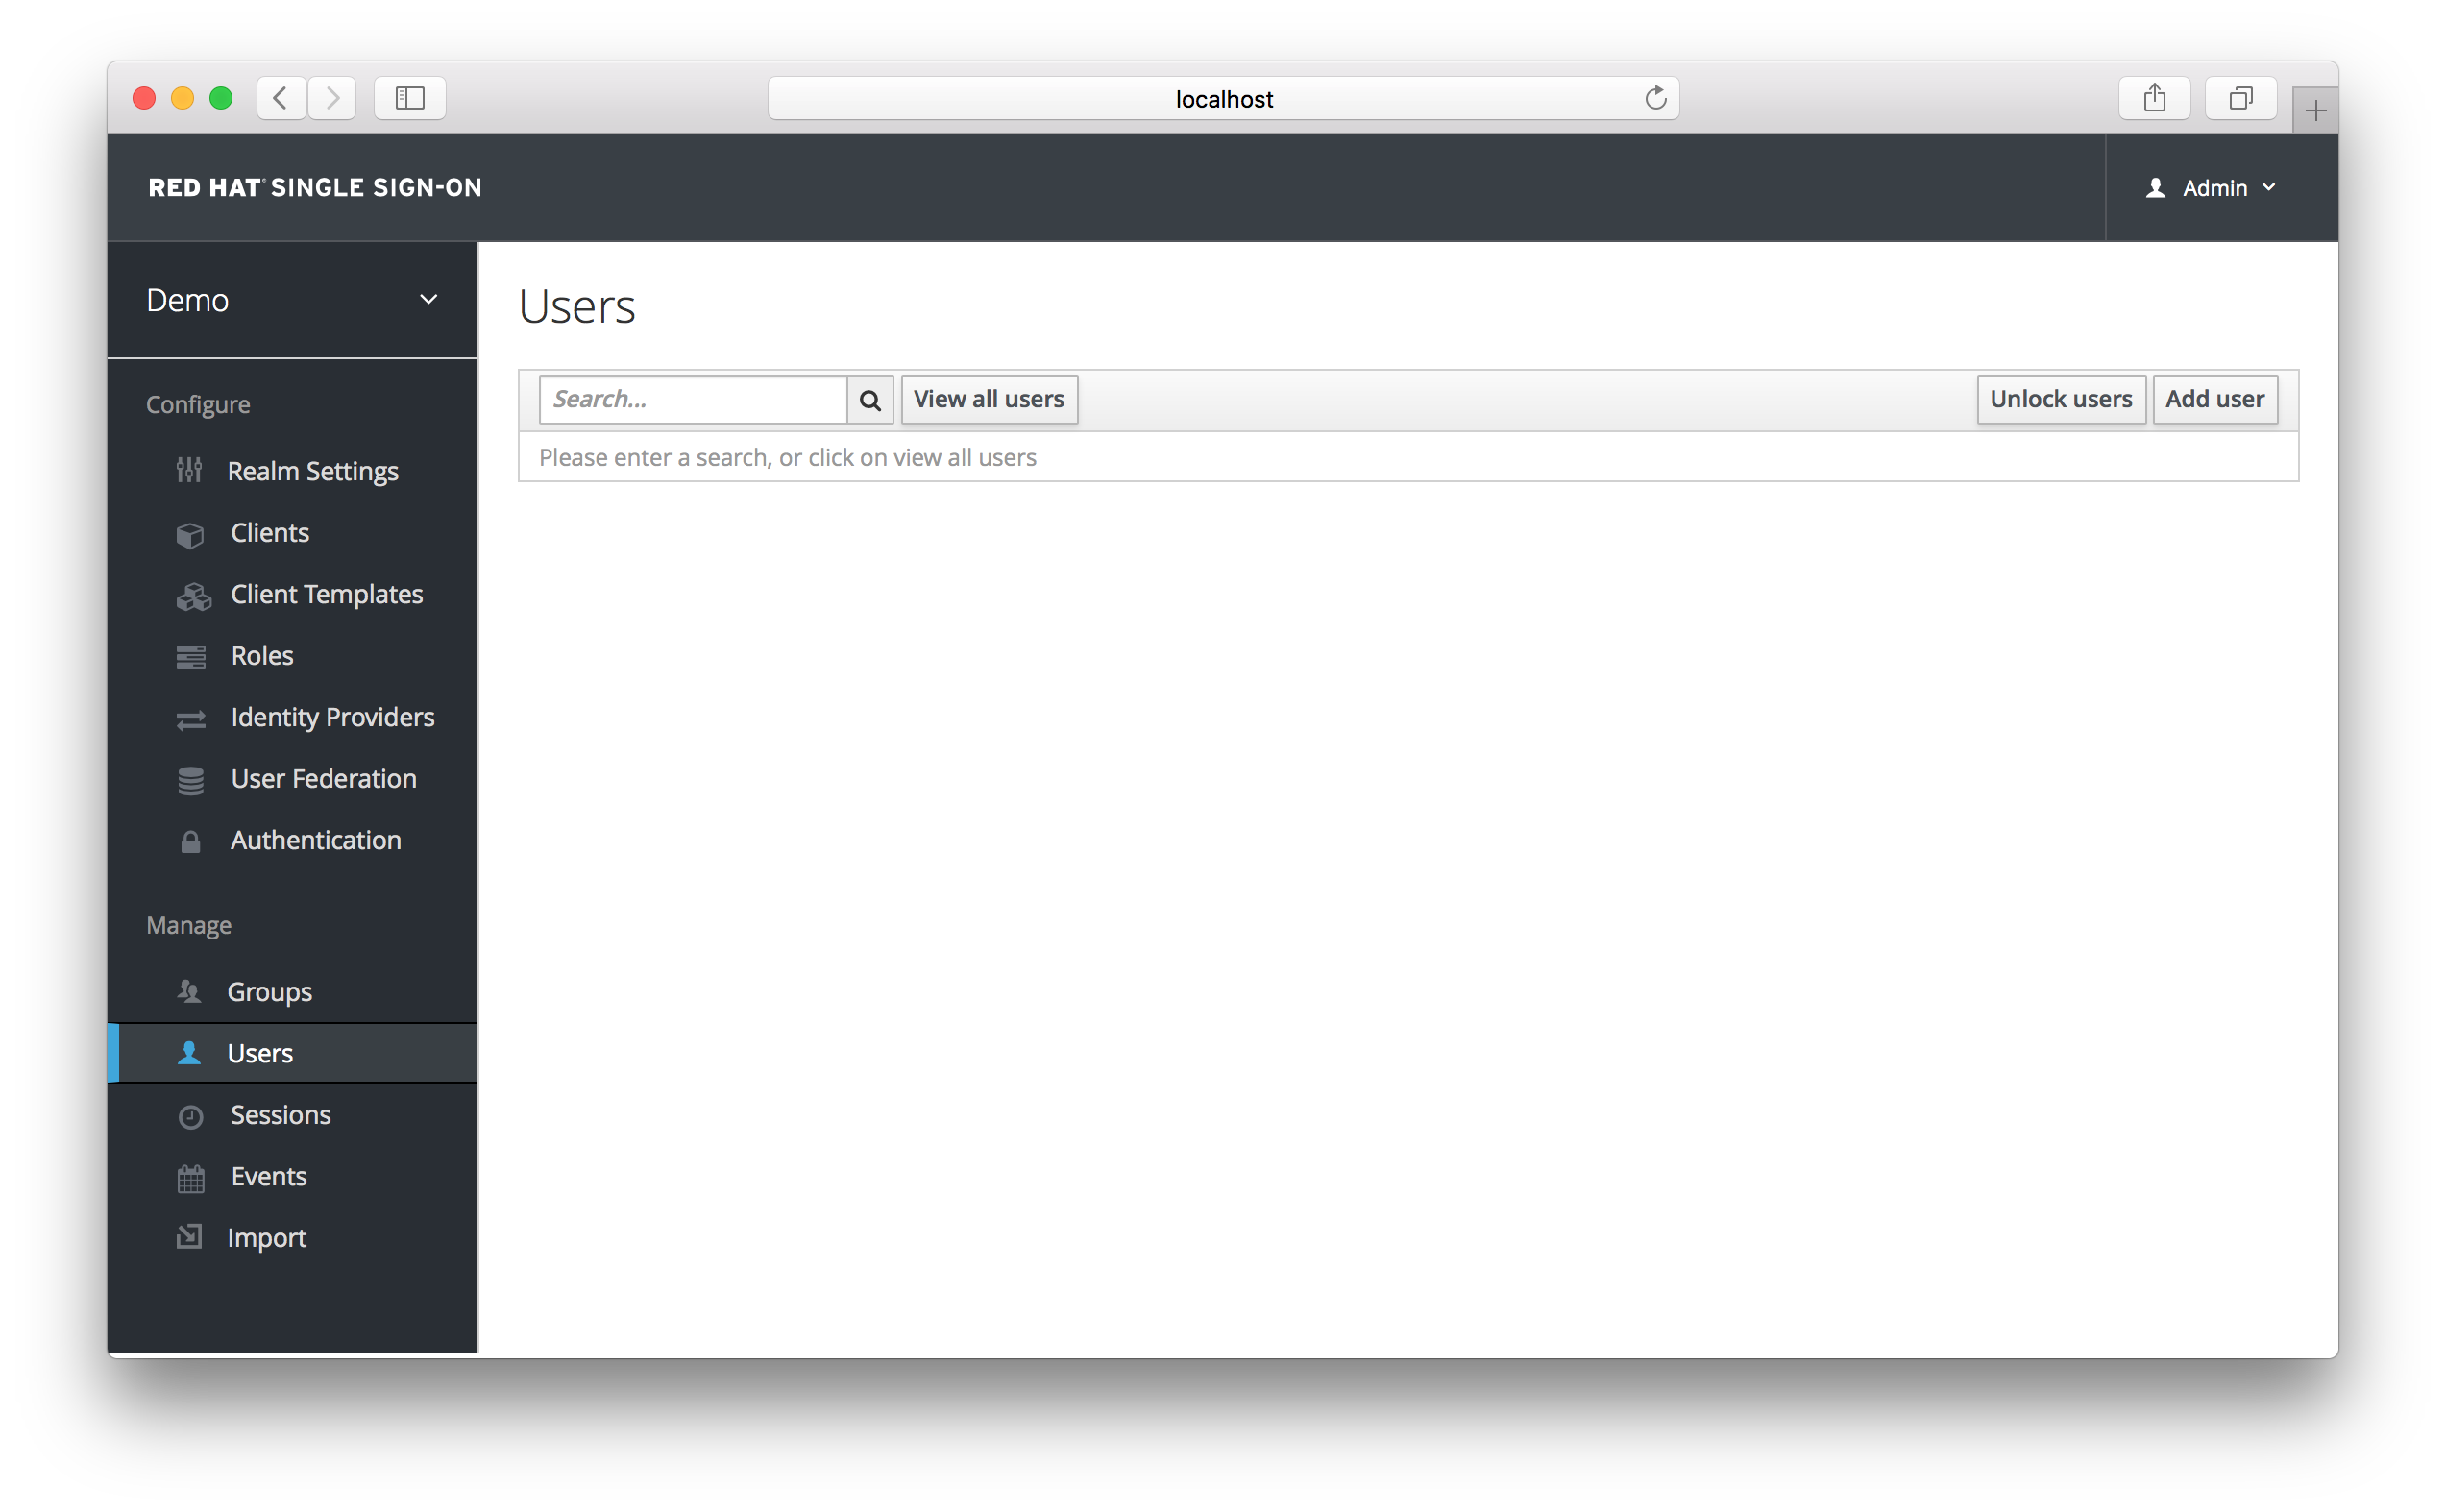
On the right side of the empty user list, click Add User.
Add User

-
The only required field is
Username. When you are finished, click Save. The management page for your new user opens. The next step is to define a temporary password for your new user. Click the Credentials tab.
Set Temporary Password
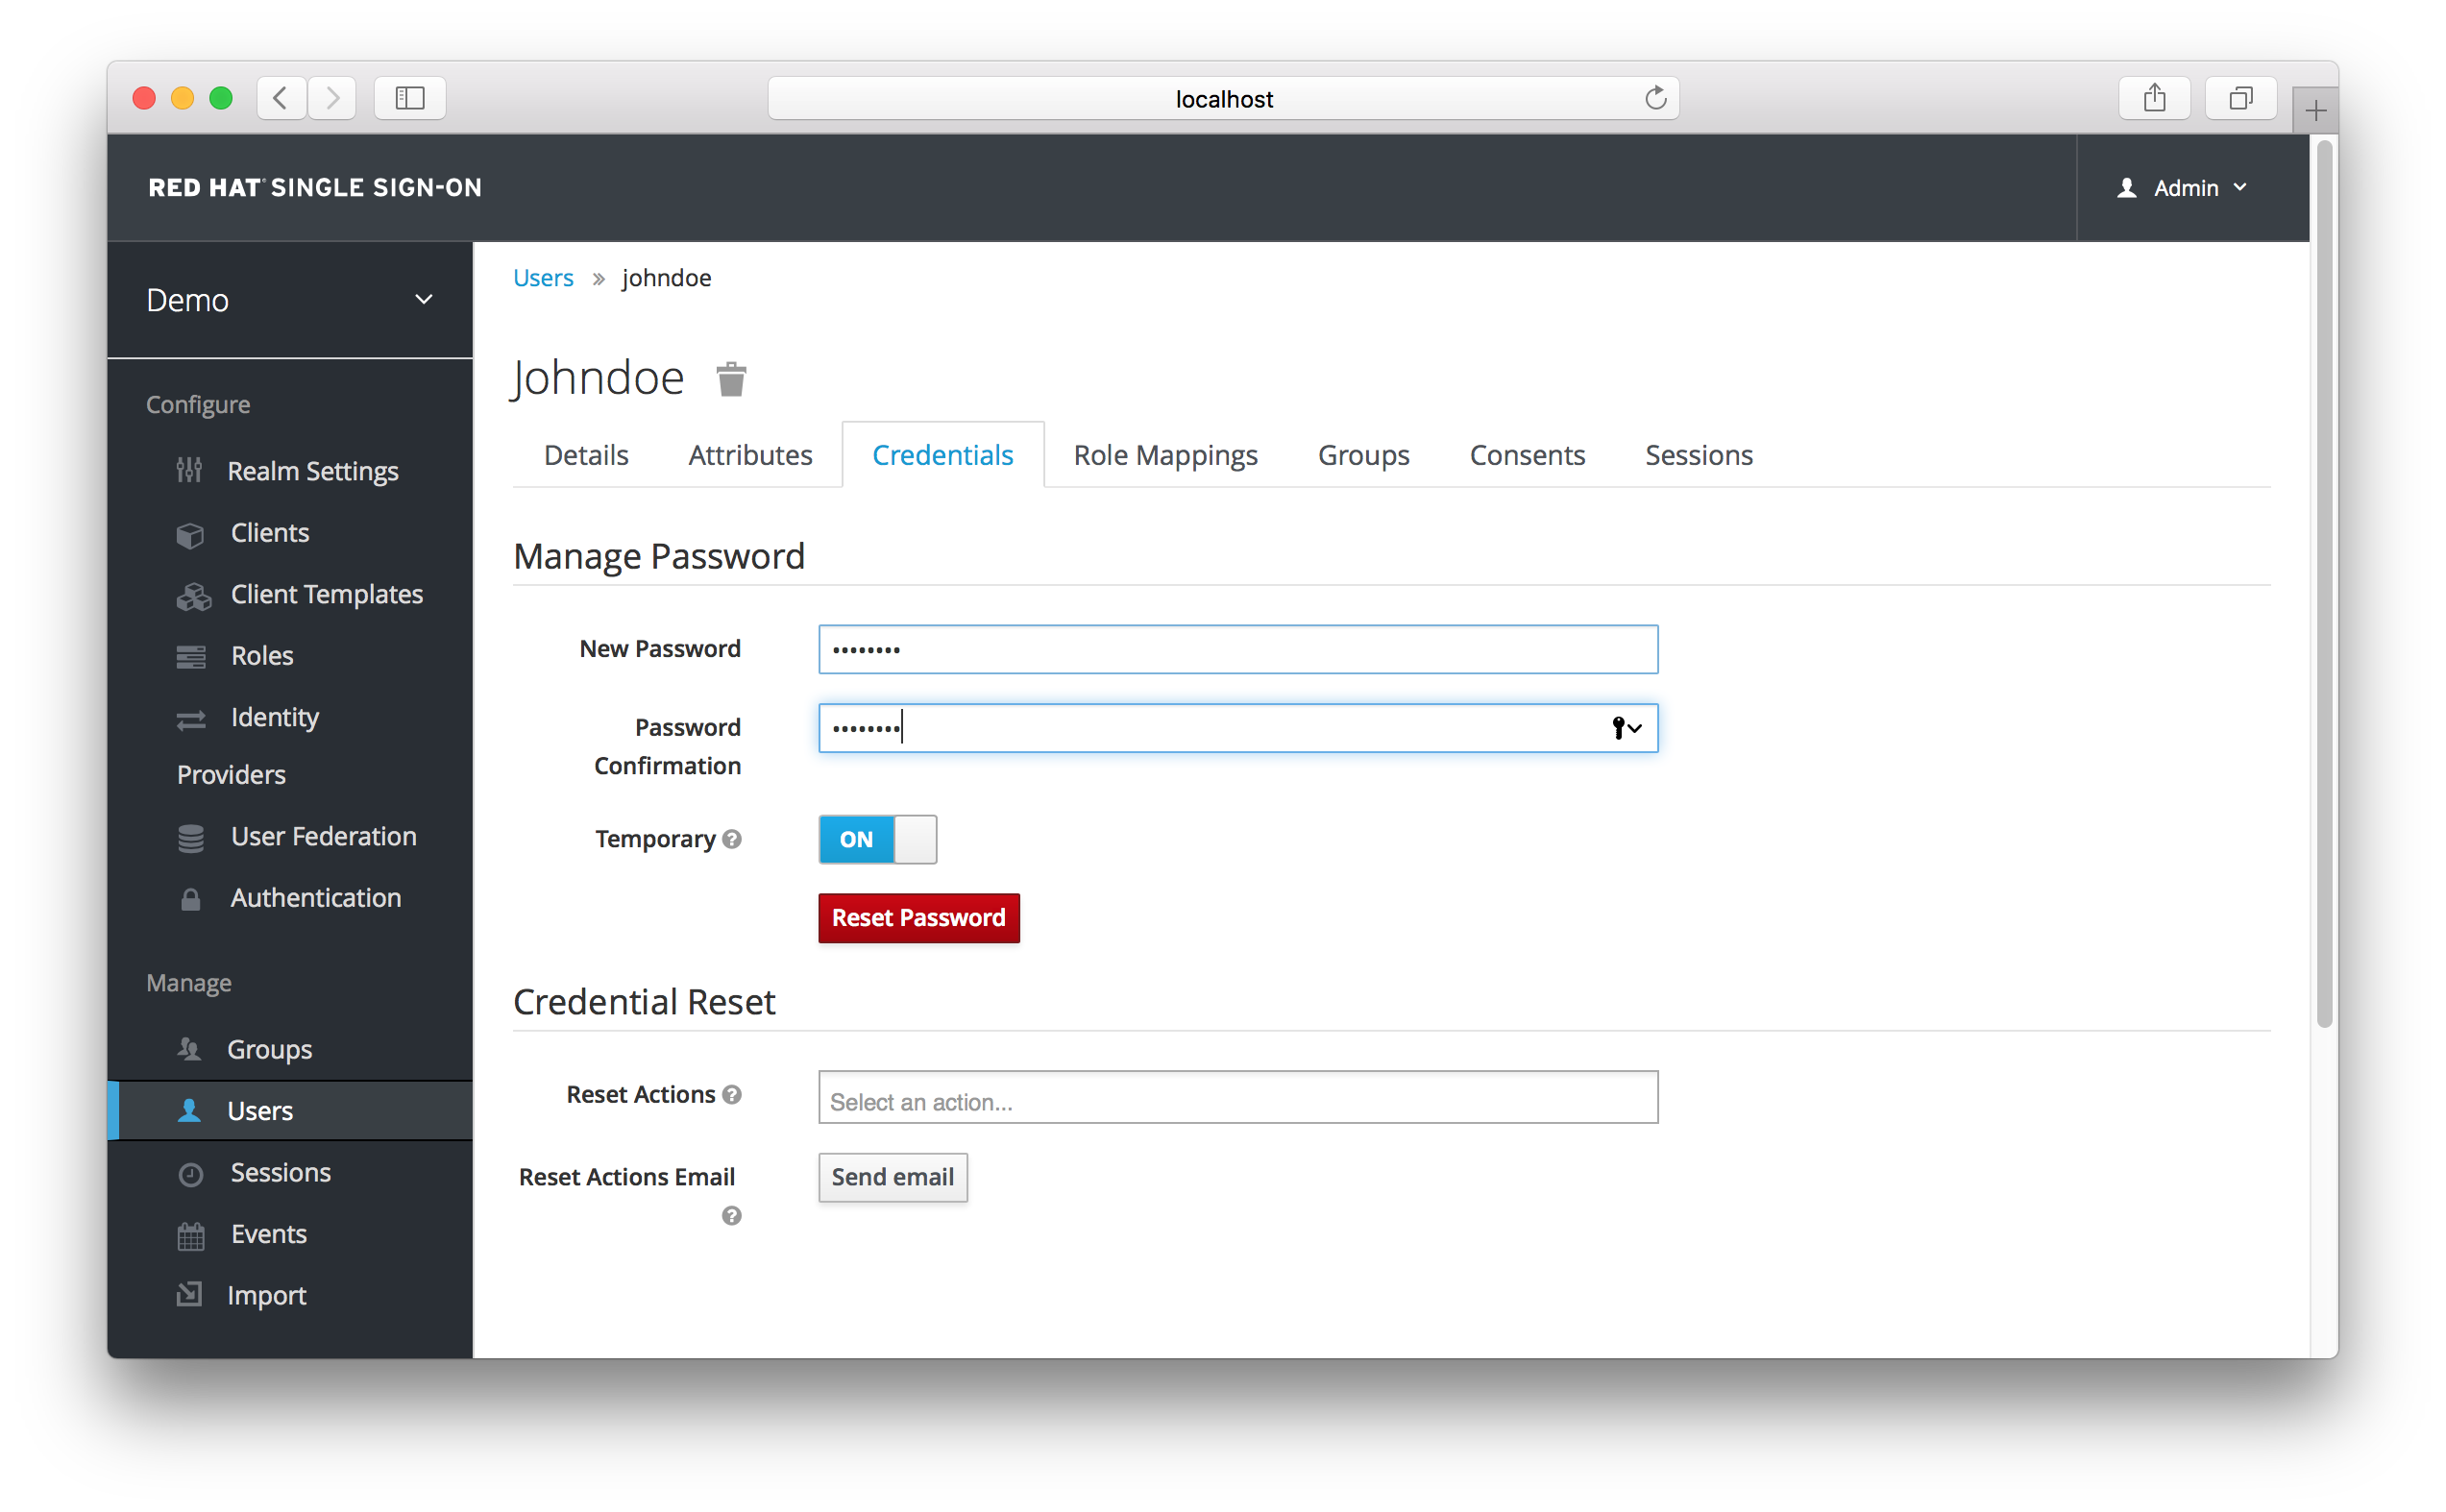
- Type a new password and confirm it. A red Reset Password button is displayed.
- Click Reset Password to reset the user password to the new one you specified.
This password is temporary and the user will be required to change it after first login. You can make it permanent by flipping the Temporary switch from On to Off before clicking Reset Password.
3.4. User Account Service
- After creating the user, log out of the management console by clicking the right dropdown menu and selecting Sign Off.
Log in to the User Account Service of your
demorealm with the user you just created by clicking this link:- User Account Link
- http://localhost:8080/auth/realms/demo/account
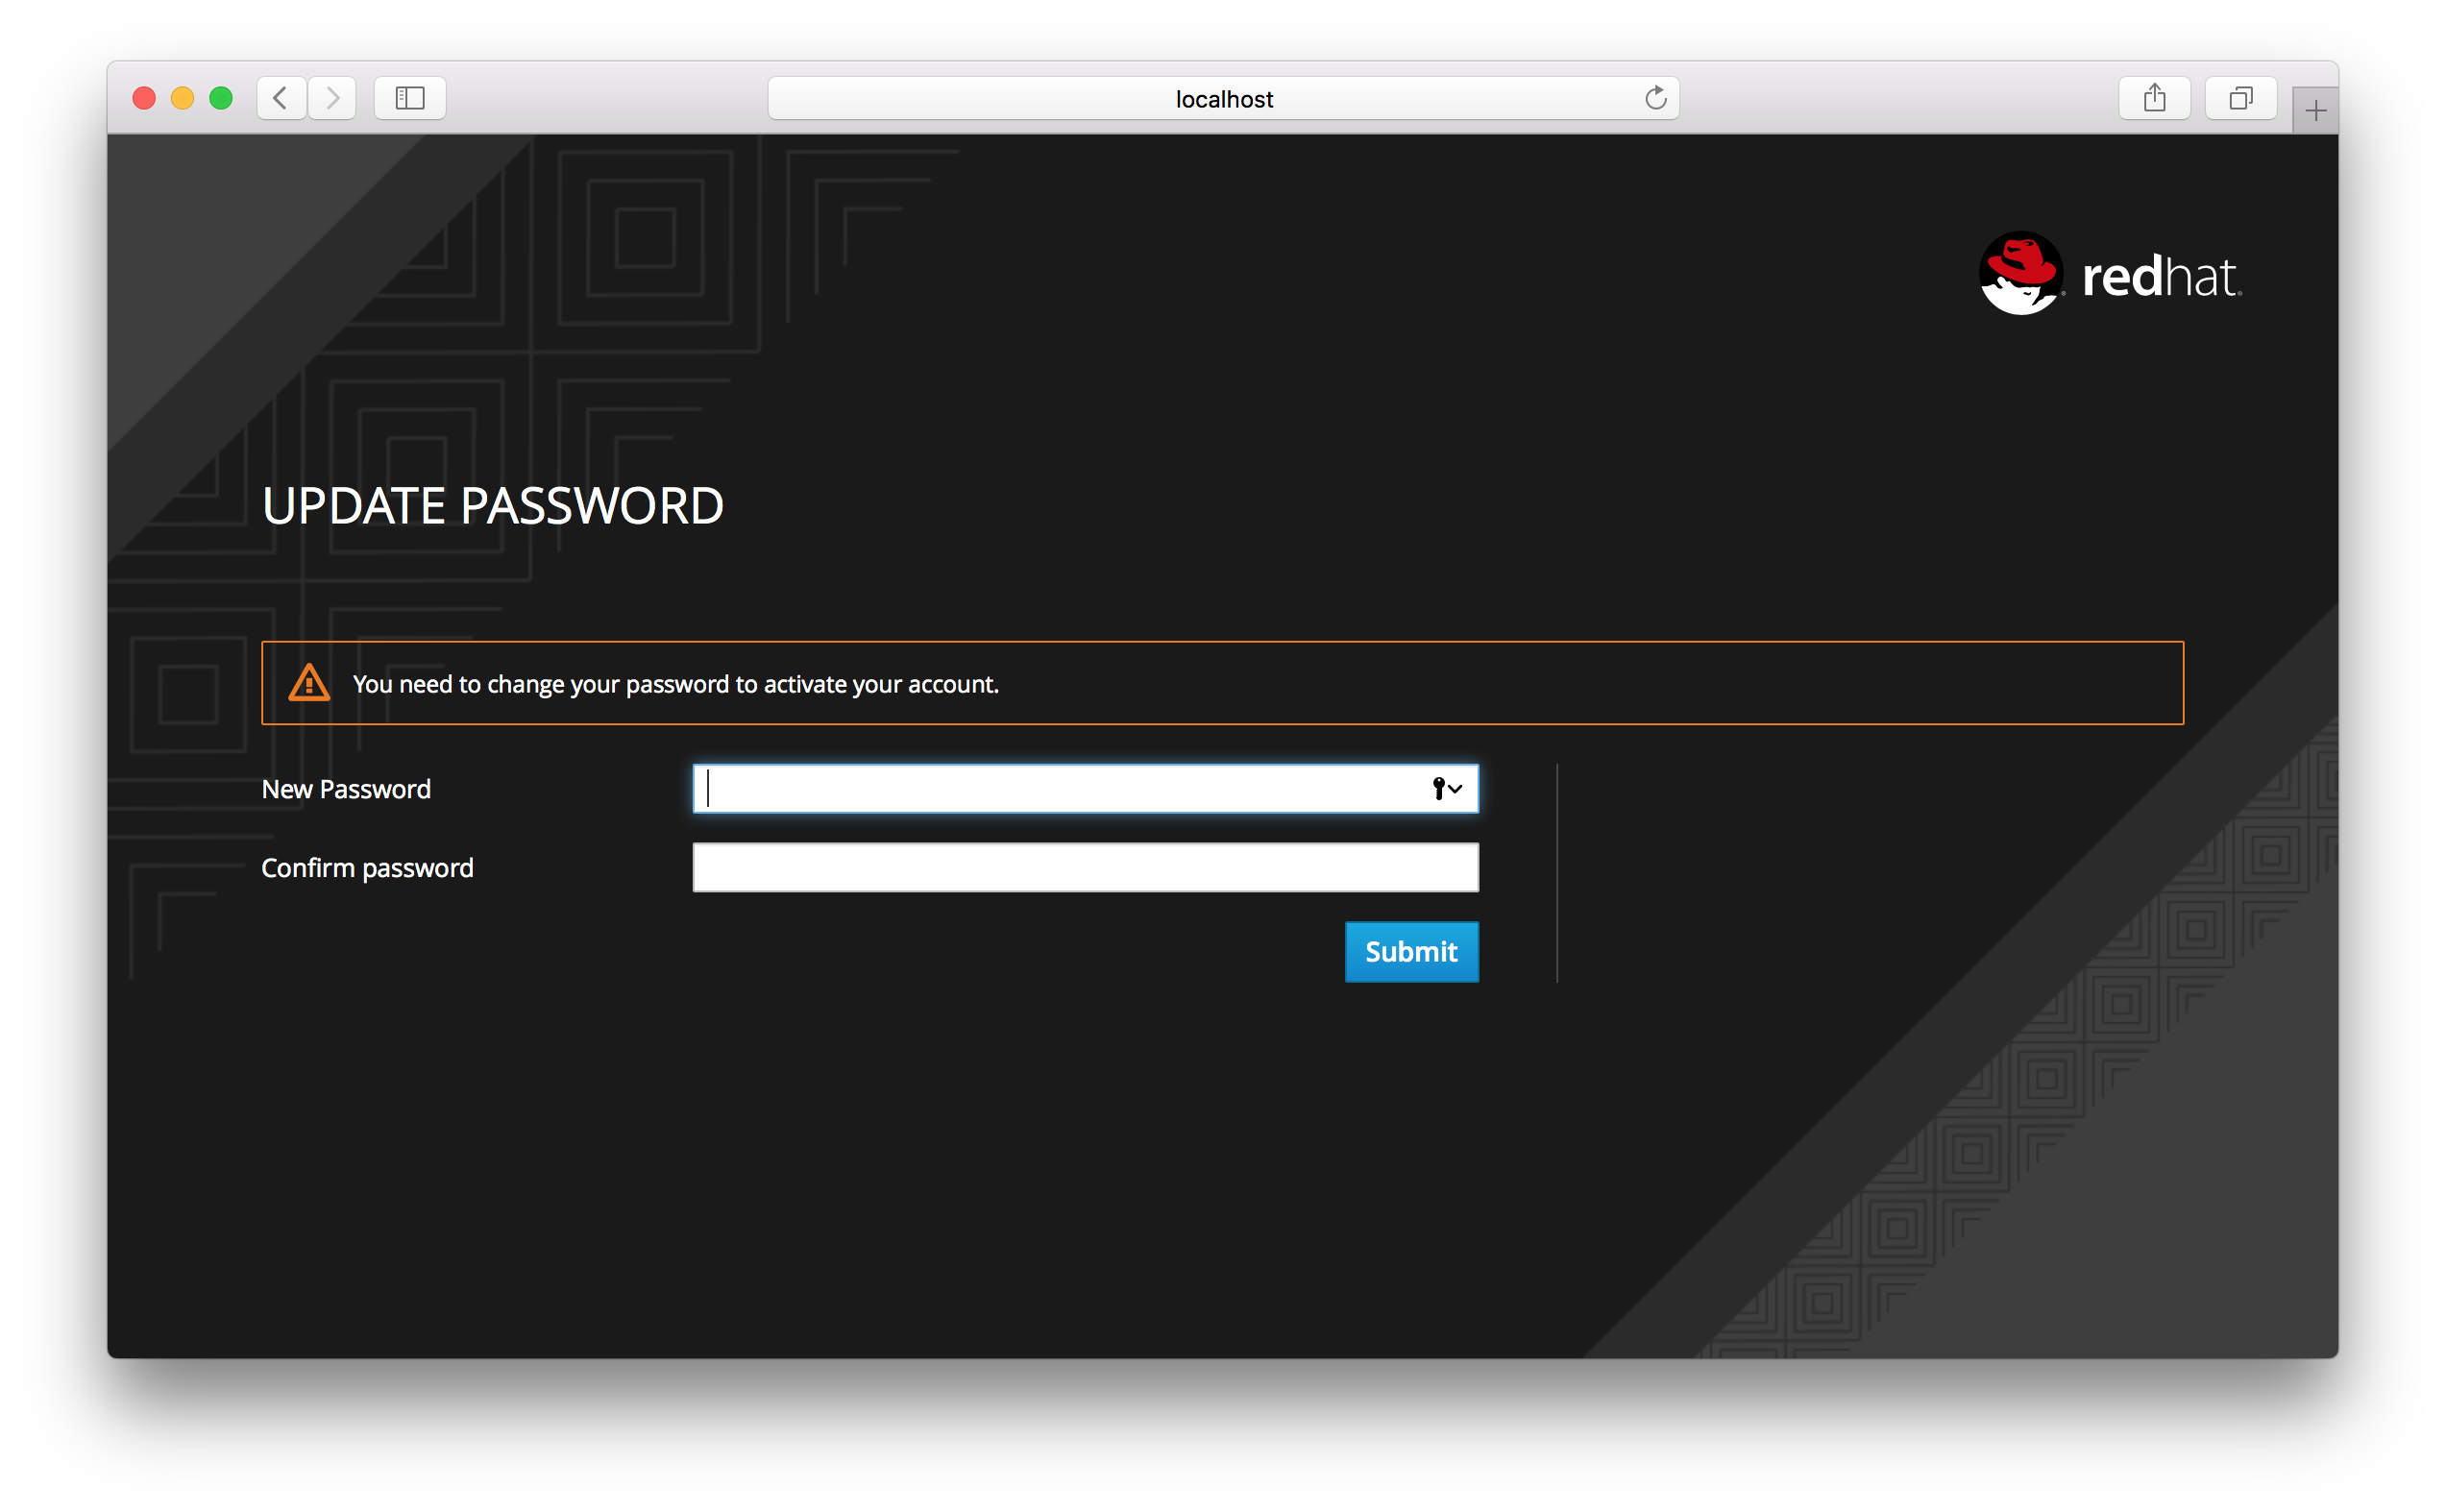
Type the username and password you created previously. You must create a permanent password after you successfully log in if you didn’t toggle the Temporary switch to Off previously.
Update Password
The User Account Service page opens. Every user in a realm has access to this Account Service by default. You can update profile information and change or add additional credentials. For more information on this service see the Server Administration Guide.