
Chapter 1. Deploying OpenShift Container Storage
OpenShift Container Storage 4.2 installation is supported only on existing Red Hat OpenShift Container Platform worker nodes. Follow the instructions in Section 1.1, “Installing Red Hat OpenShift Container Storage on an existing Red Hat OpenShift Container Platform” to deploy OpenShift Container Storage.
When you install OpenShift Container Storage in a restricted network environment, you need to apply a custom Network Time Protocol (NTP) configuration to the nodes, because by default, internet connectivity is assumed in OpenShift Container Platform and chronyd is configured to use *.rhel.pool.ntp.org servers. See https://access.redhat.com/solutions/4828941 and Configuring chrony time service for more details.
1.1. Installing Red Hat OpenShift Container Storage on an existing Red Hat OpenShift Container Platform
The deployment process consists of two main parts:
- Install the OpenShift Container Storage Operator by following the instructions in Section 1.1.1, “Installing Red Hat OpenShift Container Storage Operator using the Operator Hub”.
- Create the OpenShift Container Storage service by following the instructions in Section 1.1.2, “Creating an OpenShift Container Storage service”.
For Red Hat Enterprise Linux based hosts in a user provisioned infrastructure (UPI), you need to enable container access to the underlying file system by following the instructions in Section 1.1.3, “Enabling file system access for containers on Red Hat Enterprise Linux based nodes”.
1.1.1. Installing Red Hat OpenShift Container Storage Operator using the Operator Hub
You can install Red Hat OpenShift Container Storage using the Red Hat OpenShift Container Platform (OCP) Operator Hub on Amazon Web Services (AWS) and VMware vSphere platforms. For information about the hardware and software requirements, see Planning your deployment.
Prerequisites
- You must be logged into a latest OpenShift Container Platform cluster.
- You must have at least three worker nodes in OCP cluster.
You must create a namespace called
openshift-storageas follows:- Click Administration → Namespaces in the left pane of the OpenShift Web Console.
- Click Create Namespace.
-
In the Create Namespace dialog box, enter
openshift-storagefor Name andopenshift.io/cluster-monitoring=truefor Labels. This label is required to get the dashboards. - Select No restrictions option for Default Network Policy.
- Click Create.
When you need to override the cluster-wide default node selector for OpenShift Container Storage, you can use the following command in command line interface to specify a blank node selector for the openshift-storage namespace:
$ oc annotate namespace openshift-storage openshift.io/node-selector=
Procedure
Click Operators → OperatorHub in the left pane of the OpenShift Web Console.
Figure 1.1. List of operators in the Operator Hub
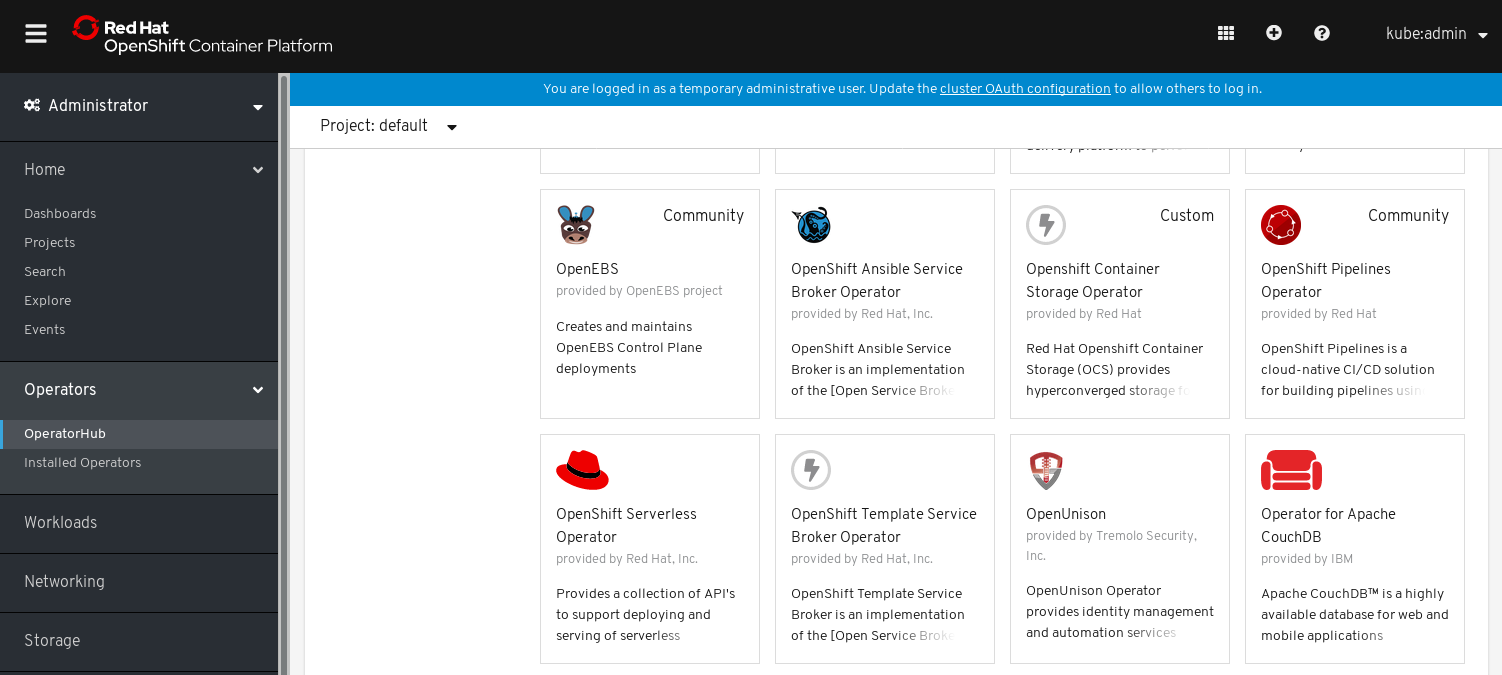
- Search for OpenShift Container Storage Operator from the list of operators and click on it.
- On the OpenShift Container Storage Operator page, click Install.
On the Create Operator Subscription page, you can set the Installation Mode, Update Channel, and Approval Strategy options.
Figure 1.2. Create Operator Subscription page

Select A specific namespace on the cluster for the Installation Mode option.
-
Select
openshift-storagenamespace from the drop down menu.
-
Select
- stable-4.2 channel is selected by default for the Update Channel option.
Select an Approval Strategy:
- Automatic specifies that you want OpenShift Container Platform to upgrade OpenShift Container Storage automatically.
- Manual specifies that you want to have control to upgrade OpenShift Container Storage manually.
Click Subscribe.
Figure 1.3. Installed operators
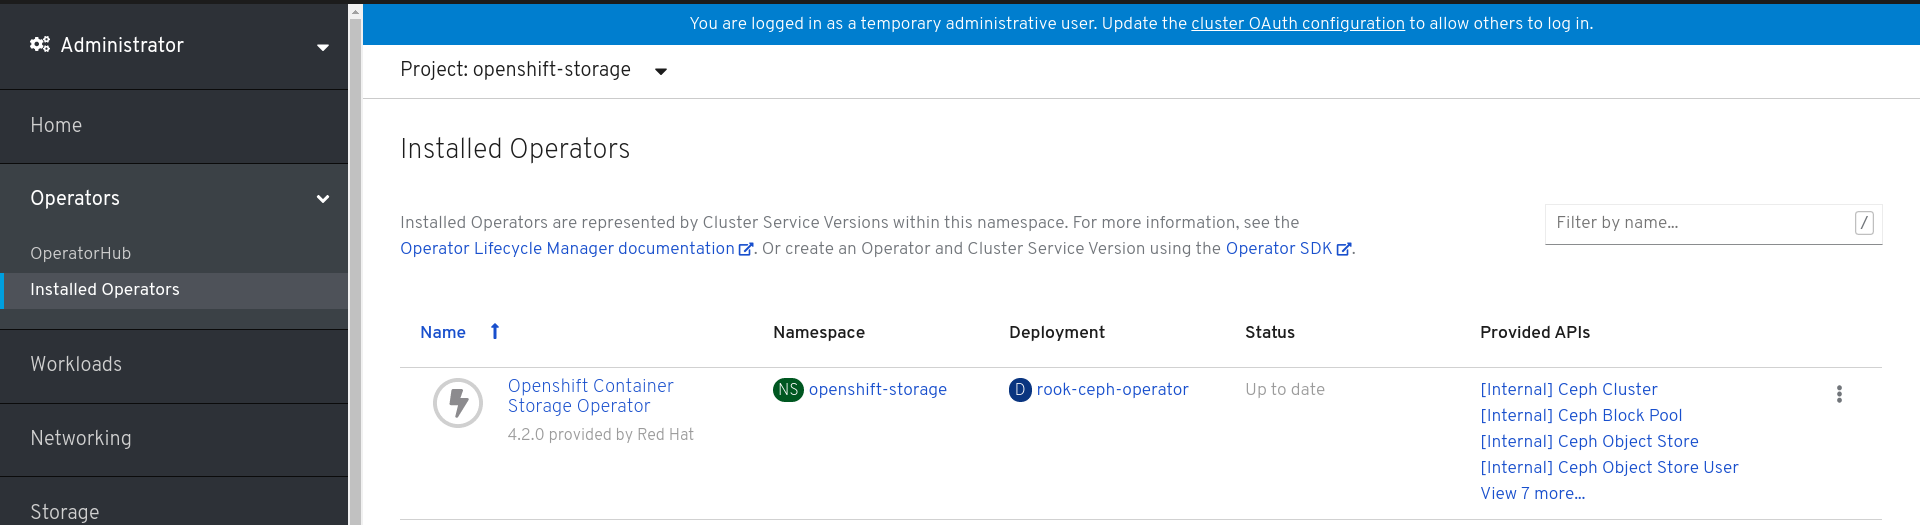
The Installed Operators page is displayed with the status of the operator.
Verification steps
-
Verify that the OpenShift Container Storage Operator show the Status as
Up-to-date.
1.1.2. Creating an OpenShift Container Storage service
You need to create a new OpenShift Container Storage service after you install OpenShift Container Storage operator on a user provisioned cloud for both Amazon Web Services (AWS) and VMware vSphere platforms.
Prerequisites
- OpenShift Container Storage operator must be installed from the Operator Hub. For more information, see Installing OpenShift Container Storage Operator using the Operator Hub.
Procedure
- Click Operators → Installed Operators from the left pane of the OpenShift Web Console to view the installed operators.
- On the Installed Operator page, select openshift-storage from the Project drop down list to switch to the openshift-storage project.
Click OpenShift Container Storage Operator.
OpenShift Container Storage operator creates a OCSInitialization resource automatically.
On the OpenShift Container Storage Operator page, scroll right and click the Storage Cluster tab.
Figure 1.4. OpenShift Container Storage Operator page
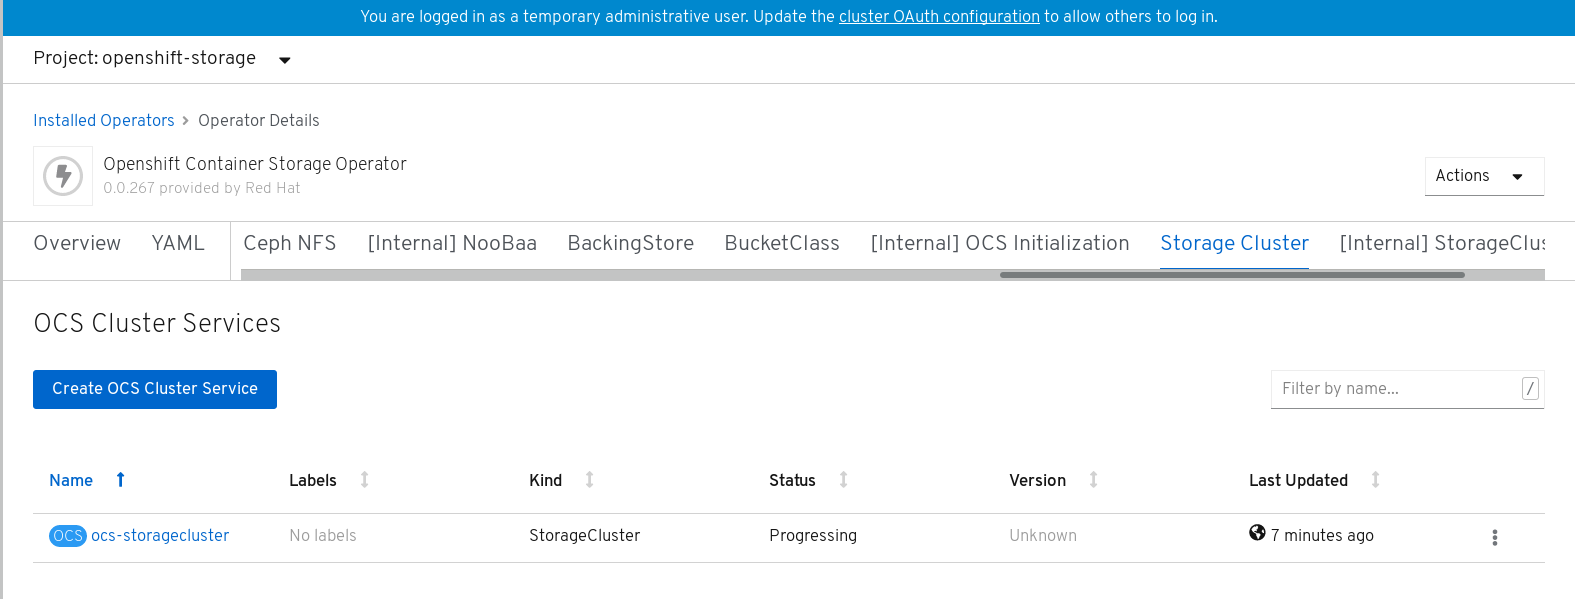
- On the OCS Cluster Services page, click Create OCS Cluster Service.
On the Create New OCS Service page, perform the following:
Figure 1.5. Create New OCS Service page

Select at least three worker nodes from the available list of nodes for the use of OpenShift Container Storage service.
Note- Ensure that the nodes are in different Location (AWS only).
-
Ensure that the selected nodes do not have the
NoSchedulelabel (for example the selected nodes should not be master nodes).
Click Create.
The Create button is enabled only after you select three nodes. A new storage cluster of three 2 TiB volumes will be created with one volume per worker node. The default configuration uses a replication factor of 3 providing approximately 2 TiB of usable storage.
Verification steps
- To verify that OpenShift Container Storage is successfully installed, see Verifying your OpenShift Container Storage installation.
1.1.3. Enabling file system access for containers on Red Hat Enterprise Linux based nodes
Deploying OpenShift Container Platform on a Red Hat Enterprise Linux base in a user provisioned infrastructure (UPI) does not automatically provide container access to the underlying Ceph file system. This is a bug tracked by RHSTOR-787.
This process is not necessary for hosts based on Red Hat Enterprise Linux CoreOS.
Procedure
Perform the following steps on each node in your cluster.
- Log in to the Red Hat Enterprise Linux based node and open a terminal.
Verify that the node has access to the rhel-7-server-extras-rpms repository.
# subscription-manager repos --list-enabled | grep rhel-7-server
If you do not see both
rhel-7-server-rpmsandrhel-7-server-extras-rpmsin the output, or if there is no output, run the following commands to enable each repository.# subscription-manager repos --enable=rhel-7-server-rpms # subscription-manager repos --enable=rhel-7-server-extras-rpms
Install the required packages.
# yum install -y policycoreutils container-selinux
Persistently enable container use of the Ceph file system in SELinux.
# setsebool -P container_use_cephfs on
- Verify that containers can now access OpenShift Container Storage hosted on this node.