
Red Hat Training
A Red Hat training course is available for Red Hat JBoss Operations Network
Chapter 7. Upgrading JBoss ON
An upgrade procedure for JBoss Operations Network essentially overlays the new JBoss ON packages and libraries over the existing configuration and databases. The upgrade procedure, then, is very similar to the installation process. The new packages need to be installed, and then the server is set up in the same setup wizard. The difference is that the server reuses its existing databases and data so that the configuration from the previous installation is preserved.
Upgrade to JBoss Operations Network 3.0 is only supported from JBoss ON 2.x versions and later.
Note
The JBoss ON servers must be upgraded before the JBoss ON agents can be upgraded.
Warning
There will be a minimal loss monitoring data because of the downtime required when the server and agents are being upgraded. Additionally, any monitoring data for the JBoss ON server will be lost, if the server is included in the inventory.
7.1. Upgrading the JBoss ON Server
Not every step in this upgrade procedure applies to every JBoss Operations Network installation. Just run through the steps in order, and perform the ones necessary for your deployment.
Warning
Upgrading the JBoss ON server essentially creates a new server instance that replaces the old instance. If the JBoss ON server was added to the inventory, then the old JBoss ON server resource must be deleted from the inventory because it will not be a usable resource after upgrade. Once the upgrade process is complete, then the JBoss ON server must be added to the inventory again and all of the previous configuration for that resource (like alerts, scheduled operations, and group membership) must be redone.
Note
See Chapter 5, Troubleshooting Installation and Upgrade if there are any problems during the upgrade process.
- First, do some prep work on the JBoss ON configuration. It is easier to clean up the configuration before migration than it is after.
- Remove any unused or out of service platforms from the inventory.
- Remove any alert definitions which use conditions for obsolete metrics.For migrating to JBoss ON 3.0, there are four alert conditions — all for PostgreSQL databases — which should be removed:
- User Time
- Kernel Time
- Physical Memory
- Virtual Memory
- Prepare the JBoss ON agents for upgrade. Agents will auto-upgrade, meaning that when they detect that the server has a new version, the agent will request an update. Follow the instructions at Section 7.3.1, “Preparing the Agent for Automatic Updates” to prepare the agent, and then just leave it running. The agent should be running in the background to upgrade properly, as in Section 4.4, “Running the JBoss ON Agent as a Service”.In some rare cases, the agent will be upgraded manually instead of upgrading itself. In that case, stop the agent before upgrading the server, and follow the instructions at Section 7.3.3, “Manually Upgrading the JBoss ON Agent”.
- Stop the JBoss ON server which is being upgraded as well as any currently running JBoss ON instances. For example:
serverRoot/jon-server-3.0.0.GA1/bin/rhq-server.sh stop
Warning
If the upgraded JBoss ON server will use a database that existing JBoss ON instances are also using, then all of the existing JBoss ON instances have to be stopped. Otherwise, the installer will hang when it tries to contact the database and the database is unavailable because it is in use by another JBoss ON server. - Open the server root directory. For example:
cd /opt/jon
- Unzip the server packages.
unzip jon-server-3.0.0.GA1.zip
Important
Do not copy the new server installation on top of a previous server installation.The directory structure within the server package gives the new server installation directory a version-specific name, such as/opt/jon/jon-server-3.0.0.GA1. - Copy over any changes in your original
rhq-server.propertiesfile to the new file inserverRoot/jon-server-3.0.0.GA1/bin. Changes to this file include things like setting up SSL and enabling SMTP for email notifications.Note
In JBoss ON 2.3.1 and older versions, the password to access the database is stored in plaintext. In JBoss ON 3.0, this password is hashed for security.Note
If you don't want to edit therhq-server.propertiesfile manually, you can change the server settings to the proper configuration in the Advanced Settings form during the server setup. - Windows only. If the server was installed as a Windows service, then uninstall the Windows service for the original server:
cd c:\old-serverRoot\bin

./rhq-server.bat remove
Then install the new server as a Windows service:cd c:\new-serverRoot\bin ./rhq-server.bat install
- Additional plug-in packs for specific needs (such as supporting management tasks for EWS, EAP, and SOA-P) are available to be installed separate from the core JBoss ON agent packages. Each plug-in pack as at least one (and sometimes more than one) agent plug-in. Each zip file for the plug-ins has a README.txt file with specific setup instructions.The plug-in files can be unzipped anywhere. For example:
cd /opt/jon/jon-server-3.0.0.GA1

unzip jon-plugin-pack-agent_plugin_name-3.0.0.GA1.zip
Note
If there are multiple JBoss ON servers in a high availability setup, the agent plug-in pack only has to be installed once. The other servers will pick up the plug-ins as part of the high availability polls. - Start the JBoss ON server. For example:
serverRoot/jon-server-3.0.0.GA1/bin/rhq-server.sh start
- Back up your server database before going through the setup wizard. In case there is a problem with the upgrade process, the backup allows you to restore to its previous state.
- Open the web UI.
http://hostname:7080
As with a new installation, the installer opens after you log in. - The setup process is the same as the initial setup procedure in Chapter 2, Installing JBoss ON Components.
Warning
Do not change any of the settings for the server, especially identifying information such as the Server Name field. This can cause errors during the upgrade process.When the database connection information is entered, the JBoss ON installer detects the existing JBoss ON database. This introduces a new field to the installer, prompting you for what to do with the existing database. Choose the default, Keep (maintain existing data). Do not choose Overwrite (lose existing data), or the installer will delete all of your JBoss ON data, including your inventory, monitoring history, alerts, and metrics.
 - The Registered Servers lists every server in the server cloud. For upgrades and re-installs, this gives you the option to keep the existing server configuration (such as ports and notification settings) or to set new values. To preserve the settings, select the server from the registered servers list; otherwise, select New Server.

- Start any JBoss ON agents that were stopped for the upgrade process.
- If the older JBoss ON server was added to the JBoss ON inventory, then remove it. The old JBoss ON server must be removed from the inventory because it is no longer a usable resource.
- Optional. Add the new JBoss ON server as a resource in the inventory.
Once the server is upgraded, one visible change is that the upgraded GUI uses new icons and style sheets.
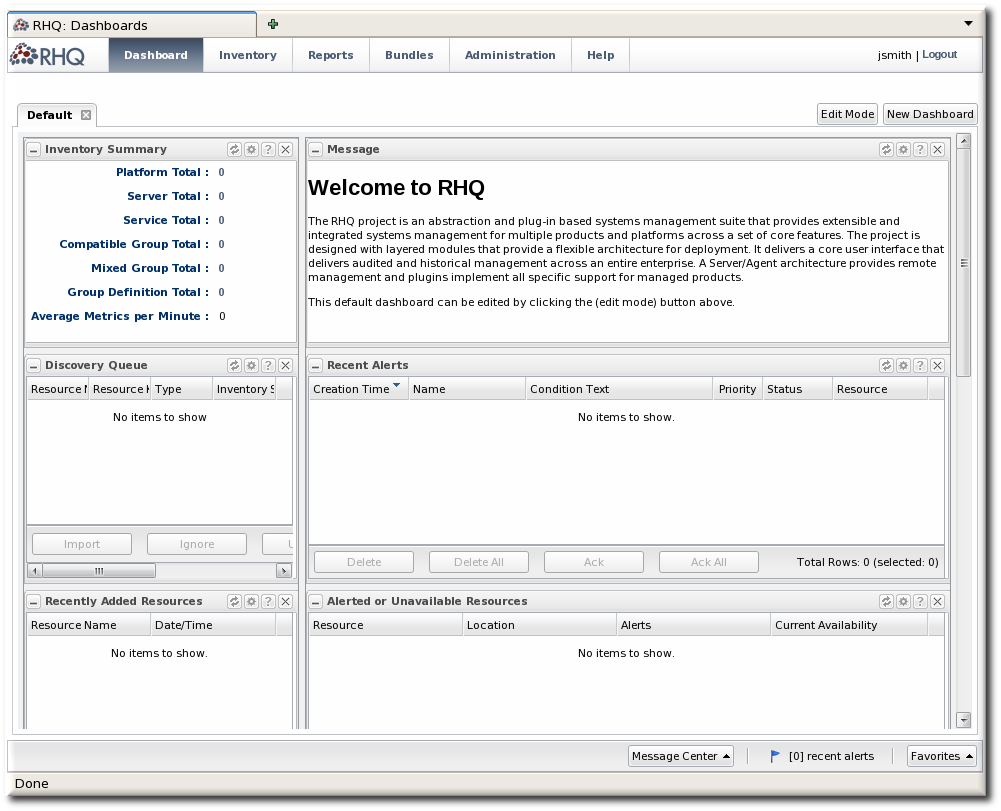
Figure 7.1. Updated UI
Note
Because there are CSS changes in JBoss ON 3.0, the GUI has a different layout and defined classes in JBoss ON 3.0 than in previous releases. After an upgrade, if the GUI is already open or if the style data are cached, then the JBoss ON UI will be poorly formatted. Manually reload the CSS and image files using Ctrl+F5.