
Chapter 7. Deploy the Hosted Engine using the Web Console
This section shows you how to deploy the Hosted Engine using the Web Console. Following this process results in Red Hat Virtualization Manager running as a virtual machine on the first physical machine in your deployment. It also configures a Default cluster comprised of the three physical machines, and enables Red Hat Gluster Storage functionality and the virtual-host tuned performance profile for each machine in the cluster.
Prerequisites
- Configure Red Hat Gluster Storage for Hosted Engine using the Web Console
Gather the information you need for Hosted Engine deployment
Have the following information ready before you start the deployment process.
- IP address for a pingable gateway to the hyperconverged host
- IP address of the front-end management network
- Fully-qualified domain name (FQDN) for the Hosted Engine virtual machine
- MAC address that resolves to the static FQDN and IP address of the Hosted Engine
Procedure
Open the Hosted Engine Deployment wizard
If you continued directly from the end of Configure Red Hat Gluster Storage for Hosted Engine using the Web Console, the wizard is already open.
Otherwise:
- Click Virtualization → Hosted Engine.
- Click Start underneath Hyperconverged.
Click Use existing configuration.
ImportantIf the previous deployment attempt failed, click Clean up instead of Use existing configuration to discard the previous attempt and start from scratch.
Specify virtual machine details

Enter the following details and click Validate for FQDN fields.
- Engine VM FQDN
-
The fully qualified domain name to be used for the Hosted Engine virtual machine, for example,
engine.example.com. - MAC Address
The MAC address associated with the Engine VM FQDN.
ImportantThe pre-populated MAC address must be replaced.
- Root password
- The root password to be used for the Hosted Engine virtual machine.
- Click Next. Your FQDNs are validated before the next screen appears.
Specify virtualization management details
Enter the password to be used by the
adminaccount in the Administration Portal. You can also specify notification behavior here.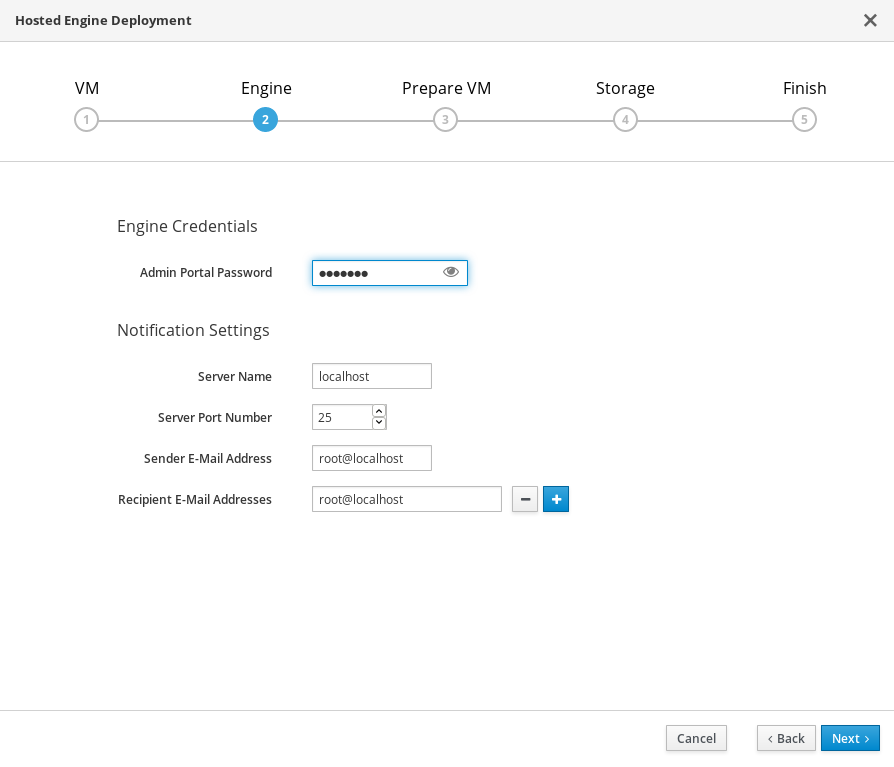
- Click Next.
Review virtual machine configuration
Ensure that the details listed on this tab are correct. Click Back to correct any incorrect information.

- Click Prepare VM.
Wait for virtual machine preparation to complete.
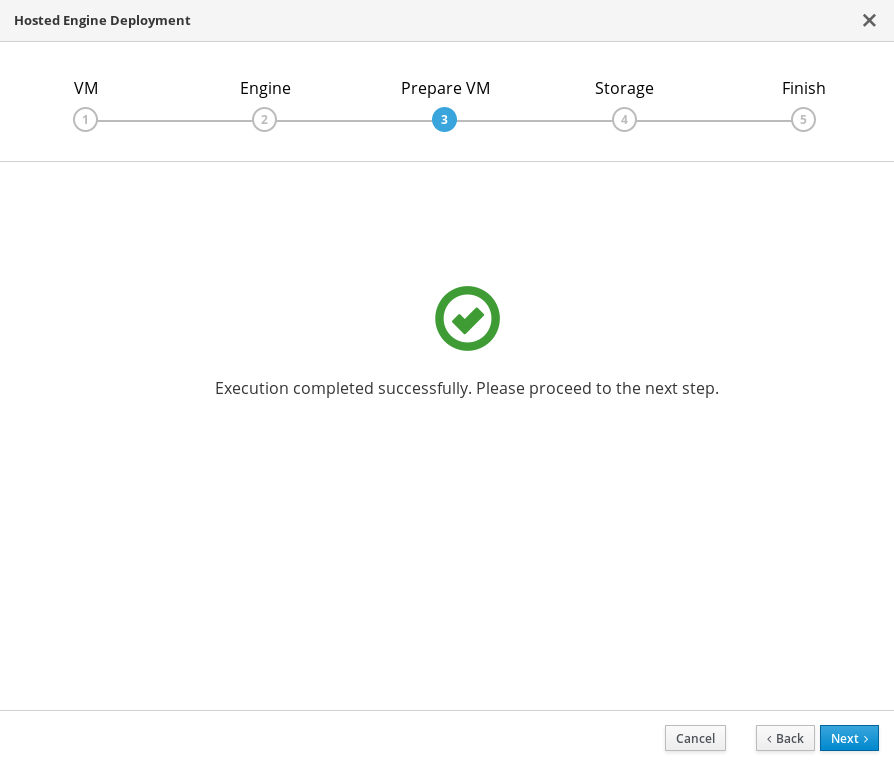
If preparation does not occur successfully, see Viewing Hosted Engine deployment errors.
- Click Next.
Specify storage for the Hosted Engine virtual machine
-
Specify the primary host and the location of the
enginevolume. Ensure that the Mount Options field is populated correctly.
-
Ensure that
backup-volfile-servers=<host2-ip-address>:<host3-ip-address>, with the appropriate IP addresses inserted in place of<host2-ip-address>and<host3-ip-address>. If your environment uses IPv6 addresses, ensure that you add the
xlator-option=transport.address-family=inet6option after thebackup-volfile-serversvalue, like so:backup-volfile-servers=<host2-ip-address>:<host3-ip-address>,xlator-option=transport.address-family=inet6

-
Ensure that
- Click Next.
-
Specify the primary host and the location of the
Finalize Hosted Engine deployment
Review your deployment details and verify that they are correct.
NoteThe responses you provided during configuration are saved to an answer file to help you reinstall the hosted engine if necessary. The answer file is created at
/etc/ovirt-hosted-engine/answers.confby default. This file should not be modified manually without assistance from Red Hat Support.
- Click Finish Deployment.
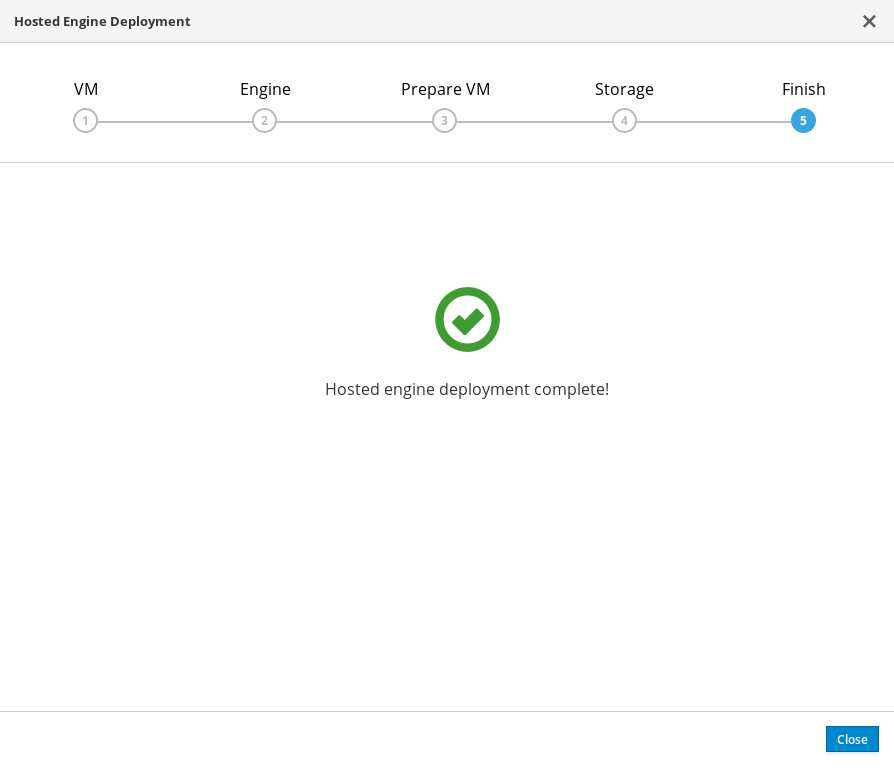
Wait for deployment to complete
This takes up to 30 minutes.
The window displays the following when complete.
 Important
If deployment does not complete successfully, see Viewing Hosted Engine deployment errors.
Click Close.
Verify hosted engine deployment
Browse to the Administration Portal (for example, http://engine.example.com/ovirt-engine) and verify that you can log in using the administrative credentials you configured earlier. Click Dashboard and look for your hosts, storage domains, and virtual machines.
