Red Hat Training
A Red Hat training course is available for Red Hat Enterprise Linux
8.3. Installing Windows XP as a fully virtualized guest
Windows XP can be installed as a fully virtualized guest. This section describes how to install Windows XP as a fully virtualized guest on Red Hat Enterprise Linux.
This procedure covers both the KVM and the Xen hypervisors; the steps are interchangeable and different steps are noted.
The KVM hypervisor requires Red Hat Enterprise Linux 5.4 or newer.
Before commencing this procedure ensure you must have root access.
Important
Presently, Red Hat Enterprise Linux hosts on the Itanium® architecture does not support fully virtualized Windows XP guests. Only Windows Server 2003 for Itanium-based Systems is supported for Itanium systems.
Starting virt-manager
Open . Open a connection to a host (click ). Click the button to create a new virtual machine.Naming your virtual system
Enter the System Name and click the button.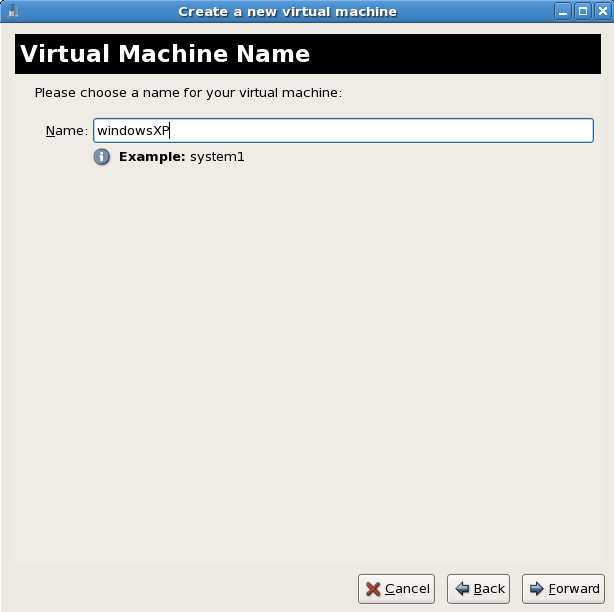
Choosing a virtualization method
If you selected KVM or Xen earlier (step Step 1 ) you must use the hypervisor you selected. This example uses the KVM hypervisor.Windows can only be installed using full virtualization.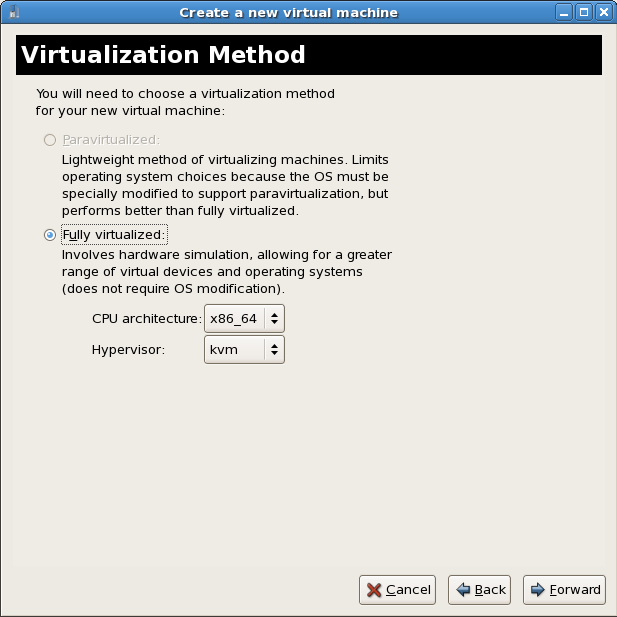
Choosing an installation method
This screen enables you to specify the installation method and the type of operating system.Select Windows from the OS Type list and Microsoft Windows XP from the OS Variant list.Installing guests with PXE is supported in Red Hat Enterprise Linux 5.2. PXE installation is not covered by this chapter.
Warning
For ISO image files and guest storage images it is recommended to use the/var/lib/libvirt/images/directory. Any other location will require additional configuration for SELinux, see Section 19.2, “SELinux and virtualization” for details.Press to continue.Choose installation image
Choose the installation image or CD-ROM. For CD-ROM or DVD installation select the device with the Windows installation disc in it. If you chose ISO Image Location enter the path to a Windows installation .iso image.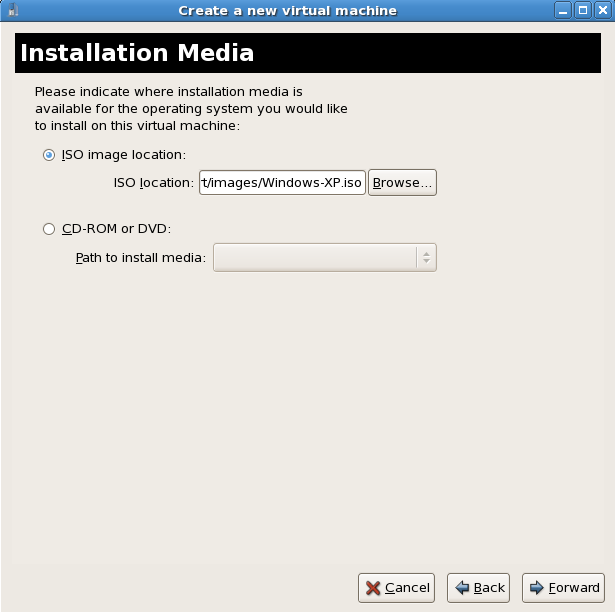 Press to continue.
- The Storage window displays. Choose a disk partition, LUN or create a file-based image for the guest's storage.All image files are stored in the
/var/lib/libvirt/images/directory by default. In the default configuration, other directory locations for file-based images are prohibited by SELinux. If you use a different directory you must label the new directory according to SELinux policy. See Section 19.2, “SELinux and virtualization” for details.Allocate extra space if the guest needs additional space for applications or other data. For example, web servers require additional space for log files.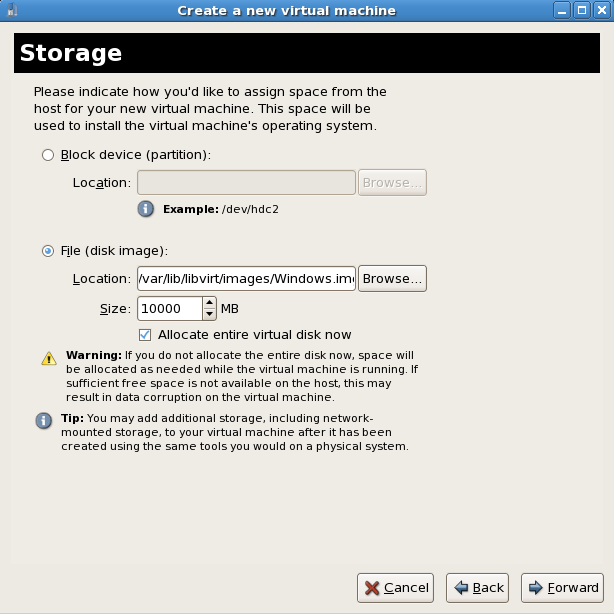 Choose the appropriate size for the guest on your selected storage type and click the button.
Note
It is recommend that you use the default directory for virtual machine images,/var/lib/libvirt/images/. If you are using a different location (such as/images/in this example) make sure it is added to your SELinux policy and relabeled before you continue with the installation (later in the document you will find information on how to modify your SELinux policy) Network setup
Select either Virtual network or Shared physical device.The virtual network option uses Network Address Translation (NAT) to share the default network device with the guest. Use the virtual network option for wireless networks.The shared physical device option uses a network bond to give the guest full access to a network device.Press to continue.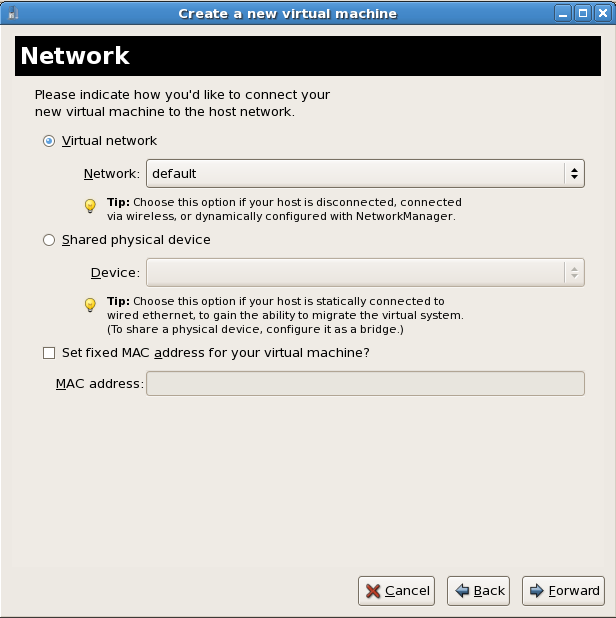
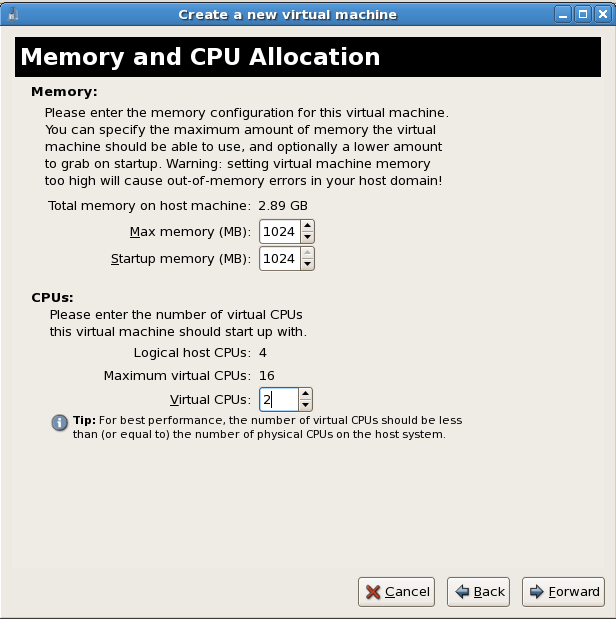
- The Memory and CPU Allocation window displays. Choose appropriate values for the virtualized CPUs and RAM allocation. These values affect the host's and guest's performance.Guests require sufficient physical memory (RAM) to run efficiently and effectively. Choose a memory value which suits your guest operating system and application requirements. Most operating system require at least 512MB of RAM to work responsively. Remember, guests use physical RAM. Running too many guests or leaving insufficient memory for the host system results in significant usage of virtual memory and swapping. Virtual memory is significantly slower causing degraded system performance and responsiveness. Ensure to allocate sufficient memory for all guests and the host to operate effectively.Assign sufficient virtual CPUs for the guest. If the guest runs a multithreaded application, assign the number of virtualized CPUs the guest will require to run efficiently. Do not assign more virtual CPUs than there are physical processors (or hyper-threads) available on the host system. It is possible to over allocate virtual processors, however, over allocating has a significant, negative effect on guest and host performance due to processor context switching overheads.
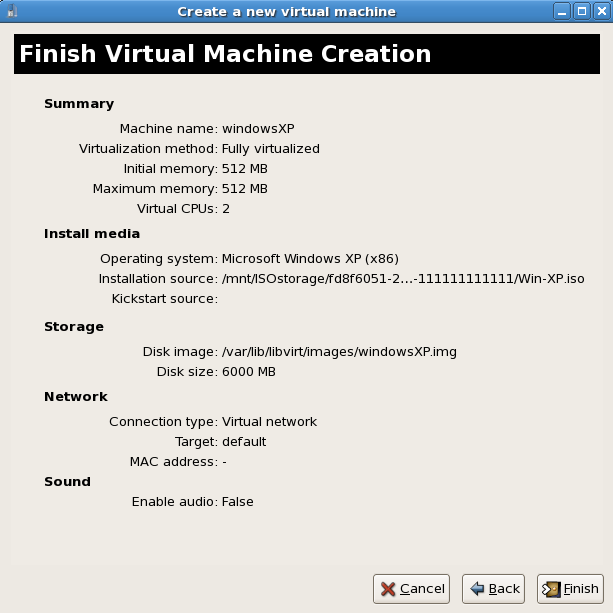
- Before the installation continues you will see the summary screen. Press to proceed to the guest installation:
- You must make a hardware selection so open a console window quickly after the installation starts. Click then switch to the virt-manager summary window and select your newly started Windows guest. Double click on the system name and the console window opens. Quickly and repeatedly press F5 to select a new
HAL, once you get the dialog box in the Windows install select the 'Generic i486 Platform' tab. Scroll through selections with the Up and Down arrows.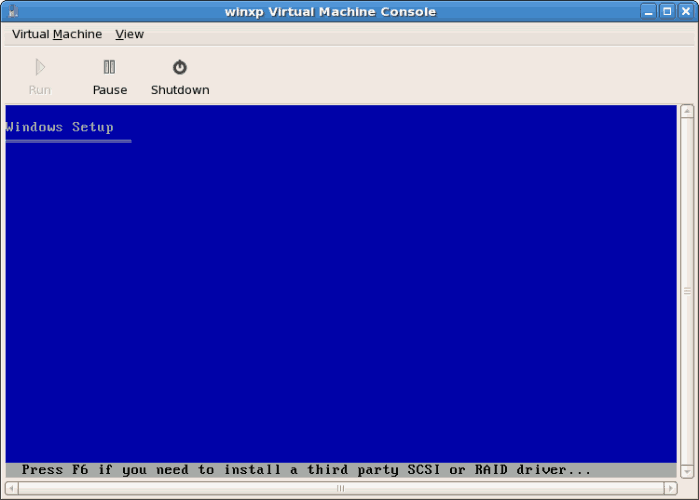
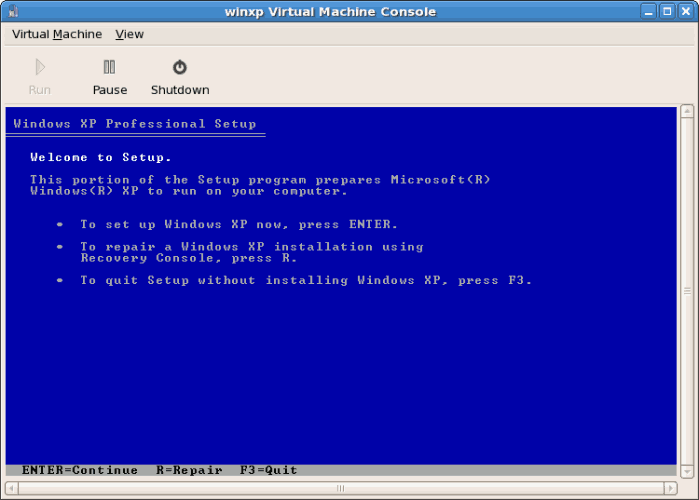
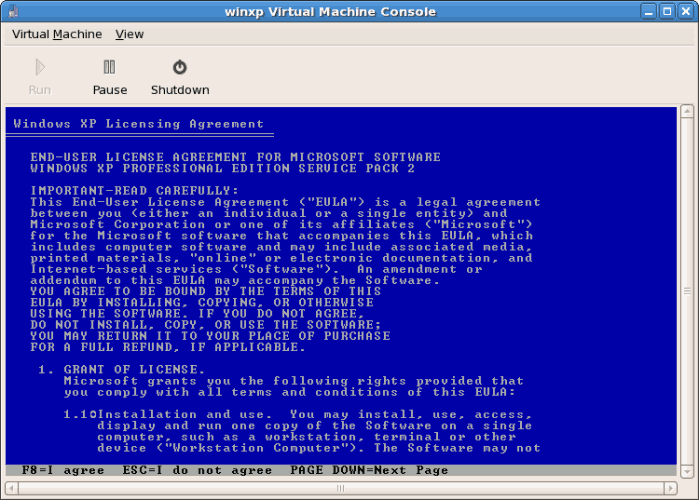
- The installation continues with the standard Windows installation.
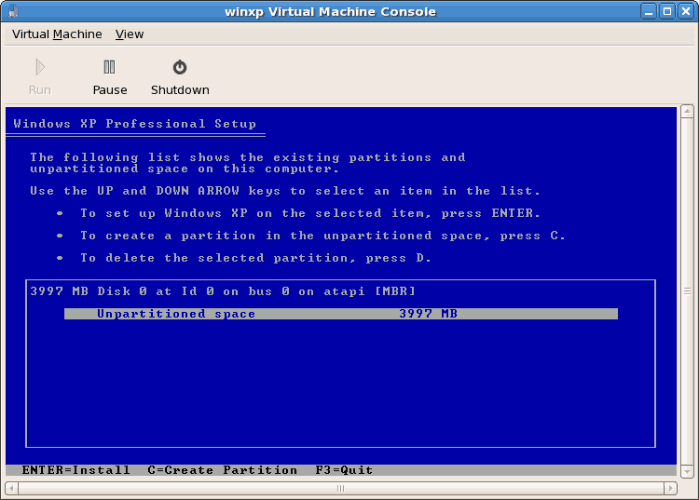
- Partition the hard drive when prompted.

- After the drive is formatted, Windows starts copying the files to the hard drive.
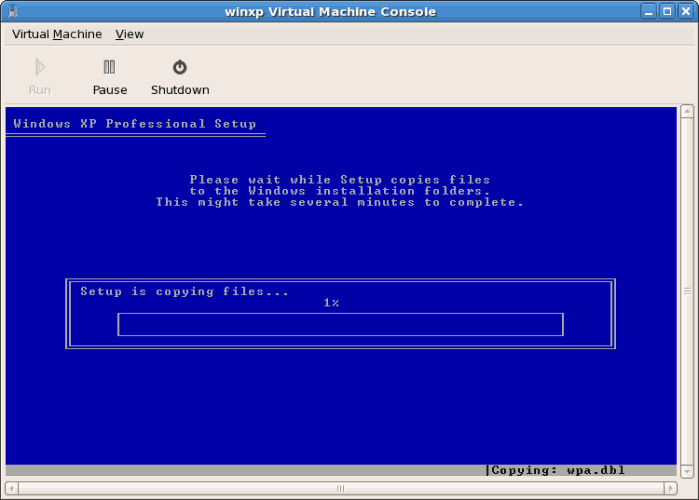

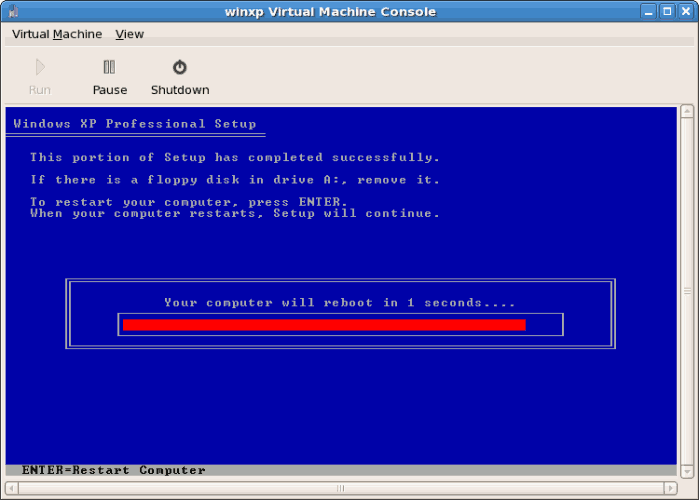
- The files are copied to the storage device, Windows now reboots.
- Restart your Windows guest:
# virsh start WindowsGuest
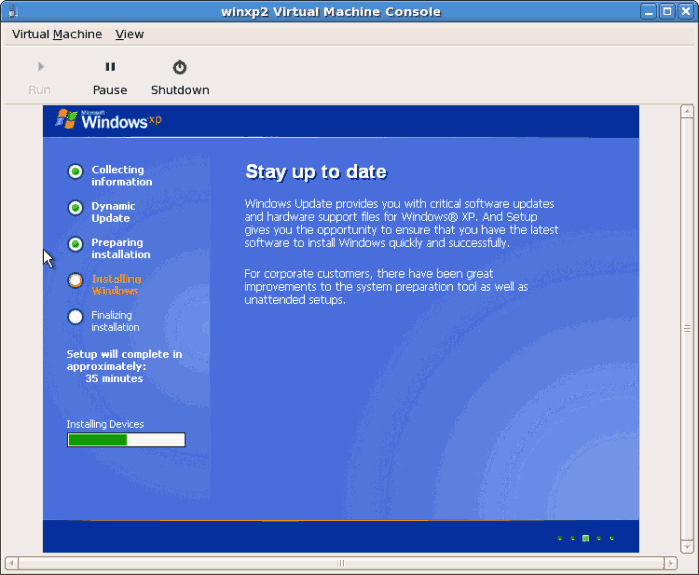
Where WindowsGuest is the name of your virtual machine. - When the console window opens, you will see the setup phase of the Windows installation.
- If your installation seems to get stuck during the setup phase, restart the guest with
virsh reboot WindowsGuestName. When you restart the virtual machine, theSetup is being restartedmessage displays: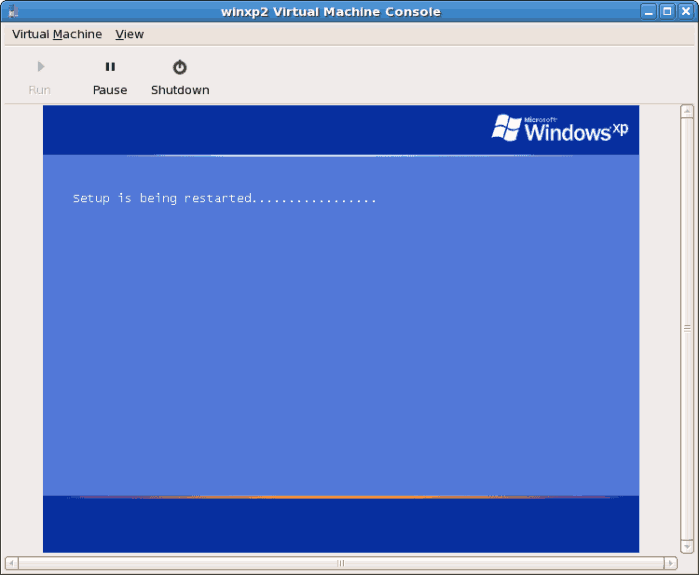
- After setup has finished you will see the Windows boot screen:

- Now you can continue with the standard setup of your Windows installation:

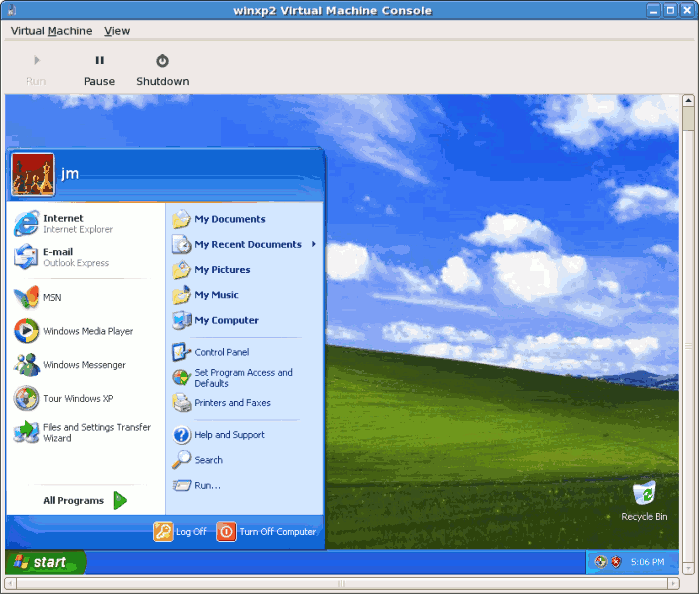
- The setup process is complete.