
Chapter 14. Creating test scenario using the sample Mortgages project
This chapter illustrates creating and executing a test scenario from the sample Mortgages project shipped with Business Central using the test scenario designer. The test scenario example in this chapter is based on the Pricing loans guided decision table from the Mortgages project.
Procedure
- In Business Central, go to Menu → Design → Projects and click Mortgages.
If the project is not listed under Projects, from MySpace, click Try Samples → Mortgages → OK.
The Assets window appears.
- Click Add Asset → Test Scenario.
Enter
scenario_pricing_loansas the Test Scenario name and select the defaultmortgages.mortgagespackage from the Package drop-down list.The package you select must contain all the required rule assets.
- Select RULE as the Source type.
- Click Ok to create and open the test scenario in the test scenario designer.
Expand Project Explorer and verify the following:
-
Applicant,Bankruptcy,IncomeSource, andLoanApplicationdata objects exist. -
Pricing loansguided decision table exists. - Verify that the new test scenario is listed under Test Scenario
-
After verifying that everything is in place, return to the Model tab of the test scenario designer and define the GIVEN and EXPECT data for the scenario, based on the available data objects.
A blank test scenario designer
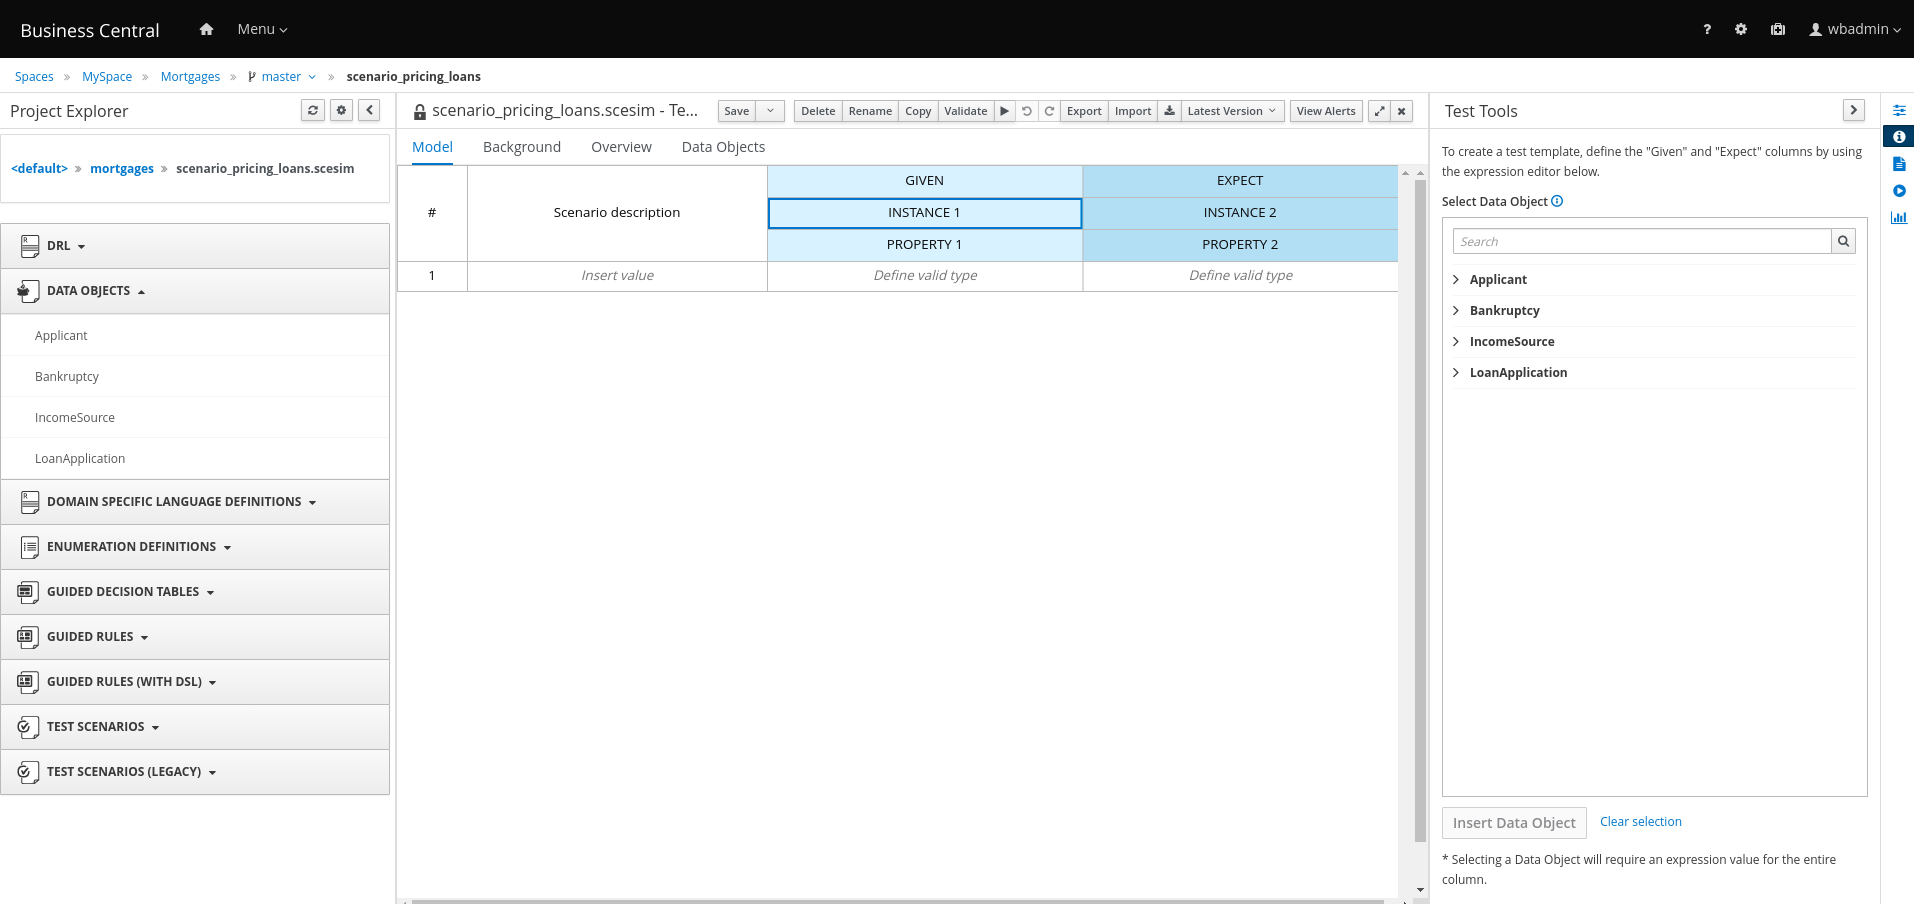
Define the GIVEN column details:
- Click the cell named INSTANCE 1 under the GIVEN column header.
- From the Test Tools panel, select the LoanApplication data object.
- Click Insert Data Object.
- To create properties for the data object, right-click the property header cell and select Insert column right or Insert column left as required. For this example, you need to create two more property cells under the GIVEN column.
Select the first property header cell:
- From the Test Tools panel, select and expand the LoanApplication data object.
- Click amount.
- Click Insert Data Object to map the data object field to the property header cell.
Select the second property header cell:
- From the Test Tools panel, select and expand the LoanApplication data object.
- Click deposit.
- Click Insert Data Object.
Select the third property header cell:
- From the Test Tools panel, select and expand the LoanApplication data object.
- Click lengthYears
- Click Insert Data Object.
- Right-click the LoanApplication header cell and select Insert column right. A new GIVEN column to the right is created.
Select the new header cell:
- From the Test Tools panel, select the IncomeSource data object.
- Click Insert Data Object to map the data object to the header cell.
Select the property header cell below IncomeSource:
- From the Test Tools panel, select and expand the IncomeSource data object.
- Click type.
Click Insert Data Object to map the data object field to the property header cell.
You have now defined all the GIVEN column cells.
Next, define the EXPECT column details:
- Click the cell named INSTANCE 2 under the EXPECT column header.
- From the Test Tools panel, select LoanApplication data object.
- Click Insert Data Object.
- To create properties for the data object, right-click the property header cell and select Insert column right or Insert column left as required. Create two more property cells under the EXPECT column.
Select the first property header cell:
- From the Test Tools panel, select and expand the LoanApplication data object.
- Click approved.
- Click Insert Data Object to map the data object field to the property header cell.
Select the second property header cell:
- From the Test Tools panel, select and expand the LoanApplication data object.
- Click insuranceCost.
- Click Insert Data Object to map the data object field to the property header cell.
Select the third property header cell:
- From the Test Tools panel, select and expand the LoanApplication data object.
- Click approvedRate.
- Click Insert Data Object to map the data object field to the property header cell.
To define the test scenario, enter the following data in the first row:
-
Enter
Row 1 test scenarioas the Scenario Description,150000as the amount,19000as the deposit,30as the lengthYears, andAssetas the type for the GIVEN column values. -
Enter
trueas approved,0as the insuranceCost and2as the approvedRate for the EXPECT column values.
-
Enter
Next enter the following data in the second row:
-
Enter
Row 2 test scenarioas the Scenario Description,100002as the amount,2999as the deposit,20as the lengthYears, andJobas the type for the GIVEN column values. -
Enter
trueas approved,10as the insuranceCost and6as the approvedRate for the EXPECT column values.
-
Enter
- After you have defined all GIVEN, EXPECT, and other data for the scenario, click Save in the test scenario designer to save your work.
Click Run Test in the upper-right corner to run the
.scesimfile.The test result is displayed in the Test Report panel. Click View Alerts to display messages from the Alerts section. If a test fails, refer to the messages in the Alerts section at the bottom of the window, review and correct all components in the scenario, and try again to validate the scenario until the scenario passes.
- Click Save in the test scenario designer to save your work after you have made all necessary changes.