
Chapter 1. Installing CodeReady Workspaces on OpenShift Container Platform 4
1.1. Installing CodeReady Workspaces on OpenShift 4 from OperatorHub
On OpenShift, Red Hat CodeReady Workspaces can be installed using the OperatorHub Catalog present in the OpenShift web console. Following steps are described:
- Section 1.1.1, “Creating the CodeReady Workspaces project in OpenShift 4 web console”.
- Section 1.1.2, “Installing the CodeReady Workspaces Operator in OpenShift 4 web console”.
- Section 1.1.3, “Installing CodeReady Workspaces using the CodeReady Workspaces Operator in OpenShift 4 web console”.
- Section 1.1.4, “Viewing the state of the CodeReady Workspaces cluster deployment in OpenShift 4 web console”.
- Section 1.1.6, “Viewing the state of the CodeReady Workspaces cluster deployment using OpenShift 4 CLI tools”.
- Section 1.1.5, “Finding CodeReady Workspaces cluster URL in OpenShift 4 web console”.
- Section 1.1.7, “Finding CodeReady Workspaces cluster URL using OpenShift 4 CLI tools”.
- Section 1.1.8, “Enabling SSL on OpenShift 4”.
- Section 1.1.9, “Logging in to CodeReady Workspaces on OpenShift for the first time using OAuth”
- Section 1.1.10, “Logging in to CodeReady Workspaces on OpenShift for the first time registering as a new user”.
1.1.1. Creating the CodeReady Workspaces project in OpenShift 4 web console
This section describes how to create the CodeReady Workspaces project in OpenShift 4 web console.
Prerequisites
- An administrator account on a running instance of OpenShift 4.
Procedure
- Open the OpenShift web console.
- In the left panel, navigate to Projects.
- Click the button.
Enter the project details:
-
In the Name field, type
workspaces. -
In the Display Name field, type
Red Hat CodeReady Workspaces.
-
In the Name field, type
- Click the button.
1.1.2. Installing the CodeReady Workspaces Operator in OpenShift 4 web console
This section describes how to install the CodeReady Workspaces Operator in OpenShift 4 web console.
Prerequisites
- An administrator account on a running instance of OpenShift 4.
-
Administrative rights on an existing project named
workspaceson this instance of OpenShift 4. See Section 1.1.1, “Creating the CodeReady Workspaces project in OpenShift 4 web console”. - The Red Hat CodeReady Workspaces 1.2 Operator is not installed.
Procedure
- Open the OpenShift web console.
- In the left panel, navigate to the Operators → OperatorHub section.
-
In the Search by keyword field, type
Red Hat CodeReady Workspaces. - Click on the Red Hat CodeReady Workspaces tile.
- Click the button in the Red Hat CodeReady Workspaces pop-up window.
- In the A specific namespace on the cluster field, in the cluster drop-down list, select the namespace into which the previous version of the CodeReady Workspaces Operator was installed.
- Click the button.
- In the left panel, navigate to the Operators → Installed Operators section.
- Red Hat CodeReady Workspaces is displayed as an installed Operator having the InstallSucceeded status.
- Click on the Red Hat CodeReady Workspaces name in the list of installed operators.
- Navigate to the Overview tab.
-
In the Conditions sections at the bottom of the page, wait for this message:
install strategy completed with no errors. - Navigate to the Events tab.
-
Wait for this message:
install strategy completed with no errors.
1.1.3. Installing CodeReady Workspaces using the CodeReady Workspaces Operator in OpenShift 4 web console
This section describes how to install CodeReady Workspaces using the CodeReady Workspaces Operator in OpenShift 4 web console.
Prerequisites
- An administrator account on a running instance of OpenShift 4.
- At least one OAuth user provisionned on this instance of OpenShift 4.
- The CodeReady Workspaces Operator is installed on this instance of OpenShift 4. See Section 1.1.2, “Installing the CodeReady Workspaces Operator in OpenShift 4 web console”
Procedure
- Open the OpenShift web console.
- Navigate to the Operators → Installed Operators section.
- Click Red Hat CodeReady Workspaces in the list of installed operators.
- Click the Create Instance link in Provided APIs section.
- The Create CodeReady Workspaces Cluster page is displayed.
- Leave the default values as they are.
- Click the button in the bottom-left corner of the window.
The
codereadycluster is created.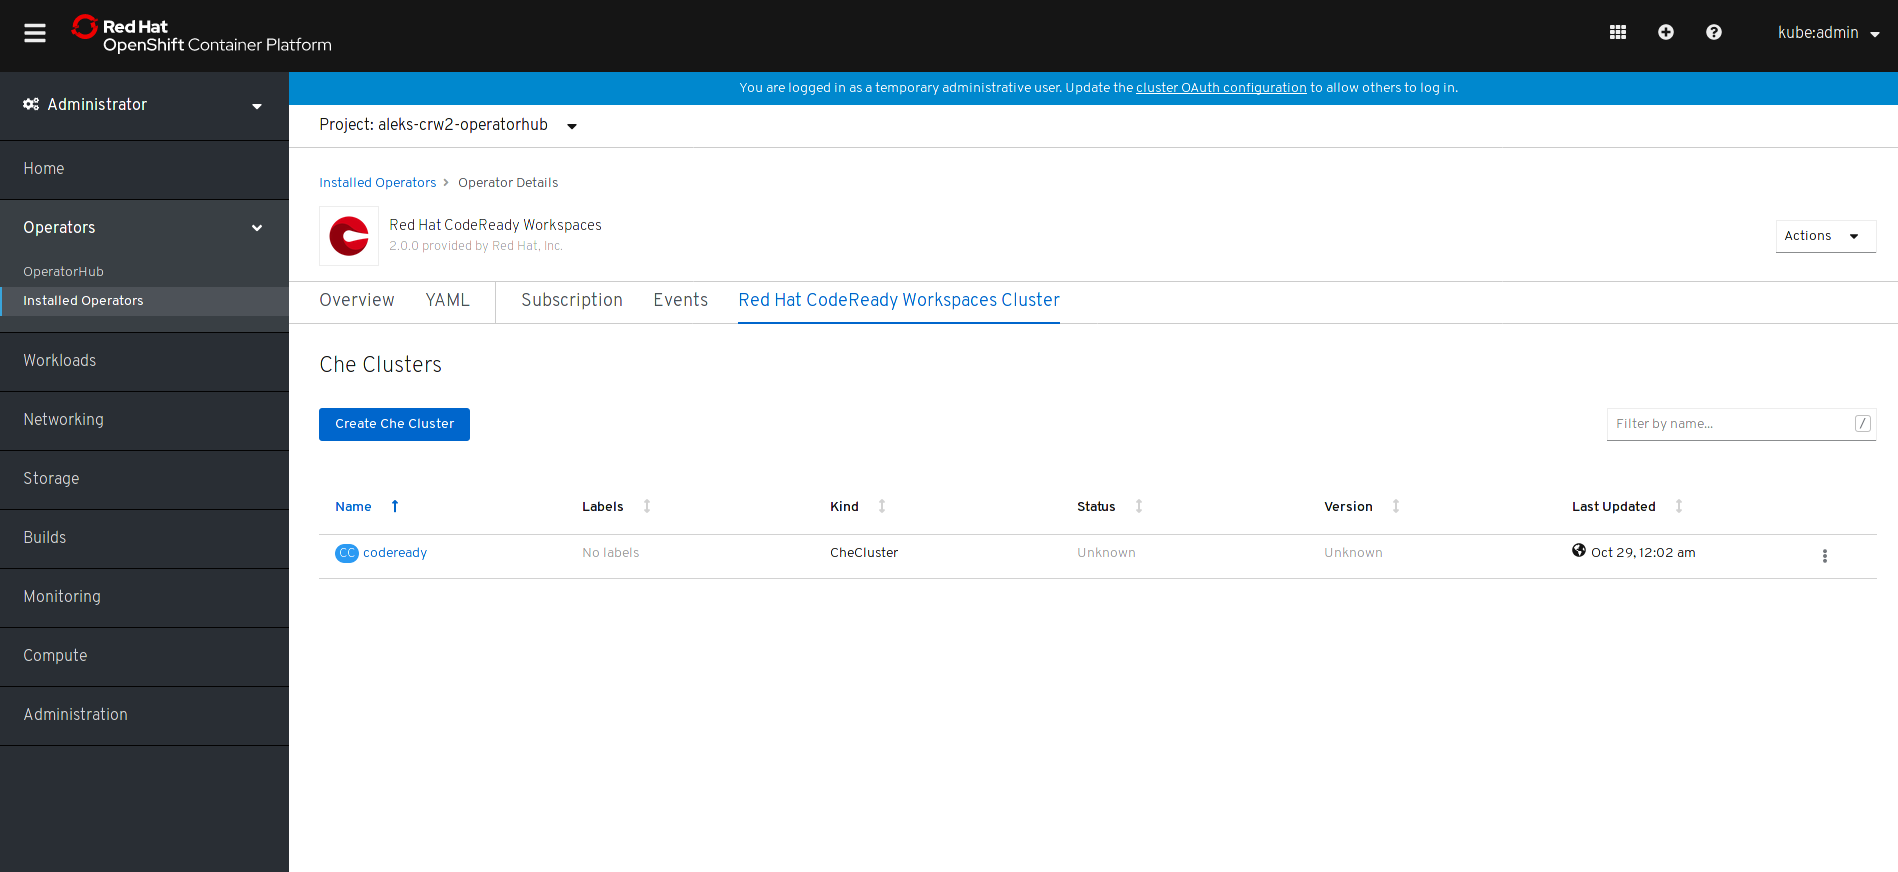
1.1.4. Viewing the state of the CodeReady Workspaces cluster deployment in OpenShift 4 web console
This section describes how to view the state of the CodeReady Workspaces cluster deployment in OpenShift 4 web console.
Prerequisites
- An administrator account on a running instance of OpenShift 4.
- A CodeReady Workspaces cluster is deployed on this instance of OpenShift 4.
Procedure
- Open the OpenShift web console.
- Navigate to the Operators → Installed Operators section.
- Click Red Hat CodeReady Workspaces in the list of installed operators.
- Navigate to the Red Hat CodeReady Workspaces Cluster tab.
- Click on the eclipse-che cluster that is listed in the table.
- Navigate to the Overview tab.
-
Watch the content of the Message field. The field contain error messages, if any. The expected content is
None. - Navigate to the Resources tab.
The screen displays the state of the resources assigned to the CodeReady Workspaces cluster deployment.

1.1.5. Finding CodeReady Workspaces cluster URL in OpenShift 4 web console
This section descibes how to find the CodeReady Workspaces cluster URL in OpenShift 4 web console.
Prerequisites
A running Red Hat CodeReady Workspaces cluster.
Procedure
- Open the OpenShift web console.
- In the left panel, navigate to the Operators → Installed Operators section.
- Click on the Red Hat CodeReady Workspaces Operator tile.
- Click on eclipse-che in the table.
- Navigate to the Overview tab.
- Read the content of the Red Hat CodeReady Workspaces URL field.
1.1.6. Viewing the state of the CodeReady Workspaces cluster deployment using OpenShift 4 CLI tools
This section describes how to view the state of the CodeReady Workspaces cluster deployment using OpenShift 4 CLI tools.
Prerequisites
- An installation of an Red Hat CodeReady Workspaces cluster. See Section 1.1.3, “Installing CodeReady Workspaces using the CodeReady Workspaces Operator in OpenShift 4 web console”.
Procedure
Run the following commands to select the
workspacesproject:$ oc project workspaces
Run the following commands to get the name and status of the pods running in the selected project:
$ oc get pods
Check that the status of all pods is
Running.NAME READY STATUS RESTARTS AGE che-8495f4946b-jrzdc 0/1 Running 0 86s che-operator-578765d954-99szg 1/1 Running 0 42m keycloak-74fbfb9654-g9vp5 1/1 Running 0 4m32s postgres-5d579c6847-w6wx5 1/1 Running 0 5m14s
Run the following command:
$ oc logs --tail=10 -f
oc get pods -o name | grep operatorThis is an example output of the command:
time="2019-07-12T09:48:29Z" level=info msg="Exec successfully completed"
time="2019-07-12T09:48:29Z" level=info msg="Updating eclipse-che CR with status: provisioned with OpenShift identity provider: true"
time="2019-07-12T09:48:29Z" level=info msg="Custom resource eclipse-che updated"
time="2019-07-12T09:48:29Z" level=info msg="Creating a new object: ConfigMap, name: che"
time="2019-07-12T09:48:29Z" level=info msg="Creating a new object: ConfigMap, name: custom"
time="2019-07-12T09:48:29Z" level=info msg="Creating a new object: Deployment, name: che"
time="2019-07-12T09:48:30Z" level=info msg="Updating eclipse-che CR with status: CodeReady Workspaces API: Unavailable"
time="2019-07-12T09:48:30Z" level=info msg="Custom resource eclipse-che updated"
time="2019-07-12T09:48:30Z" level=info msg="Waiting for deployment che. Default timeout: 420 seconds"
1.1.7. Finding CodeReady Workspaces cluster URL using OpenShift 4 CLI tools
This section describes how to CodeReady Workspaces cluster URL using OpenShift 4 CLI tool.
Prerequisites
- View the logs of the CodeReady Workspaces Operator. See Section 1.1.6, “Viewing the state of the CodeReady Workspaces cluster deployment using OpenShift 4 CLI tools”.
Procedure
Wait for the logs to show the message
Red Hat CodeReady Workspaces is now available at:followed by CodeReady Workspaces URL:time="2019-07-12T09:50:13Z" level=info msg="Updating eclipse-che CR with Red Hat CodeReady Workspaces server URL: http://che-che.apps.cluster-fre-f0a2.fre-f0a2.openshiftworkshop.com" time="2019-07-12T09:50:13Z" level=info msg="Custom resource eclipse-che updated" time="2019-07-12T09:50:13Z" level=info msg="Red Hat CodeReady Workspaces is now available at: http://che-che.apps.cluster-fre-f0a2.fre-f0a2.openshiftworkshop.com" time="2019-07-12T09:50:13Z" level=info msg="Updating eclipse-che CR with version: 7.0.0-RC-2.0"
1.1.8. Enabling SSL on OpenShift 4
Prerequisites
A running Red Hat CodeReady Workspaces cluster.
Procedure
- Open the OpenShift web console.
- In the left panel, navigate to the Operators → Installed Operators section.
- Click on the Red Hat CodeReady Workspaces Operator tile.
- Click on eclipse-che in the table.
- Navigate to the Overview tab.
- Toggle the TLS MODE switch to True.
Click Confirm change.

- Navigate to the Resources tab.
- Wait that the pods are restarted.
- Navigate to the Overview tab.
- Click the Red Hat CodeReady Workspaces URL link.
- Notice that the link is redirected to HTTPS.
- The browser displays the Red Hat CodeReady Workspaces Dashboard using a valid Let’s Encrypt certificate.
1.1.9. Logging in to CodeReady Workspaces on OpenShift for the first time using OAuth
This section describes how to log in to CodeReady Workspaces on OpenShift for the first time using OAuth.
Prerequisites
A running Red Hat CodeReady Workspaces cluster.
Know the Red Hat CodeReady Workspaces URL.
Procedure
- Navigate to the Red Hat CodeReady Workspaces URL to display the Red Hat CodeReady Workspaces login page.
- Choose the OpenShift OAuth option.
- The Authorize Access page is displayed.
- Click on the button.
-
Update the account information: fill in the
Username,Email,First nameandLast namefield and click on the button. - The browser displays the Red Hat CodeReady Workspaces Dashboard.
1.1.10. Logging in to CodeReady Workspaces on OpenShift for the first time registering as a new user
This section describes how to log in to CodeReady Workspaces on OpenShift for the first time registering as a new user.
Prerequisites
A running Red Hat CodeReady Workspaces cluster.
Know the Red Hat CodeReady Workspaces URL.
Procedure
- Navigate to the Red Hat CodeReady Workspaces URL to display the Red Hat CodeReady Workspaces login page.
- Choose the Register as a new user option.
-
Update the account information: fill in the
Username,Email,First nameandLast namefield and click on the button. - The browser displays the Red Hat CodeReady Workspaces Dashboard.
1.2. Installing CodeReady Workspaces using CLI management tool
1.2.1. Installing the crwctl CLI management tool
This section describes how to install crwctl, the CodeReady Workspaces CLI management tool.
Procedure
- Navigate to https://developers.redhat.com/products/codeready-workspaces/download.
- Download the CodeReady Workspaces CLI management tool archive for version 2.0.
- Extract the archive.
-
Place the extracted binary in your
$PATH.
1.2.2. Installing CodeReady Workspaces using CodeReady Workspaces CLI management tool
This sections describes how to install CodeReady Workspaces using the CodeReady Workspaces CLI management tool.
Prerequisites
- CodeReady Workspaces CLI management tool is installed.
- OpenShift Container Platform 4 CLI is installed.
- Access to an OpenShift Container Platform instance
1.2.2.1. Installing with default settings
Procedure
Log in to OpenShift Container Platform 4:
$ oc login ${OPENSHIFT_API_URL} -u ${OPENSHIFT_USERNAME} -p ${OPENSHIFT_PASSWORD}Run this command to install Red Hat CodeReady Workspaces with defaults settings:
$ crwctl server:start
Notecrwctl default namespace is
workspaces. If you use a namespace with a different name, run the command with the--chenamespace=your namespaceflag, for example:$ {prod-cli} server:start --chenamespace=codeready-workspaces
1.2.2.2. Installing with custom settings
Procedure
To override specific settings of the red-hat-codeready-workspaces installation, provide a dedicated custom resource when running the above crwctl command:
- Download the default custom resource YAML file.
-
Name the downloaded custom resource
org_v1_che_cr.yaml, and copy it into the current directory. -
Modify the
org_v1_che_cr.yamlfile to override or add any field. Run the installation using the
org_v1_che_cr.yamlfile to override the CodeReady Workspaces CLI management tool defaults:$ crwctl server:start --che-operator-cr-yaml=org_v1_che_cr.yaml
NoteSome basic installation settings can be overridden in a simpler way by using additional
crwctlarguments. To display the list of available arguments:$ crwctl server:start --help