
Red Hat Training
A Red Hat training course is available for Red Hat Application Migration Toolkit
Chapter 2. Installing the Web Console
The web console can be installed either using the ZIP distribution or on OpenShift.
2.1. ZIP Installation
When installed using the ZIP distribution, the RHAMT web console is deployed on Red Hat JBoss Enterprise Application Platform, uses Red Hat Single Sign-On for authentication, and is backed by an H2 database for storage.
2.1.1. Prerequisites
Verify that you meet the following prerequisites.
- Java Platform, JRE version 8+
- A minimum of 8 GB RAM; 16 GB recommended
If you are running macOS, it is recommended to set the maximum number of user processes, maxproc, to at least 2048, and the maximum number of open files, maxfiles, to 100000.
2.1.2. Install the Web Console
- Download the web console from the RHAMT Download page.
Extract the ZIP file to a directory of your choice.
The path to the directory created by unzipping this file is referred to as
RHAMT_HOMEthroughout this guide.
2.1.3. Start the Web Console
Run the script to start the web console.
$ RHAMT_HOME/run_rhamt.sh
In a Windows environment, use the run_rhamt.bat script.
You can now access the web console from a browser.
2.1.4. Access the Web Console
Once started, the web console is accessible from a browser by default on the local host at http://localhost:8080/rhamt-web.
Figure 2.1. Welcome Page
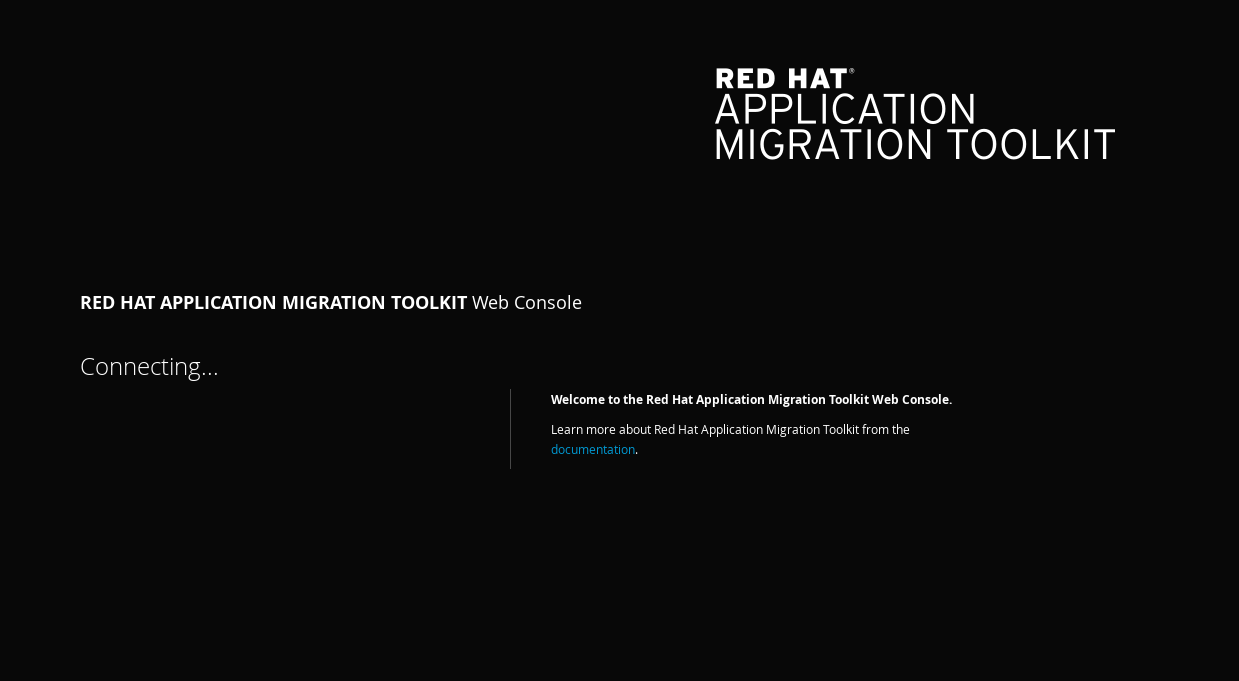
The web console uses a default user to automatically authenticate. The default user’s credentials are rhamt and password. See Configuring Authentication for the Web Console to require individual users to authenticate in order to access the web console.
2.2. OpenShift Installation
When installed on OpenShift, the RHAMT web console is deployed on Red Hat JBoss Enterprise Application Platform, uses Red Hat Single Sign-On for authentication, and is backed by a PostgreSQL database for storage.
2.2.1. Prerequisites
Verify that you meet the following prerequisites.
- You must have access to an instance of OpenShift Container Platform version 3.5 or higher.
- Your OpenShift instance must have the middleware image streams installed.
- You must have the OpenShift Container Platform CLI installed on your local machine.
- You must be running Linux or macOS on your local machine. Windows is not currently supported.
See the OpenShift Container Platform documentation for assistance.
2.2.2. Deploy the RHAMT Application
- Download the web console from the RHAMT Download page.
Extract the ZIP file to a directory of your choice.
The path to the directory created by unzipping this file is referred to as
RHAMT_HOMEthroughout this guide.Use the
oc logincommand to connect to your OpenShift instance.$ oc login --username USERNAME --password PASSWORD
Provide any arguments that your instance requires, such as
--usernameand--password,--token, or--server.Review and adjust default values for the installation.
The
RHAMT_HOME/openshift/deployment.propertiesfile defines default values, such asrhamtas the project name, 10GB as the persistent storage volume size, and 2GB as the requested memory. Review and change any default settings to your needs before running thedeploy.shscript.Execute the
deploy.shscript to deploy the web console to OpenShift.$ RHAMT_HOME/openshift/deploy.sh-
Wait for the
deploy.shscript to complete. This may take several minutes.
Once the script completes, you can access the web console from a browser.
2.2.3. Access the Web Console
Once the web console has been deployed on OpenShift, you can access it from a browser. The deploy.sh script outputs the link, shown in the example below as WEB_CONSOLE_URL, to use to open the web console.
Example: deploy.sh Output
...
-> Deploy RHAMT Web Console ...
Upload, build and deployment successful!

Open WEB_CONSOLE_URL to start using the RHAMT Web Console on OpenShift (user='rhamt',password='password')
You can also access the web console from the OpenShift console at OPENSHIFT_URL/console/project/rhamt/overview by clicking the link in the RHAMT WEB CONSOLE HTTP application. If you renamed the OpenShift project when deploying, be sure to replace rhamt in this URL with the name of your project.
If the web console does not load immediately, check the status of the project in the OpenShift console to see if it is still processing or if there were errors.
Figure 2.2. Welcome Page
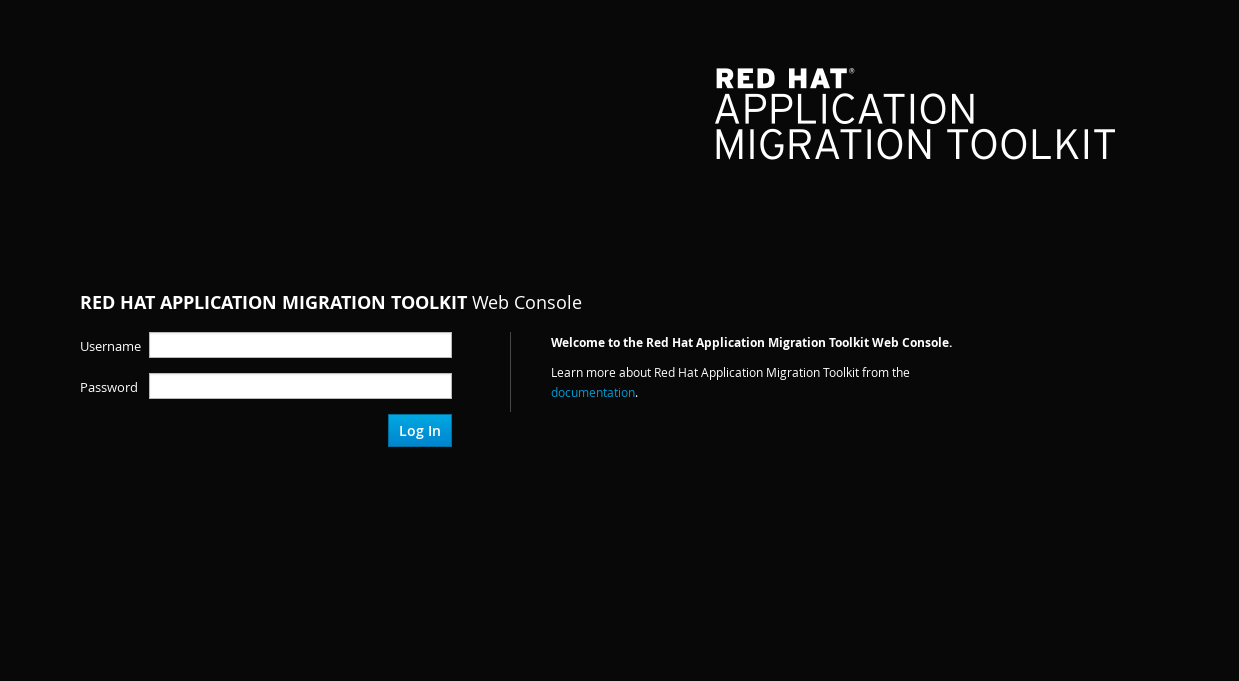
Authentication is required in order to access the web console. The default user’s credentials are rhamt and password. See Configuring Authentication for the Web Console for more information on configuring authentication for the web console.