
Web console
Read more to learn how to use console components.
Abstract
Chapter 1. Web console
Learn how to access the Red Hat Advanced Cluster Management for Kubernetes console for your Red Hat Advanced Cluster Management console and learn how to use console components from the following documentation:
1.1. Accessing your console
From the Red Hat OpenShift Container Platform web console, you can access the Red Hat Advanced Cluster Management for Kubernetes console. You can also access the console from your terminal after installation. See all the options for accessing your console.
1.1.1. From the OpenShift Container Platform web console
- OpenShift Container Platform 4.10 Technology Preview: See the OpenShift Container Platform documentation about Adding a dynamic plug-in to the OpenShift Container Platform web console to create and deploy a dynamic plug-in on your cluster that is loaded at run-time.
- For OpenShift Container Platform 4.8 and later, you can launch Red Hat Advanced Cluster Management from the perspective switcher near the navigation menu. Note: Only for earlier versions of OpenShift Container Platform, you can click the Application launcher in the header and choose the Red Hat Advanced Cluster Management for Kubernetes option.
Deprecated: Accessing the console from the left-hand navigation is deprecated.
- Click Networking > Routes, then click on the URL from the Location column.
-
From the Project menu, select the namespace where Red Hat Advanced Cluster Management for Kubernetes is installed. The default namespace is
open-cluster-management. -
Click the
multicloud-consoleURL from the Location column.
1.1.2. From the Red Hat OpenShift CLI: (Deprecated)
-
While logged in to Red Hat OpenShift Container Platform and after you install Red Hat Advanced Cluster Management for Kubernetes, run the following command to find the route. Here,
<namespace-from-install>is the namespace where you installed the product:
oc get routes -n <namespace-from-install>
-
Find the
open-cluster-managementname and theHost/Portcolumns to get your URL.
Learn more about the Red Hat Advanced Cluster Management for Kubernetes console, see Web console.
1.2. Console overview
Learn more about console components that you can use to view, manage, or customize your console.
See the following image of the Navigation from the Red Hat Advanced Cluster Management for Kubernetes console, which is described in more detail later in each section. See that the navigation represents major production function.
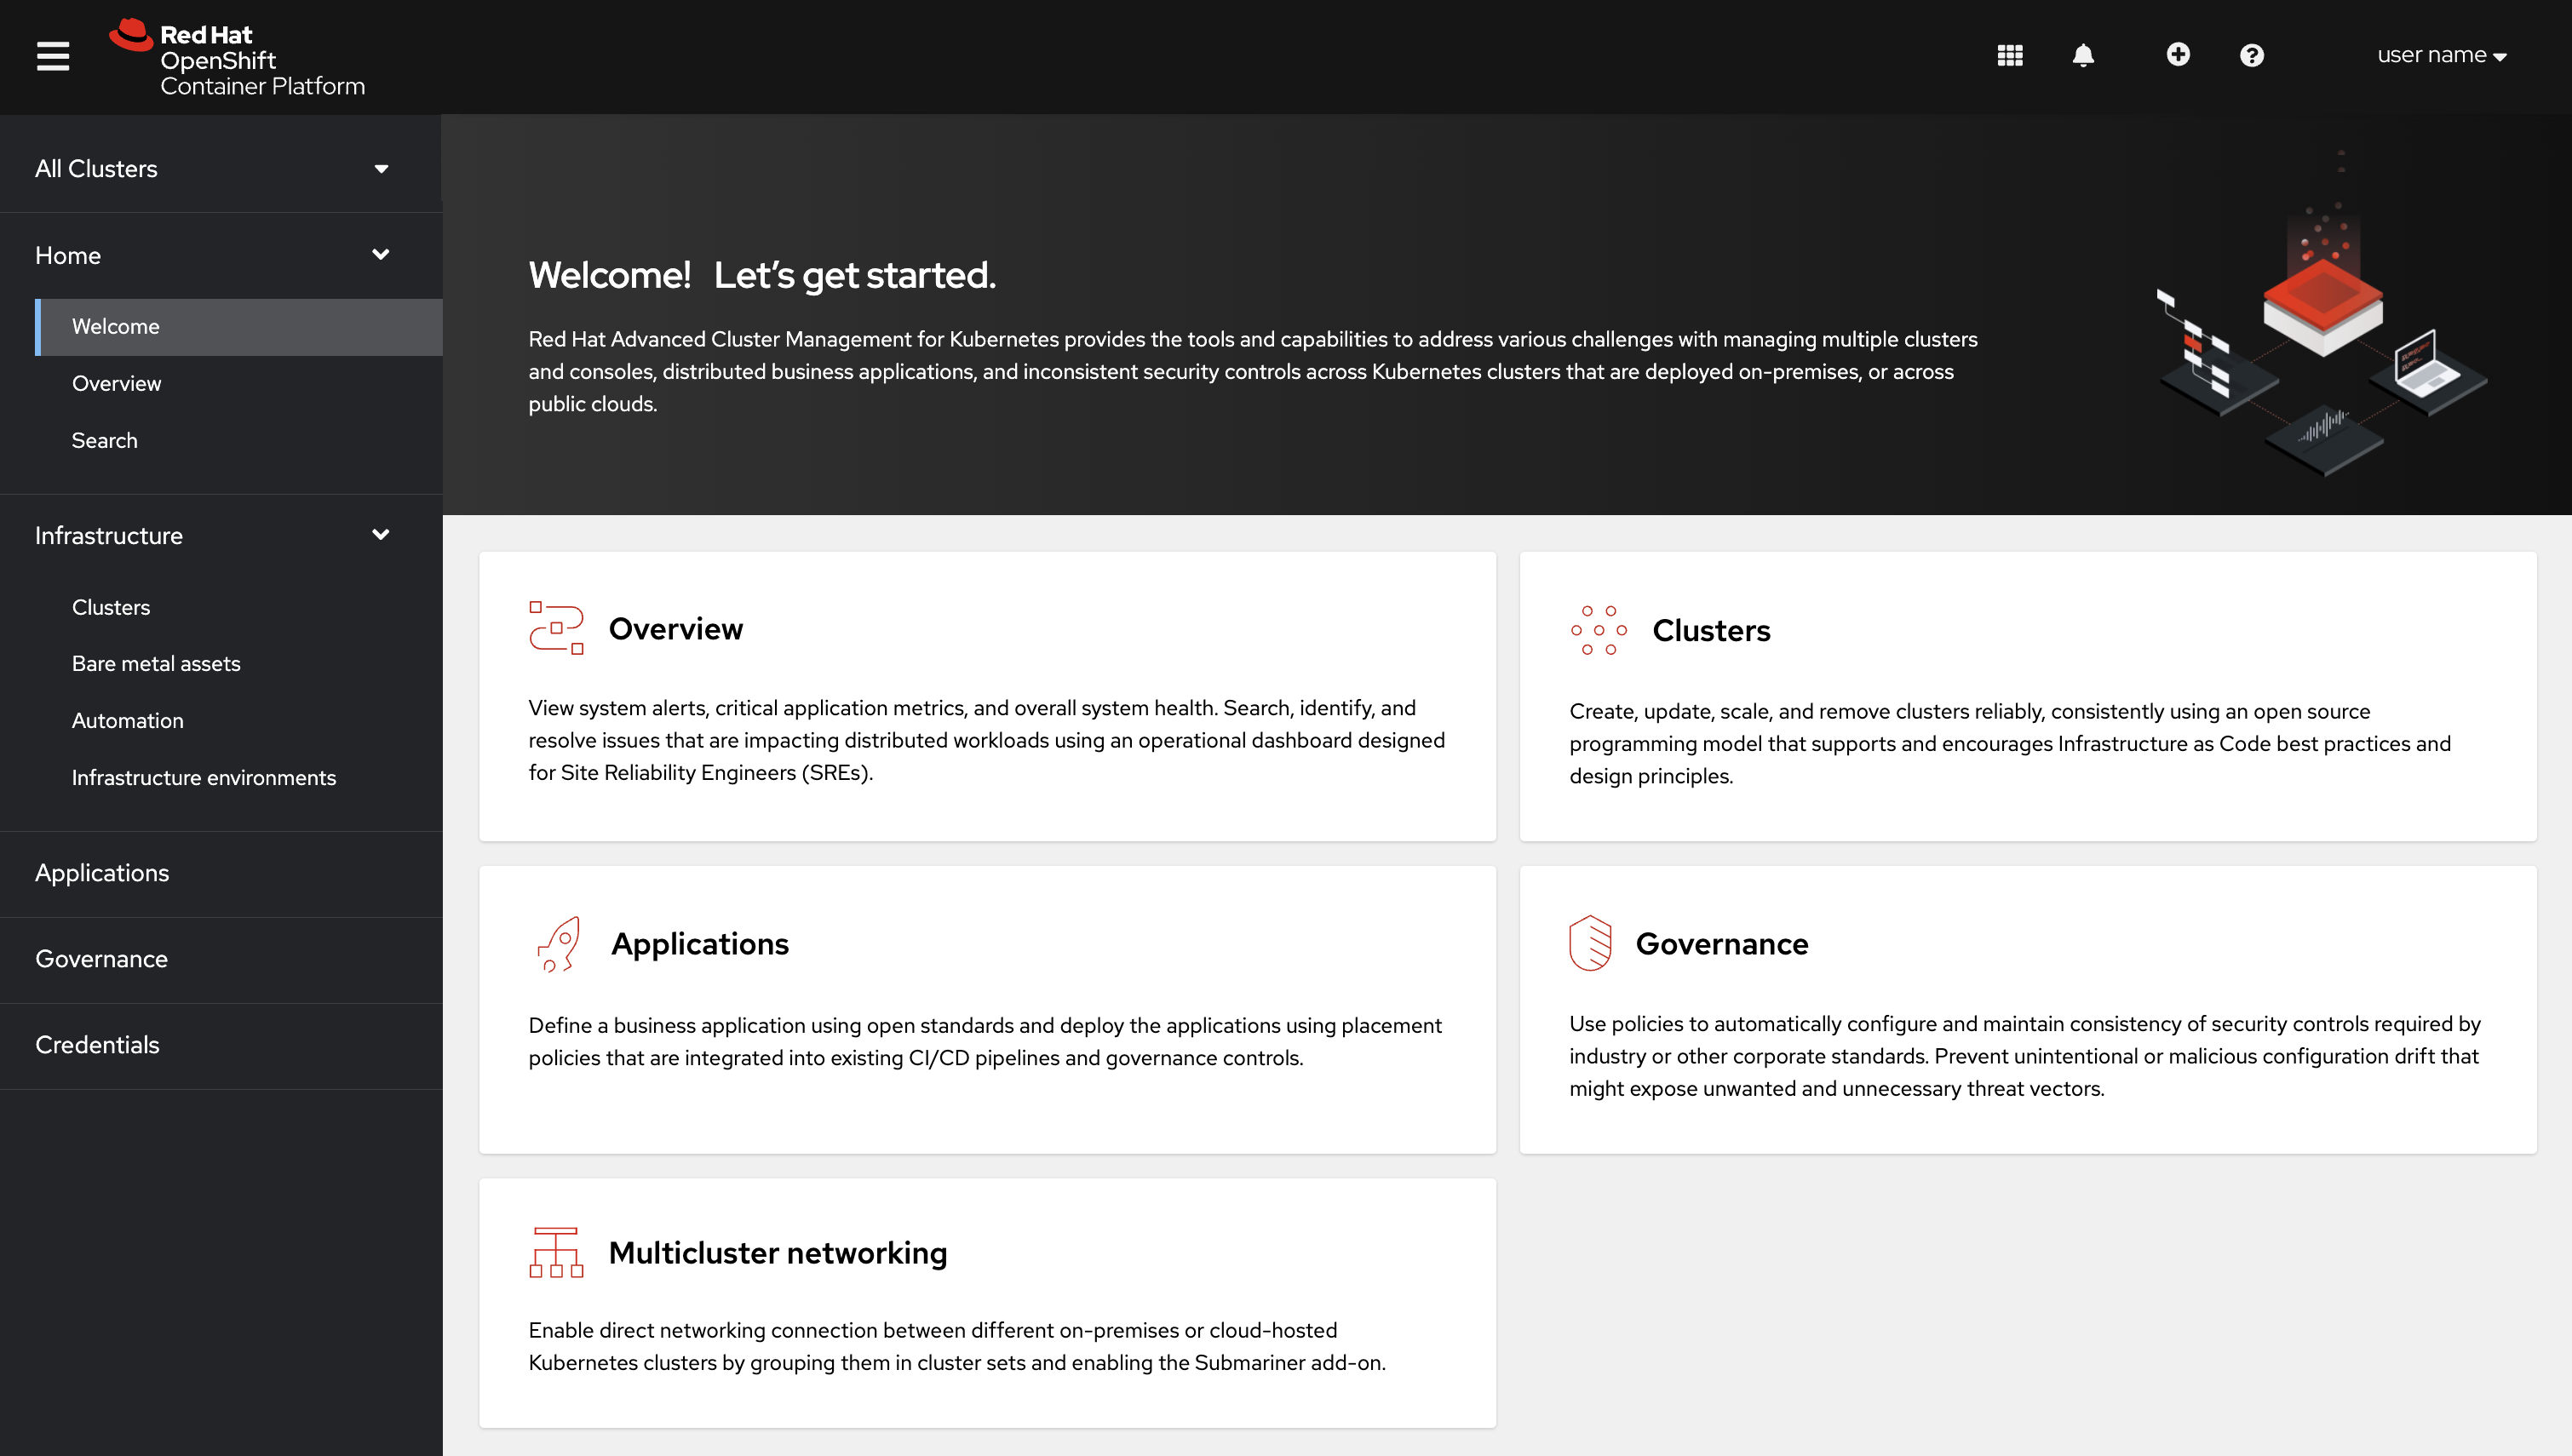
1.2.1. Console components
1.2.2. OpenShift Container Platform console plug-ins
With OpenShift Container Platform 4.10 and Red Hat Advanced Cluster Management 2.5, Red Hat Advanced Cluster Management web console can be integrated into the OpenShift Container Platform console. To use this feature, the console plug-ins must remain enabled and accessed from the All Clusters view.
For new installations, the console plug-ins are enabled by default. If you upgraded from a previous version of Red Hat Advanced Cluster Management and want to enable the plug-ins, or if you want to disable the plug-ins, see the following instructions:
- To disable the plug-in, be sure you are in the Administrator perspective in the OpenShift Container Platform console.
- Find Administration in the navigation and click Cluster Settings, then click Configuration tab.
-
From the list of Configuration resources, click the Console resource with the
operator.openshift.ioAPI group, which contains cluster-wide configuration for the web console. -
Click on the Console plug-ins tab. Both the
acmandmceplug-ins are listed. - Modify plug-in status from the table. In a few moments, you are prompted to refresh the console.
For OpenShift Container Platform 4.10 with the plug-ins enabled, you can access Red Hat Advanced Cluster Management within the OpenShift Container Platform console from the cluster switcher by selecting All Clusters from the drop-down menu. Without plug-ins enabled on OpenShift Container Platform versions 4.8 through 4.10, Red Hat Advanced Cluster Management is available in the perspective switcher.
You can also click Networking > Routes to access the standalone or separate Red Hat Advanced Cluster Management web console.
1.2.3. Home
From the Red Hat Advanced Cluster Management for Kubernetes Home page, you get more information about the product and you can access header features, as well as the pages for the major components of the product.
Access the Welcome page and the Overview, which gives you visibility into your clusters.
You can view the following information about your clusters on the Overview dashboard:
- Metric data from your managed clusters by selecting the Grafana link
- Cluster and node counts across all clusters and for each provider
- Cluster status
- Cluster compliance
- Pod status
- Select Grafana to access the Grafana dashboard.
- Click Add provider connections to access the Clusters page.
Search is also available from the Home tab. To learn about Search, see Search in the console.