
Chapter 7. Restricted content
Here you can learn how to have content in your Developer Portal that is only visible for some users.
You may need to have some pages of your Developer Portal that are only accessible for a specific group of developers, either part of a page or items in a certain menu. Both goals are achievable through the two techniques introduced below.
7.1. Restricted pages
When creating restricted sections, it’s useful to do it so that each section maps to a logical group of users. For this example, assume that there is a group of developers called "partners".
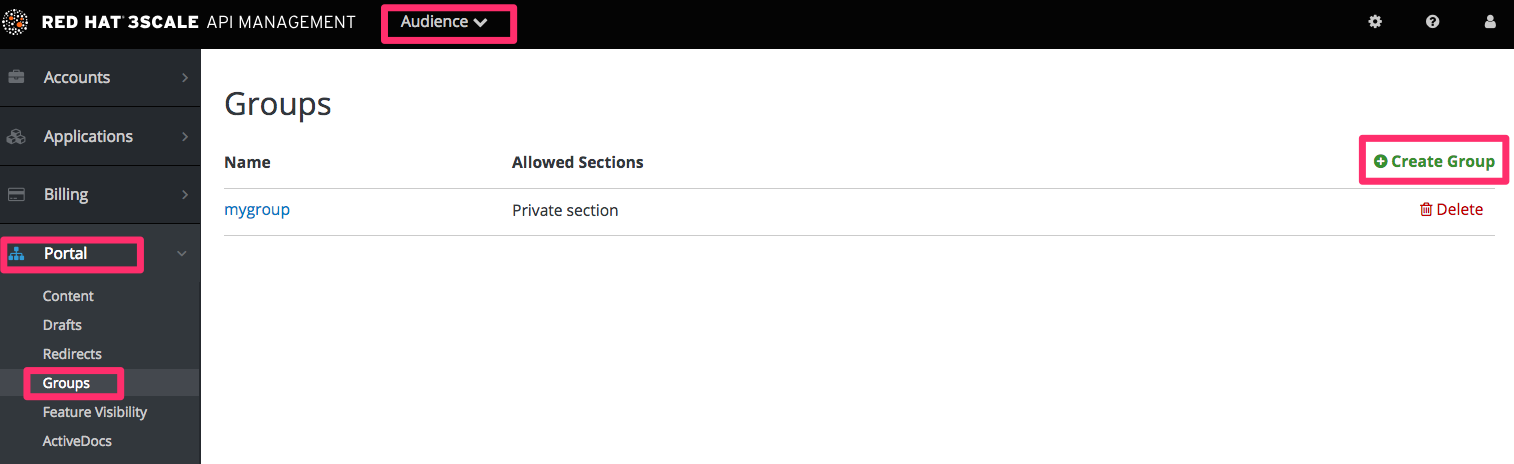
Create a new section in the CMS for every page or group of pages that you want to restrict access to. Uncheck the "public" status field. Then drag and drop any pages you want inside this section.

Create a group and give it access to the section you created.
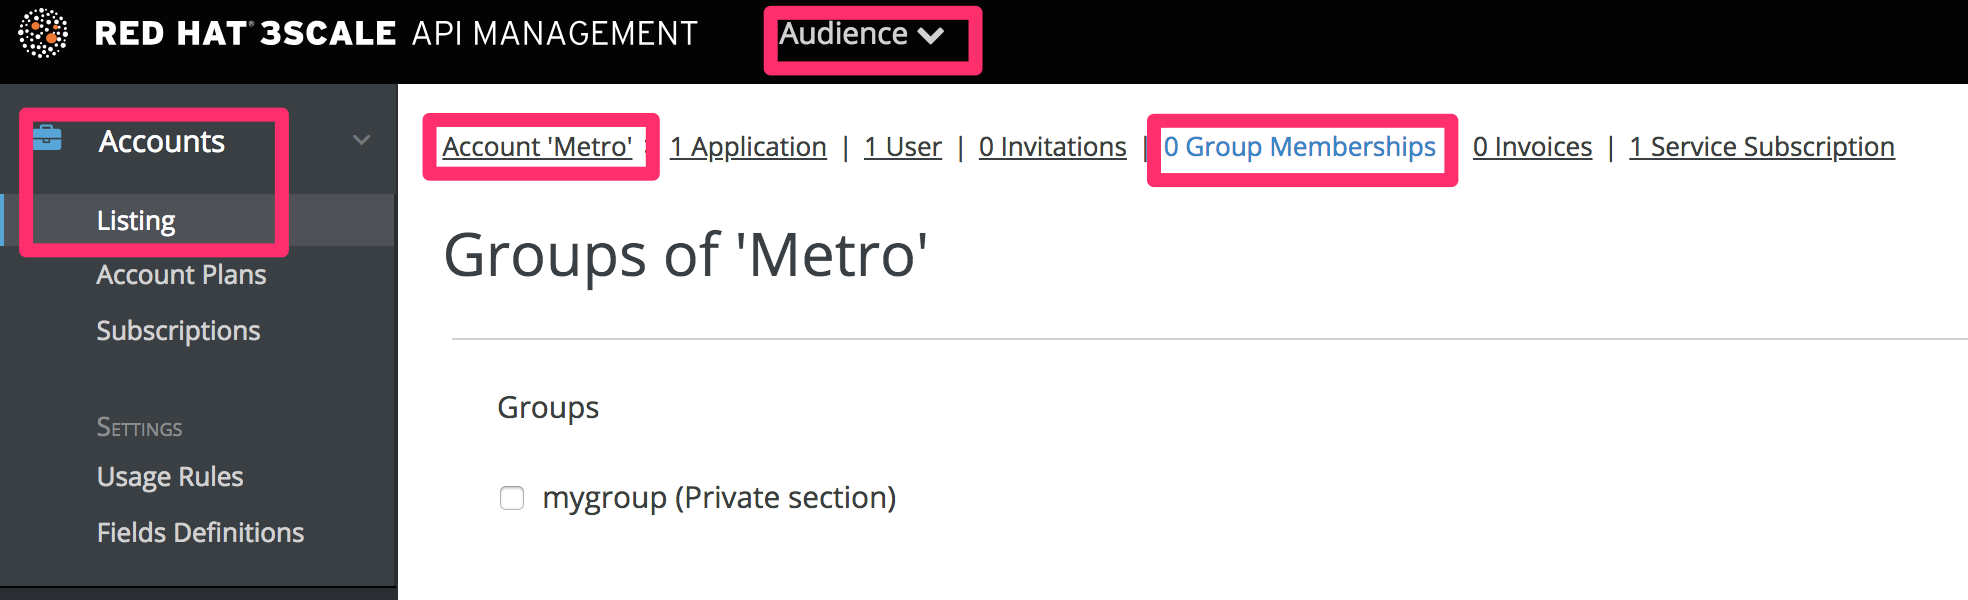
Now every time you have to grant one of your users access to this section, all you have to do is assign them to this group. To do this, go into the corresponding account detail page, then to "Group Permissions." Once there, check the boxes for the sections you want to allow.
7.2. Restricted blocks of content
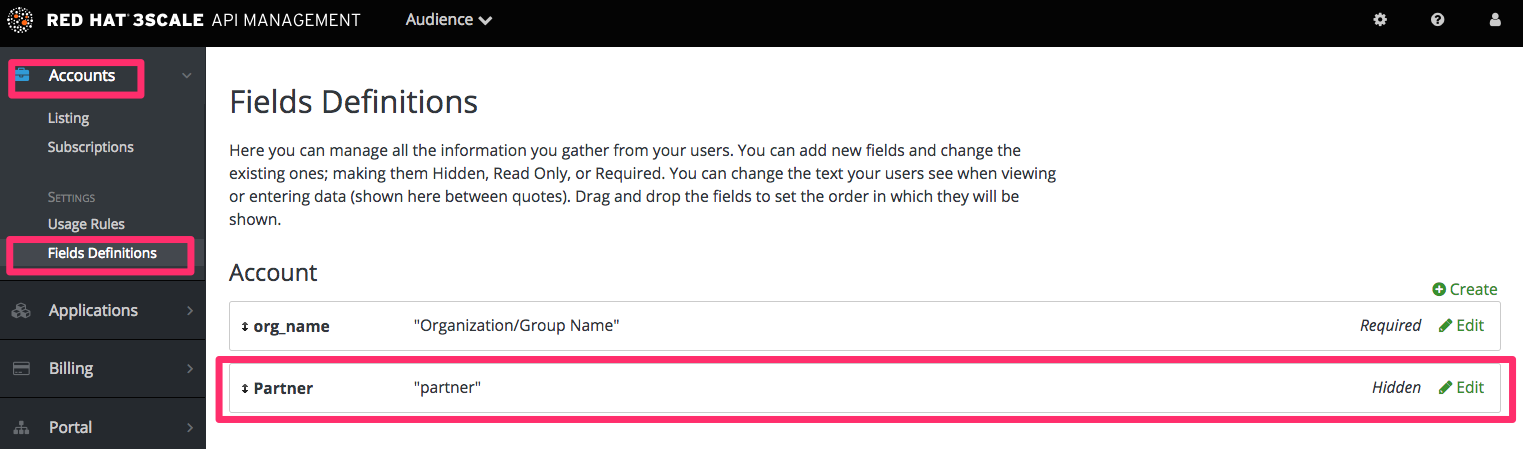
Liquid tags are a very powerful way to customize your Developer Portal. Use them here to hide or display parts of a page based on a condition. 3scale allows you to create custom fields for accounts, applications, and users. You can leverage this to store information that is useful for you as the API provider. Here you’ll create an custom field attached to all accounts and use it to indicate whether a given account is a partner or not. You can create this field by going to Audience > Account > Field Definitions. Add a field to the Account section, and mark it as hidden so it will not be displayed on the signup page or anywhere else on the portal.
With the custom field in place, you are now able to show special content to partners by wrapping it in a conditional like in the following snippet:
{{ if current_account.extra_fields.partner == 'true' }}
  // content only accessible to partners
{{ endif }}
Or use the inverse logic if it suits your case better:
{{ unless current_account.extra_fields.partner == 'true' }}
  // content forbidden for partners
{{ endunless }}
From here on, whenever you want to show these pieces of hidden content to a user, all you need to do is type in 'true' in the partner field of their account detail page.
7.3. Automating the configuration of extra fields
In some cases, you’ll want to provide access to restricted content to developers based on a change in state. For instance, when they upgrade application plan.
You can streamline the process by using webhooks together with the Account Management API. Find the Account Management API in the 3scale ActiveDocs, available in your Admin Portal, under the Documentation (question mark icon (?) in the top right corner) → 3scale API Docs section. Based on the developer’s new plan – which you can know from the message sent by the webhook request – you can grant access to the private content by calling the API to update the "partner" field.
7.4. Requiring user login
In addition to the two ways to restrict access to content described above, there is another technique that can be useful: requiring a logged-in user.
This is very easy to achieve using Liquid tags. All you have to do is wrap the content that will be available only for logged-in users inside the following conditional:
{{ if current_user }}
  // only visible if the user is logged in
{{ endif }}