
Chapter 2. Change Built-in Pages
By the end of this section, you’ll be able to modify and/or hide any elements on the system-generated pages.
There are some elements generated by the system that are not possible to change from the CMS: the Signup, Dashboard, and Account pages. This guide shows how to customize the content on these pages with some simple CSS and JavaScript scripts.
The 3scale system-generated pages are subject to change (although infrequently). These changes may break any customizations that you implement following this guide. If you can avoid using these hacks, please do so. Before you continue, please be sure that you’ll be able to monitor for any disruptive changes and do the necessary maintenance work to keep your portal functioning correctly.
2.1. Identify the elements
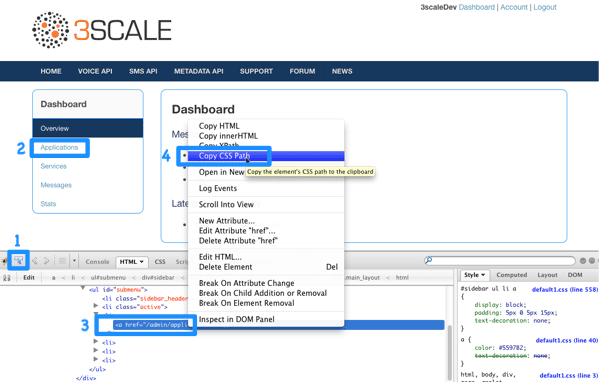
The first and most important thing to do is identify what you want to hide. To do that, use Firebug (or any other developer tools such as Chrome Developer tools or Opera Dragonfly). Choose the desired element, and in the console, right click on it and select Copy CSS path. This way you save the exact CSS path to make it easy to manipulate. Remember, if the element is a part of the sidebar navigation widget, you’ll also have to specify which position in the list. For this, you can use either the "+" selector (for example, to choose 3rd li element: ul + li + li + li) or the :nth-child(n) CSS3 pseudoclass.
2.2. Modify or hide the elements
Now, having identified the elements, you can change their display settings. Depending on the type of element, you can choose from two possible methods: CSS manipulation or jQuery script. CSS manipulation is more lightweight and reliable, but doesn’t work well for some kinds of elements that exist on a number of pages (for example, the 3rd element in the Dashboard’s sidebar also exists in the Account section but has a different value). Some trickier implementations require use of CSS3 which is not supported by old browsers. In the next two steps, you’ll see both of these approaches.
2.3. Option A: CSS
As an example, try to hide the latest forum posts box from the Dashboard page. Following the first step, you have identified its CSS path as:
#three-scale .dashboard_bubble
Keep in mind that it’s the second box with the same path, so you’ll use the "+" selector. Your path will now look like this:
.main_layout #three-scale .dashboard_bubble + .dashboard_bubble
/* or */
.main_layout #three-scale .dashboard_bubble:nth-child(1)
Changing display property to none makes that box invisible:
.main_layout #three-scale .dashboard_bubble:nth-child(1) {
  display: none;
}
2.4. Option B: jQuery
If you have a trickier element to hide such as a sidebar menu element, it’s better to use some jQuery. The CSS path of these elements is identical on the Dashboard and Account sections, and you don’t want to hide elements in both sections. So choose the element based on the CSS path and the content. In this example, assume you want to hide the messages section from the Dashboard’s sidebar. Your CSS path is:
#three-scale #submenu li a
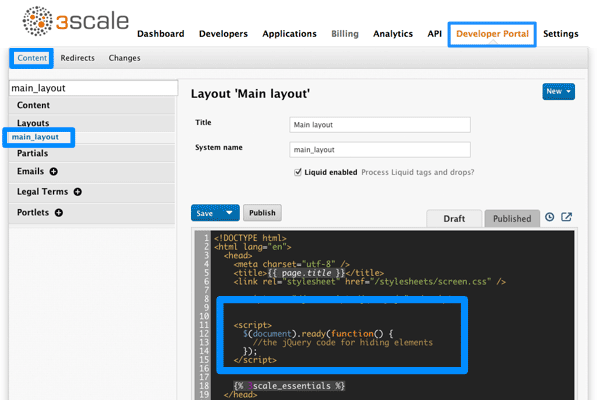
In order to match the content, you’ll use the .text() function. You’ll also include the code inside the document’s head and inside the ready function so it’s executed after all the content has been generated.
The resulting code snippet will look like this:
$(function() {
  $('#three-scale #submenu li a').each(function() {
    if ($(this).text() == "Messages")
      $(this).parent().css('display', 'none');
  });
});
This is not the only solution. It just shows one possible way of doing it. The same example could be done using pure CSS with CSS3 selectors basing on the attributes values. For the complete CSS3 selectors specification, take a look here.