
3.4.5. Add a Deployment in the Management Console
Prerequisites
Procedure 3.4. Add and Verify a Deployment
Navigate to the Manage Deployments panel in the Management Console
- Select the Runtime tab from the top right of the console.
- For a standalone server, expand the menu item on the left of the console and select . For a managed domain, expand the menu item on the left of the console and select .
The Manage Deployments panel appears.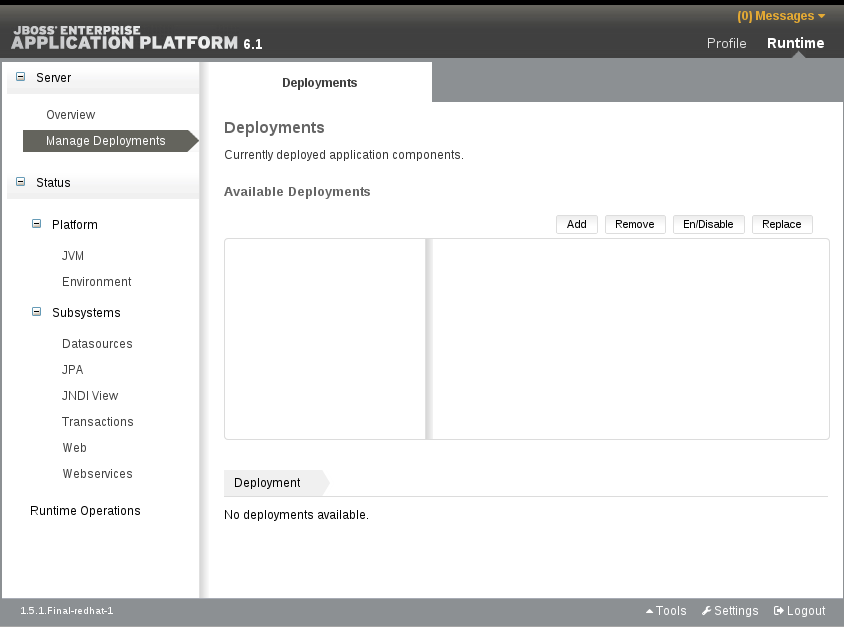
Figure 3.3. Manage standalone deployments
Add deployment content
Select the button in the top right of the Deployments panel. An Upload dialog box appears.Choose a file to deploy
In the dialog box, select the button. Browse to the file you want to deploy and select it for upload. Select the button to proceed once a file has been selected.
Figure 3.4. Deployment selection
Verify deployment names
Verify the deployment name and runtime name that appear in the Upload dialog box. Select the button to upload the file once the names are verified.
Figure 3.5. Verify deployment names
Result
The selected content is uploaded to the server and is now ready for deployment.
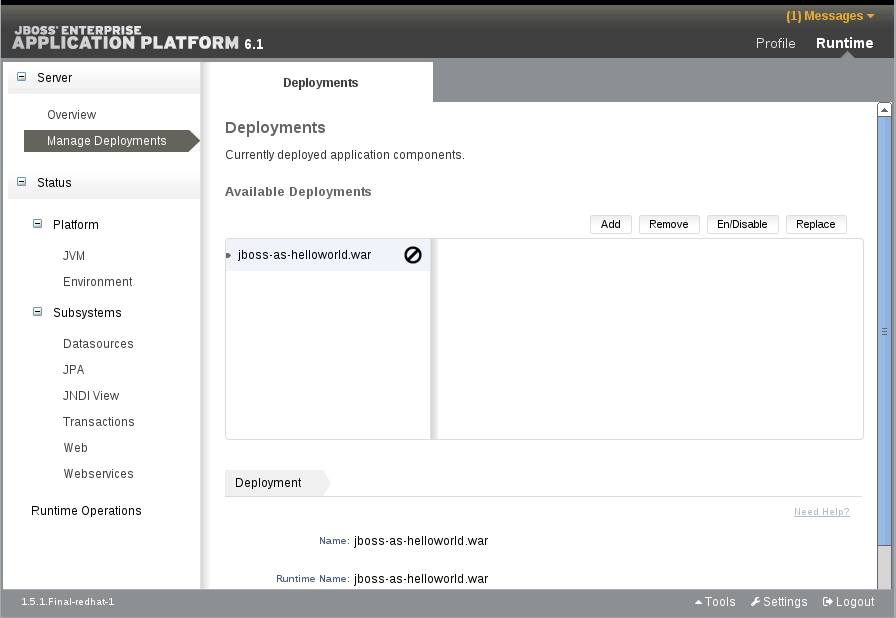
Figure 3.6. Uploaded deployment on a standalone server instance