
Red Hat Training
A Red Hat training course is available for Red Hat Enterprise Linux
7.2. Creating a Red Hat Enterprise Linux 6 Guest with a Network Installation Tree
Procedure 7.2. Creating a Red Hat Enterprise Linux 6 guest with virt-manager
Optional: Preparation
Prepare the storage environment for the guest virtual machine. For more information on preparing storage, refer to the Red Hat Enterprise Linux 6 Virtualization Administration Guide.Important
Various storage types may be used for storing guest virtual machines. However, for a virtual machine to be able to use migration features the virtual machine must be created on networked storage.Red Hat Enterprise Linux 6 requires at least 1GB of storage space. However, Red Hat recommends at least 5GB of storage space for a Red Hat Enterprise Linux 6 installation and for the procedures in this guide.Open virt-manager and start the wizard
Open virt-manager by executing thevirt-managercommand as root or opening Applications → System Tools → Virtual Machine Manager.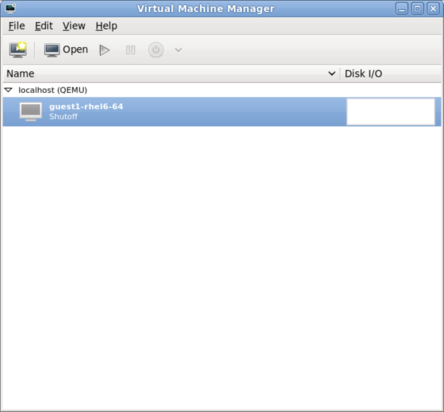
Figure 7.11. The main virt-manager window
Click on the button to start the new virtual machine wizard.
Figure 7.12. The Create a new virtual machine button
The Create a new virtual machine window opens.Name the virtual machine
Virtual machine names can contain letters, numbers and the following characters: '_', '.' and '-'. Virtual machine names must be unique for migration and cannot consist only of numbers.Choose the installation method from the list of radio buttons.
Figure 7.13. The New VM window - Step 1
Click to continue.- Provide the installation URL, and the Kickstart URL and Kernel options if required.
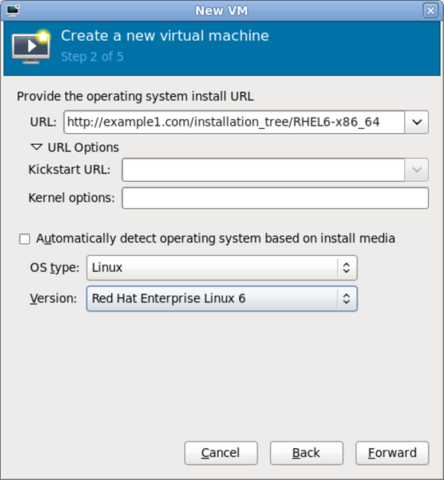
Figure 7.14. The New VM window - Step 2
Click to continue. - The remaining steps are the same as the ISO installation procedure. Continue from Step 5 of the ISO installation procedure.