
8.2. Manual LVM Partitioning
The following section explains how to manually configure LVM for Red Hat Enterprise Linux. Because there are numerous ways to manually configure a system with LVM, the following example is similar to the default configuration done in Section 8.1, “Automatic Partitioning”.
On the Disk Partitioning Setup screen, select .
8.2.1. Creating the /boot/ Partition
In a typical situation, the disk drives are new, or formatted clean. The following figure, Figure 8.2, “Two Blank Drives, Ready For Configuration”, shows both drives as raw devices with no partitioning configured.
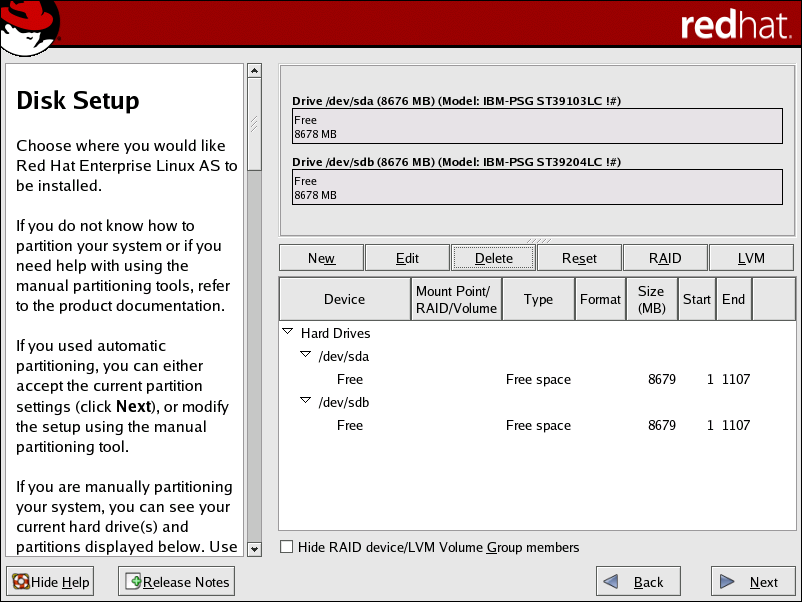
Figure 8.2. Two Blank Drives, Ready For Configuration
Warning
The
/boot/ partition cannot reside on an LVM volume group because the GRUB boot loader cannot read it.
- Select .
- Select /boot from the Mount Point pulldown menu.
- Select ext3 from the File System Type pulldown menu.
- Select only the sda checkbox from the Allowable Drives area.
- Leave 100 (the default) in the Size (MB) menu.
- Leave the Fixed size (the default) radio button selected in the Additional Size Options area.
- Select Force to be a primary partition to make the partition be a primary partition. A primary partition is one of the first four partitions on the hard drive. If unselected, the partition is created as a logical partition. If other operating systems are already on the system, unselecting this option should be considered. For more information on primary versus logical/extended partitions, refer to the appendix section of the Installation Guide.
Refer to Figure 8.3, “Creation of the Boot Partition” to verify your inputted values:

Figure 8.3. Creation of the Boot Partition
Click to return to the main screen. The following figure displays the boot partition correctly set:
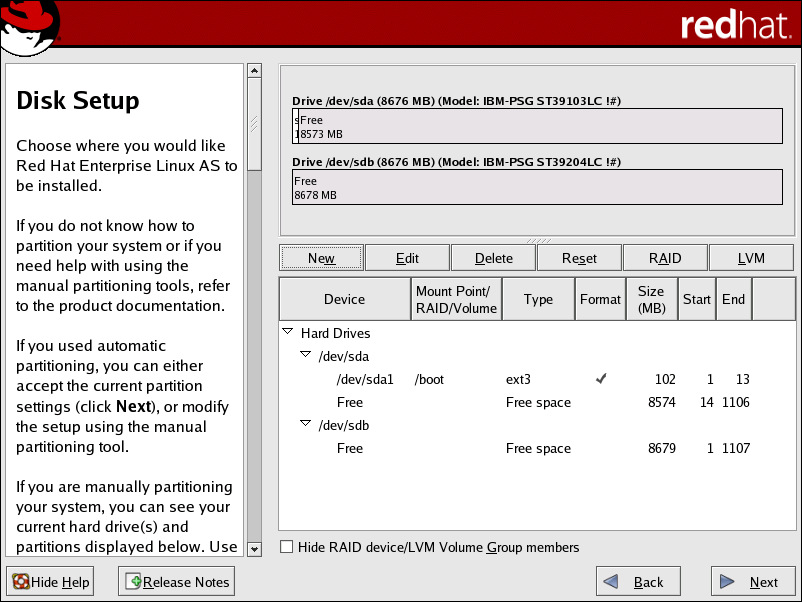
Figure 8.4. The /boot/ Partition Displayed